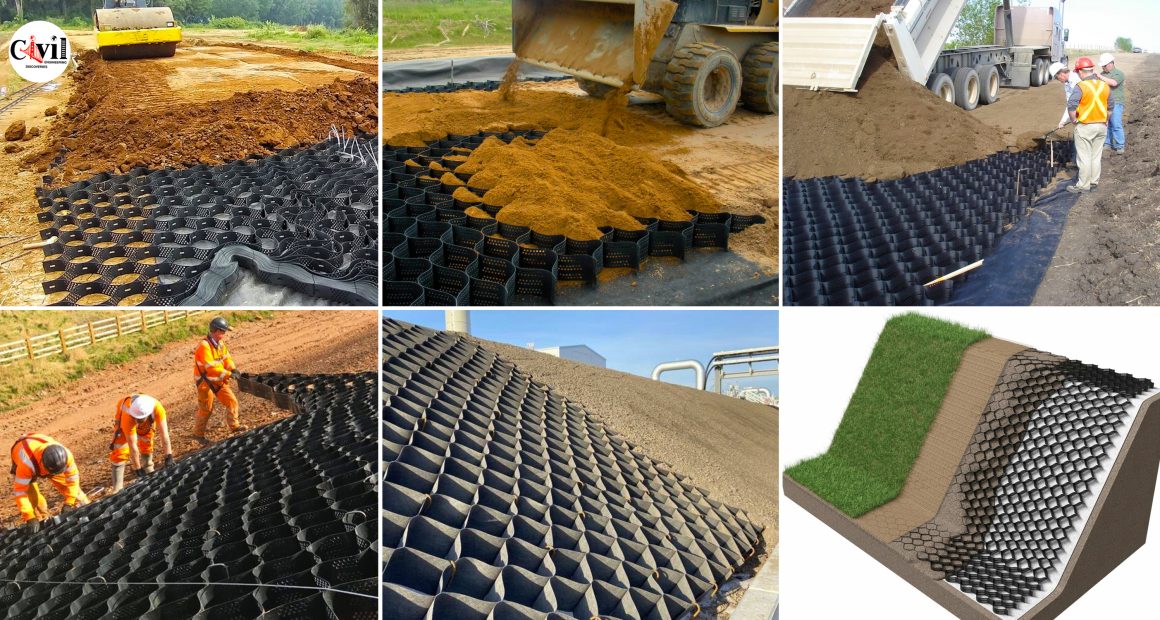
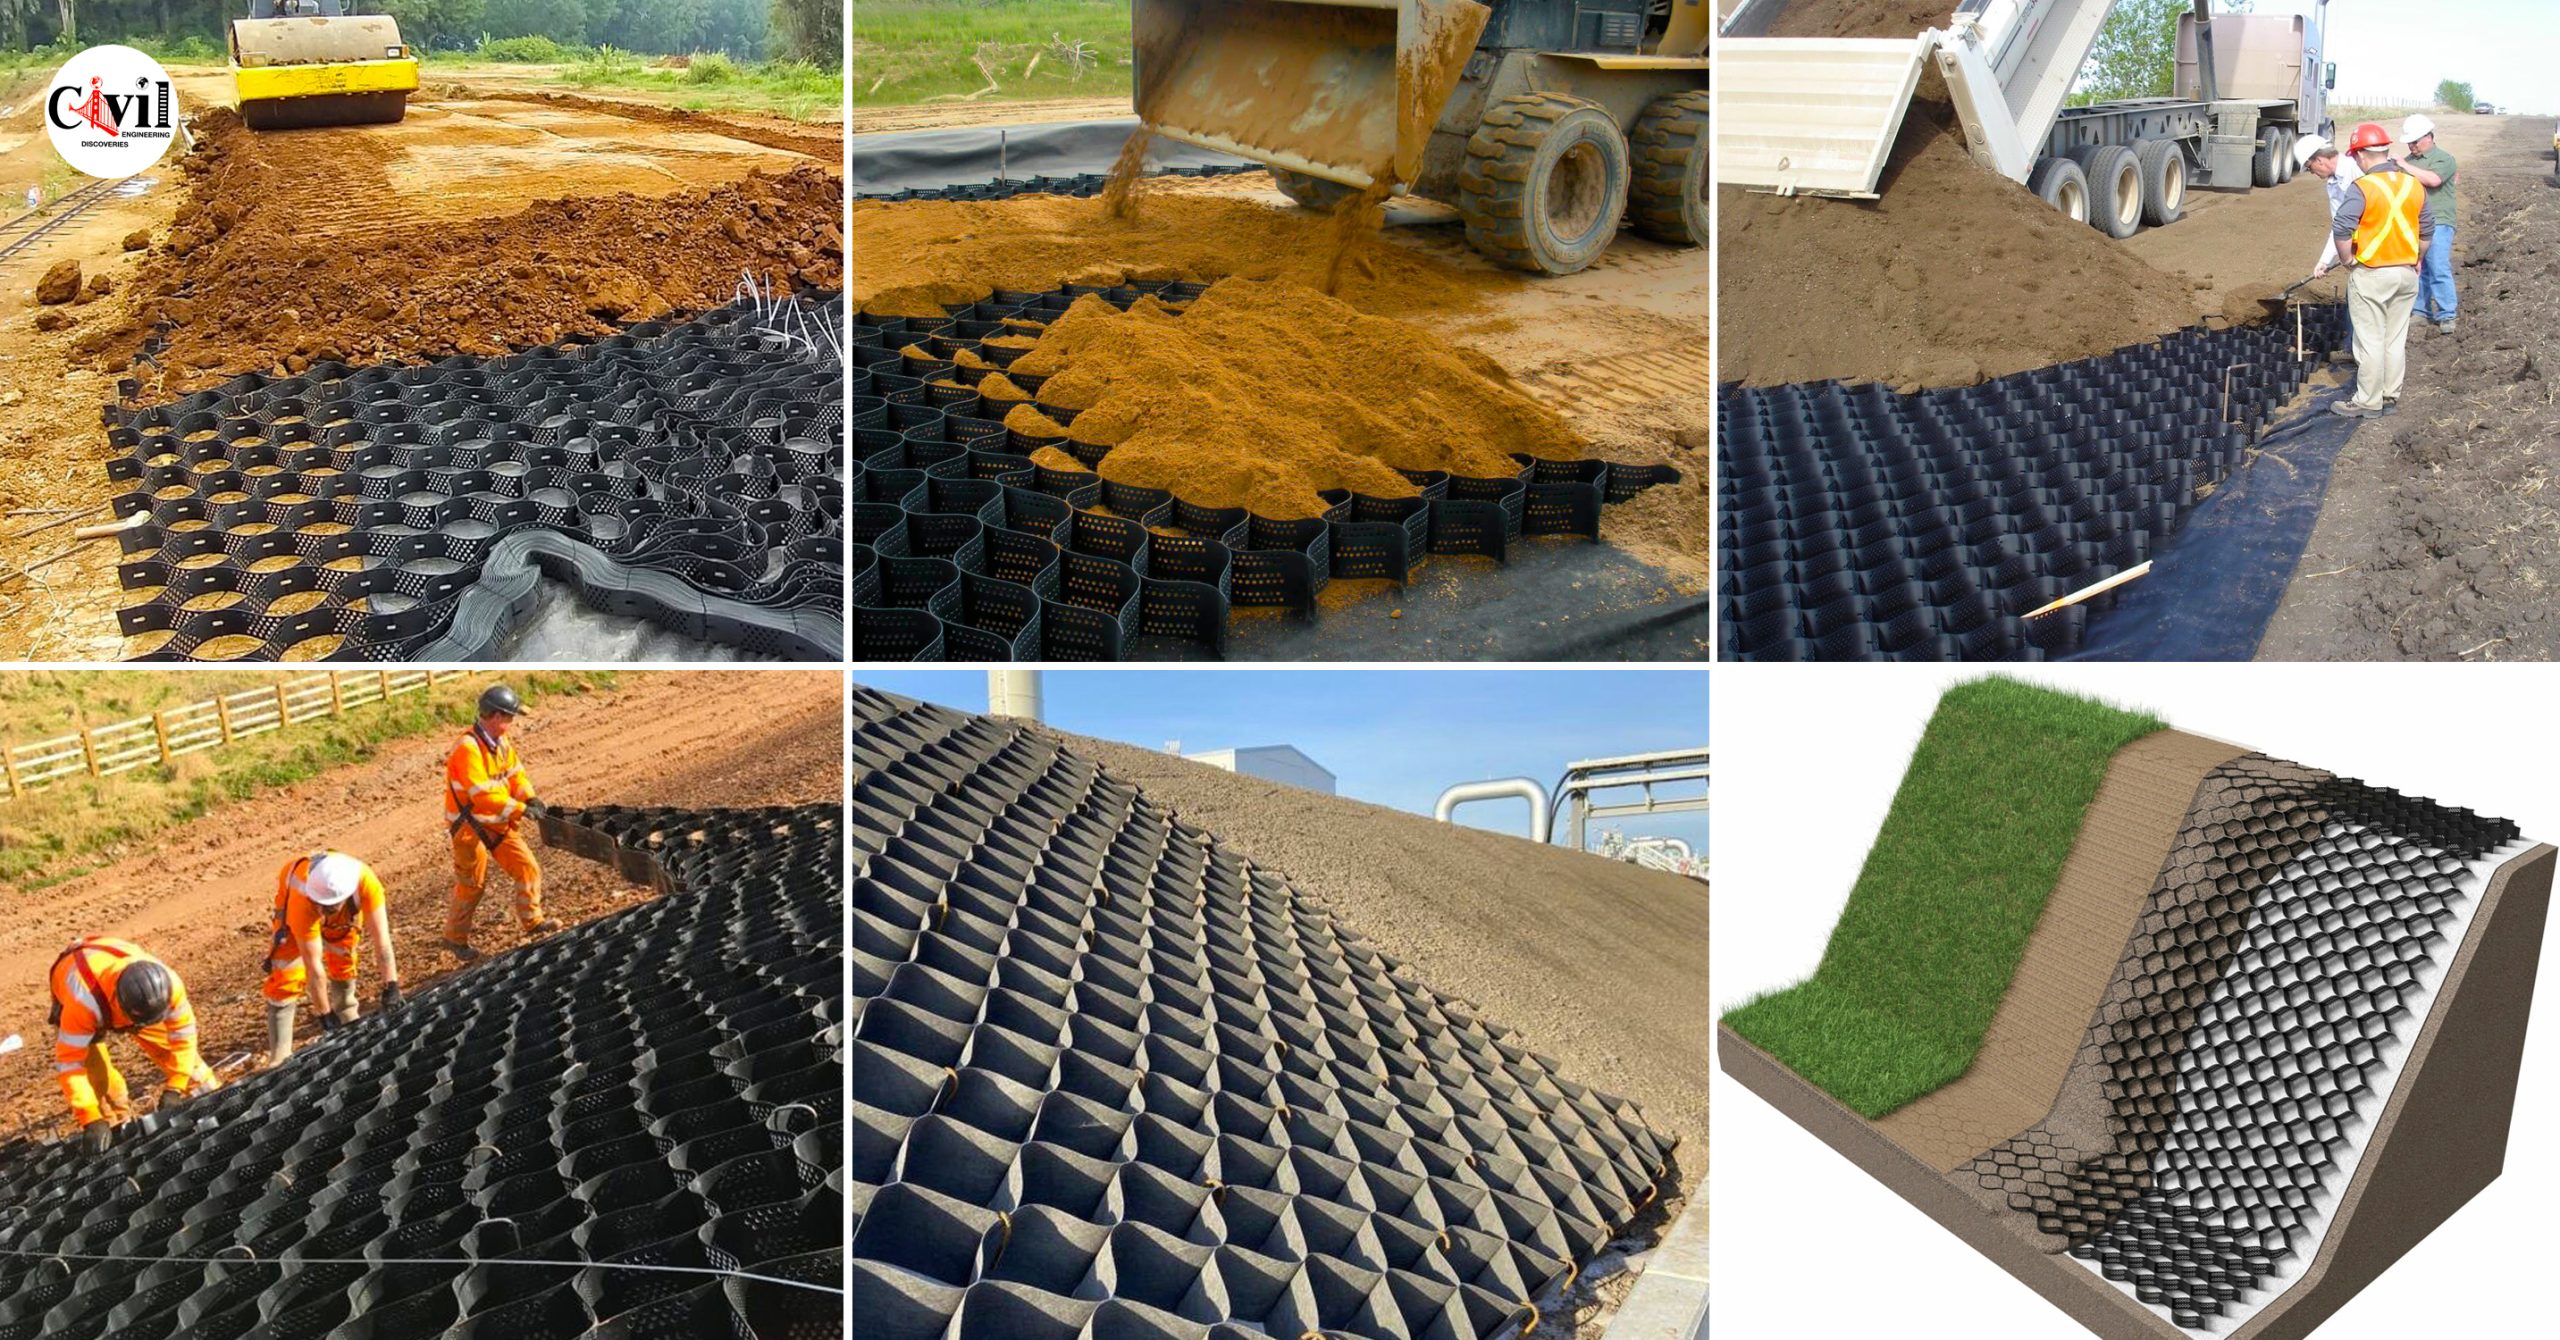
Geocells are a versatile and effective geosynthetic material used in various construction projects for soil stabilization, erosion control, and load support. They are honeycomb-like structures made from high-density polyethylene (HDPE) strips welded together at their intersections. Installing geocells properly is crucial for their effectiveness, and this guide will walk you through the steps involved in laying the best base for your next construction project.
1. Site Preparation:
- Clear the area: Remove any vegetation, debris, and rocks from the area where you will install the geocells.
- Excavate the ground: Depending on your project’s specific requirements, you may need to excavate the ground to create a level and stable base. The depth of excavation will vary depending on the load-bearing capacity of the soil and the type of project.
- Grade the surface: Ensure the excavated area is leveled and compacted to create a firm and consistent base for the geocells.
2. Geotextile Installation (Optional):
- Lay down a geotextile fabric: In some cases, a layer of geotextile fabric is recommended to separate the geocells from the underlying soil and prevent finer particles from clogging the cells. This is especially important for applications like drainage and erosion control.
3. Geocell Deployment:
- Unroll the geocells: Carefully unroll the geocells onto the prepared base, ensuring they are aligned properly and cover the entire area.
- Connect the geocells: Depending on the type of geocell, you may need to connect them using specialized connectors or by overlapping and pinning the edges together.
- Secure the geocells: Use staples, anchors, or stakes to secure the geocells to the ground at regular intervals. The spacing of the fasteners will depend on the specific project requirements and the type of geocell used.
4. Infill and Compaction:
- Fill the geocells: Fill the geocells with the appropriate infill material, such as crushed stone, gravel, sand, or concrete. The choice of infill material will depend on the specific application and the desired level of load support or drainage.
- Compact the infill: Compact the infill material thoroughly using a plate compactor or other suitable equipment. The compaction level should be under the project specifications.
5. Additional Considerations:
- Drainage systems: If your project requires drainage, install drainage pipes or ditches within the geocell layer or below it to collect and evacuate excess water.
- Edge restraints: In some cases, especially for slopes or retaining walls, you may need to install additional edge restraints to prevent the geocells from spreading or deforming.
- Vegetation planting: For erosion control applications, you can plant vegetation directly into the infilled geocells to promote long-term stability and aesthetics.
Benefits of using geocells:
- Enhanced soil stabilization: Geocells confine and reinforce the infill material, preventing soil erosion and increasing the load-bearing capacity of the ground.
- Improved drainage: The open cell structure allows for water infiltration and drainage, reducing the risk of waterlogging and soil saturation.
- Reduced construction costs: Geocells can help reduce the need for thick layers of traditional base materials, leading to cost savings and faster construction times.
- Versatility: Geocells can be used in various applications, from roads and parking lots to slopes, retaining walls, and drainage systems.
By following these steps and considering the additional factors mentioned above, you can ensure a successful geocell installation that provides a stable and durable base for your construction project. Remember to consult with a qualified engineer or geotechnical specialist for specific design recommendations based on your project’s requirements and soil conditions.
Click Here To See How To Calculate Asphalt Quantity For Road


