Introduction to Geocell Retaining Walls
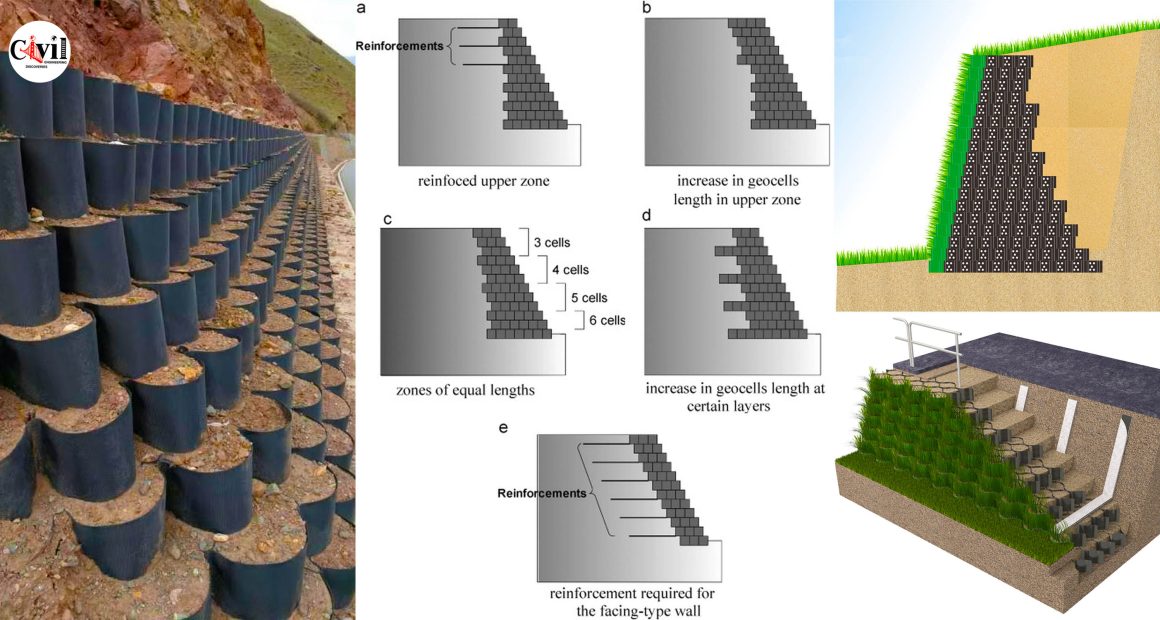
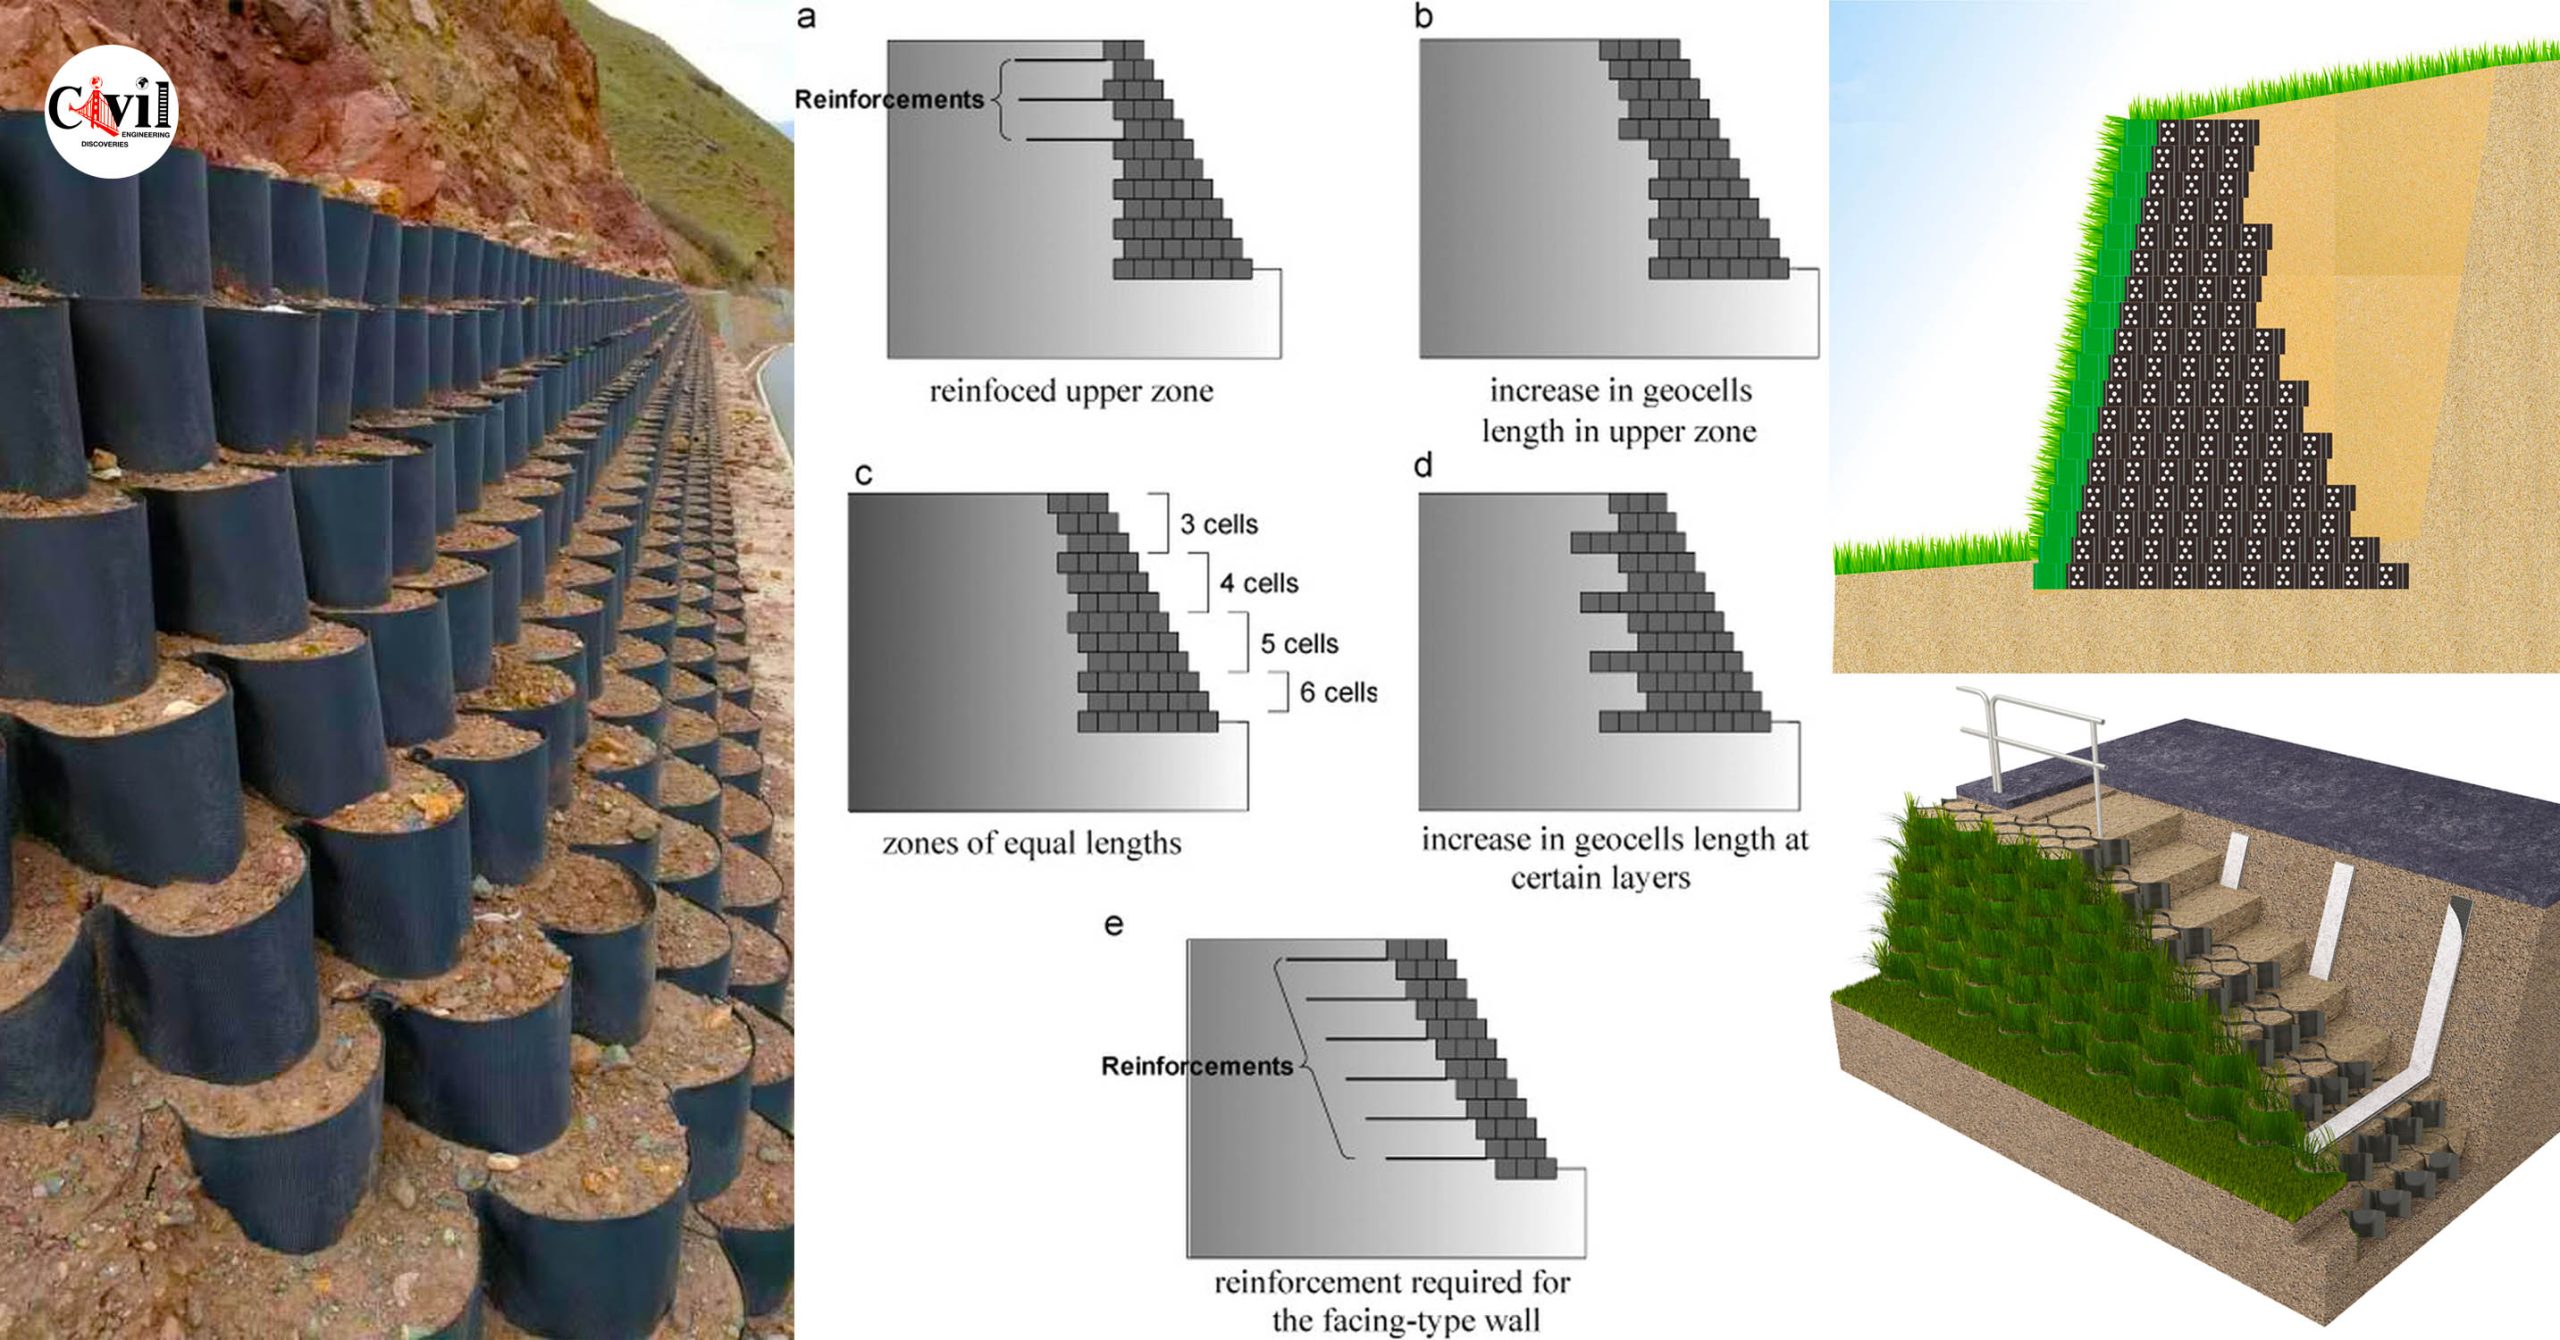
Geocell retaining walls are a versatile and efficient solution for soil stabilization. Their cellular confinement structure enhances load distribution and prevents erosion. This guide outlines the step-by-step process for installing a geocell retaining wall.
Step 1: Site Preparation
Proper site preparation is crucial. Begin by:
- Clearing the area of debris, vegetation, and loose soil.
- Leveling the ground to ensure a stable base.
- Installing drainage features to prevent water accumulation.
Step 2: Base Layer Installation
The base layer provides foundation support:
- Spread a layer of compacted gravel or sand.
- Level the base evenly to ensure uniform stability.
- Add a geotextile fabric to enhance soil separation and drainage.
Step 3: Geocell Placement
Follow these steps for accurate placement:
- Expand the geocell panels to their full dimensions.
- Secure the edges using stakes or anchors.
- Connect adjacent panels with staples or specialized clips for continuity.
Step 4: Filling the Geocells
The filling process involves:
- Using granular material such as soil, gravel, or sand.
- Ensuring each cell is completely filled for even weight distribution.
- Compacting the material to prevent future settling.
Step 5: Wall Construction and Layering
For multi-layered walls:
- Stack geocells vertically with proper overlap.
- Secure each layer with connectors to maintain alignment.
- Backfill the area behind the wall for additional support.
Step 6: Final Touches and Maintenance
After installation:
- Inspect for gaps or uneven areas and make necessary adjustments.
- Apply vegetation or protective covers to enhance durability.
- Regularly monitor and maintain the wall to prevent damage.
Advantages of Geocell Retaining Walls
- Cost-effective and environmentally friendly.
- Flexible design suitable for various terrains.
- Reduced erosion and improved soil stability.
Click Here To See 38+ Images to Help You Better Understand RCC Retaining Wall Construction
