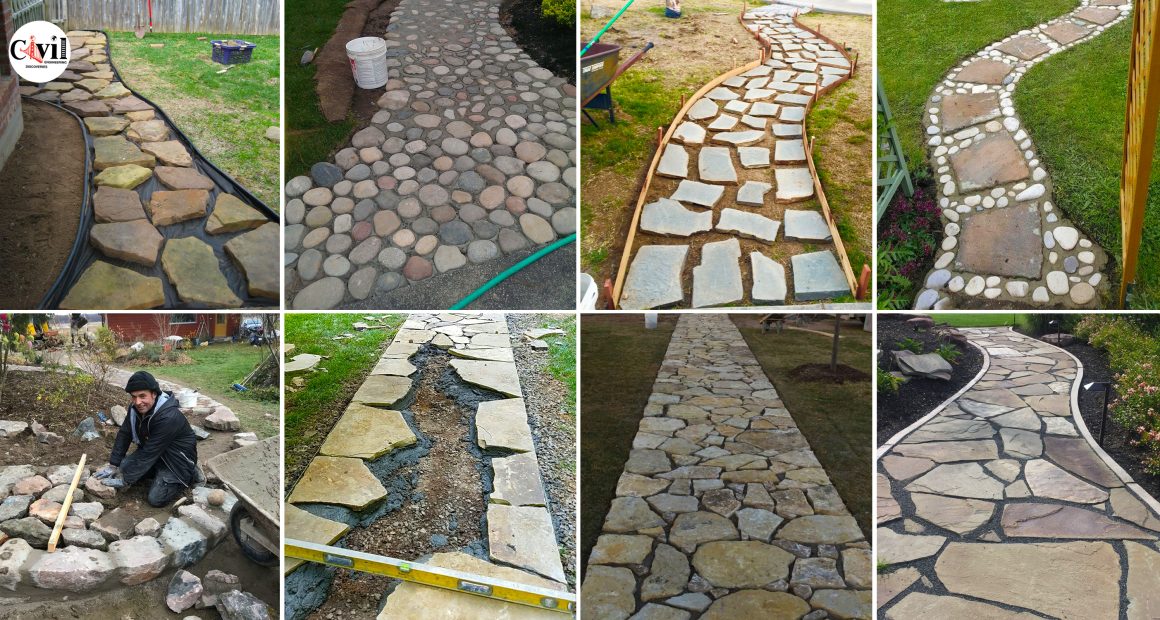
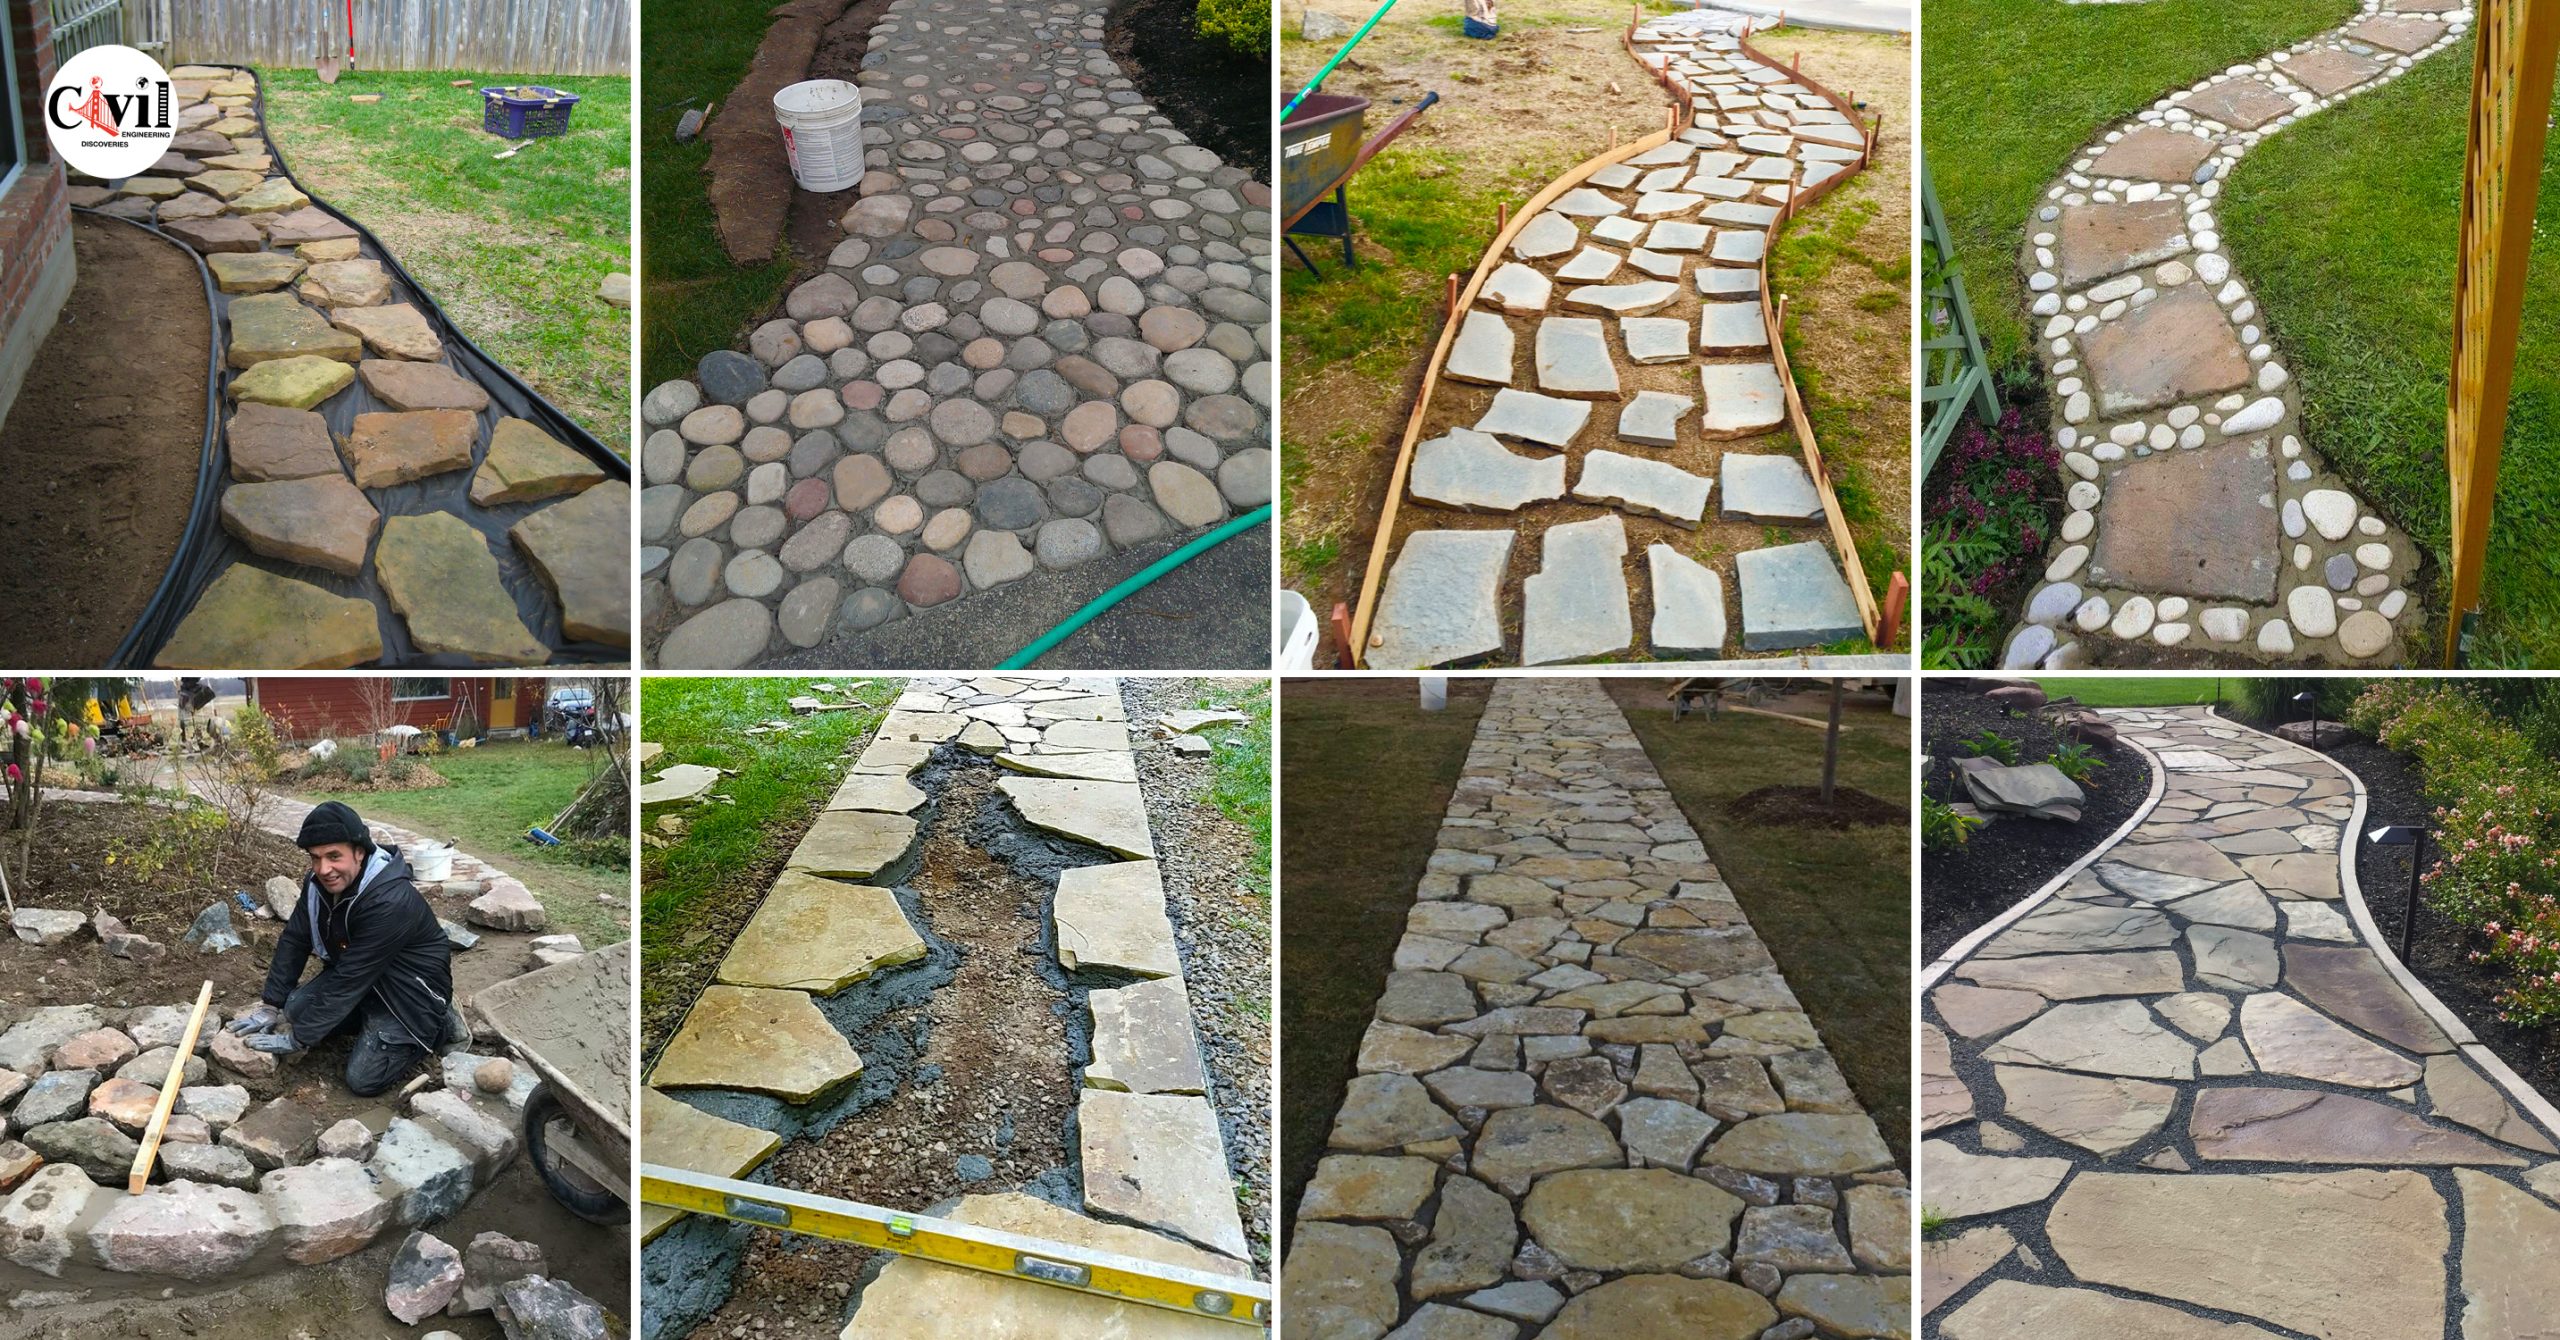
A stone walkway has a rustic charm that is ideal for a cottage garden design but is equally suitable for any natural landscape plan. While stone paths sometimes are laid in mortar, this requires a concrete foundation and experience with stone masonry.
A simple sand set path is much easier and is perfect for DIY installation. With this technique, the stones are simply laid onto a bed of sand, which keeps the stones stable and makes it easy to get everything level. When you’re done, you can fill the spaces between the stones with sand or gravel or even plants that can tolerate foot traffic.
Below, find out how to lay a stone walkway in a simple way perfect for those doing it themselves.
What You’ll Need
Equipment / Tools
- Stakes and string or 2 garden hoses
- Flat spade
- Shovel
- Wheelbarrow
- Hand tamp
- Small sledgehammer (as needed for edging)
- Utility knife
- Scrap 2×4 board
- Carpenter’s level
Materials
- Edging material (optional)
- Landscape fabric and staples
- Sand (or polymeric sand, if desired)
- Large, flat stones
- Gravel, potting mix, plants (optional)
Instructions
1 . Choose Your Stone
Choosing the stone for a walkway is mostly a matter of taste, as any wide, flat stone will do. Most walkways are made with flagstone, which describes a shape of stone rather than a specific type of rock. It’s usually best to choose a type that is locally available, as this keeps the cost down, both for the rock and the delivery. Most flagstone that is 2 to 3 inches thick is ideal.
2. Lay Out the Walkway
Mark the path of your walkway, using stakes and string (for a straight path) or two garden hoses (for a curving path). If the walkway will be used for frequent traffic, such as a path between a driveway and a front door, make sure it is wide enough for two people to pass by each other comfortably. Small garden paths or those leading to secret nooks in the landscape can be sized for a single person. Set up strings or hoses on both sides of the path.
Use a flat spade or sod cutter to slice through the grass along the path’s edges, following the strings or garden hoses. Remove all grass or other vegetation (including all roots) in the path area. Dig out the soil to a depth of 5 inches (for 3-inch-thick stone), creating a flat, smooth base. Tamp the soil firmly with a hand tamp or simply by walking repeatedly over the ground.
Install edging material along both sides of the path, if desired, following the manufacturer’s directions. You can use many different types of edging, such as galvanized metal, plastic brick paver edging, or pressure-treated wood timbers. If you don’t use edging, the edge of grass or soil along the path will help keep the stones in place.
Lay landscape fabric over the soil along the entire path. Try to use a continuous piece as much as possible. If you must use multiple pieces, overlap their edges by at least 12 inches. Trim the fabric along the sides of the path with a utility knife, and secure the fabric to the soil with landscape fabric staples.
Add two inches of sand over the landscape fabric. Smooth the sand so it is flat and level, using a 2×4 board that is slightly smaller than the width of the path.
Lay out the path stones to one side of the walkway so all of them are visible. The idea is to see the size and shape of each stone so you can pick and choose the best fit as you lay the walkway.
Begin placing stones into the sand bed of the walkway, fitting them together as desired. Leave small gaps between stones if you will fill the gaps with sand or gravel; leave wider gaps (about 2 inches) if you will plant between the rocks. Set each stone so it is stable (without rocking) and is level with the surrounding stones. Use a carpenter’s level to check each stone for level and to level across to other stones as you work. Add or remove sand beneath each stone to raise or lower it, as needed. Alternate large and small stones as well as different shapes and colors for a natural, random look.
9. Fill the Gaps
Add sand or gravel to fill the gaps between the stones, as desired. Spread the sand with a broom, spray the walkway with water to settle the sand, then fill the gaps again, repeating until they are full. If you’re planting the walkway, fill the gaps with a potting soil mix, then add “stepable” plants, such as wooly thyme, sedum, or bugleweed.
Stone Sidewalk Tips
- If your desired area is prone to flooding during heavy rains, consider adding a 4- to 6-inch bed of compactible gravel under the landscaping fabric and sand layer. Gravel provides a more stable base than soil, and it drains readily to help prevent pooling.
- You might also set the height of the path a few inches higher than the surrounding ground to help keep the path drier.
- If you use large stones, which may collect water, slope the stones to one side of the path so water sheds from their surfaces. Make sure to slope away from the house or other structures.
- You can create a slope with the entire sand bed if desired, but it’s usually easier to slope each stone as you go, using a level. They should slope at about 1/8 inch per foot. For example, if a stone is 2 feet wide, it should be 1/4 inch lower on one side than the other.
Click Here To See How To Build A Stone Garden Path Or Sidewalk!


