
How To Build Rocket Cooking Stove Step by Step
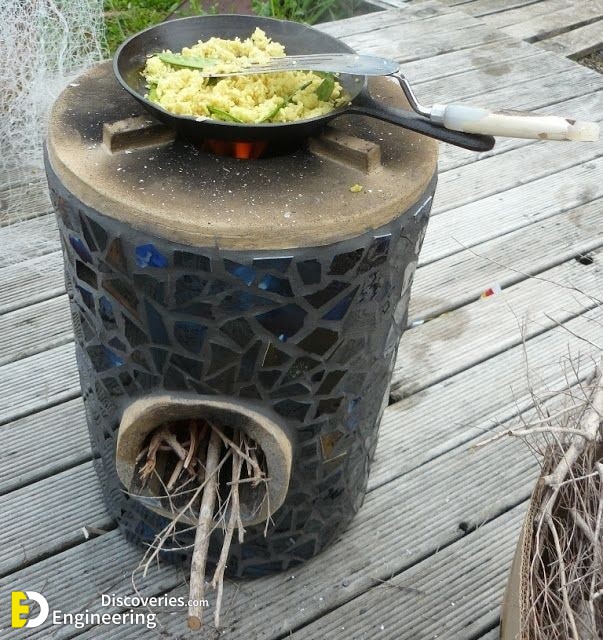
A rocket cook stove is a super-efficient stove that can use just about anything for fuel — including small twigs, scraps of wood, or even dried dung if you’re really in a pinch.
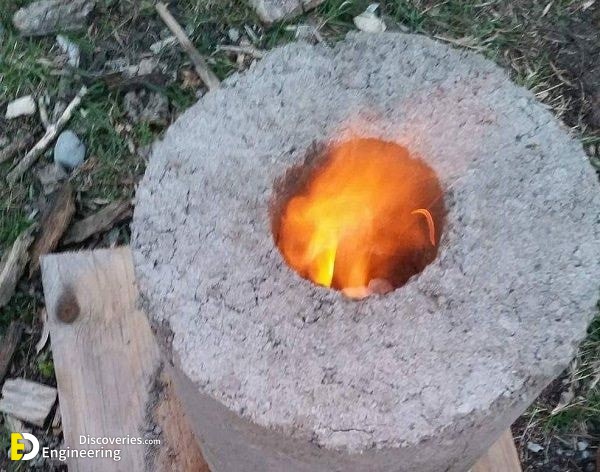
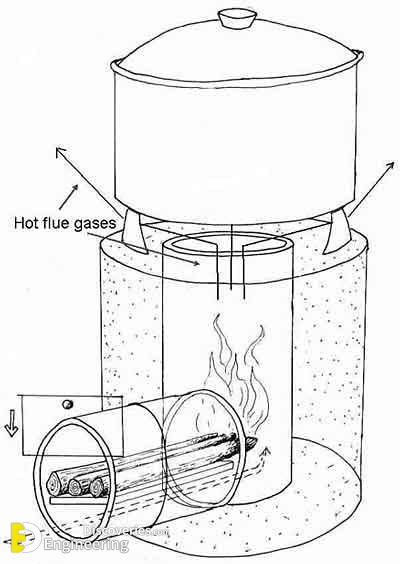
The principle behind the operation of the rocket stove is quite simple: a direct-to-cooking-surface insulated combustion chamber ensures nearly complete combustion of the fuel, giving off more heat, and burning the material quickly and intensely.
Although often used as portable cook stoves, rocket stoves are great alternatives to barbecues and fire pits, using much less fuel. This means you collect less wood. It also means you save money by not having to purchase propane.
Let’s get right into how you can make your own rocket cook stove with minimal time and money. In fact, you probably have most of what you need to build the stove laying around the house, and if not, you can cheaply buy the materials. Assuming you already have a drill and most of the essential parts (like a wheelbarrow), you likely can build this for under $10.
Materials
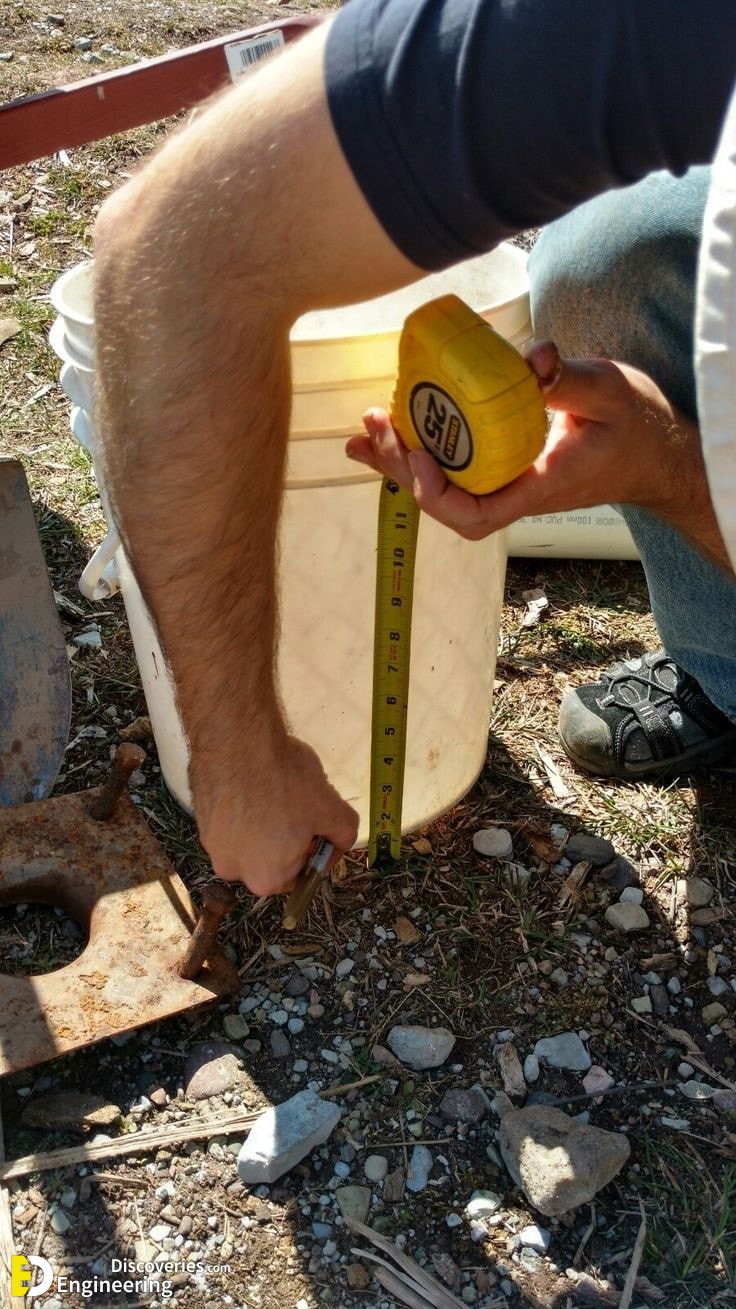
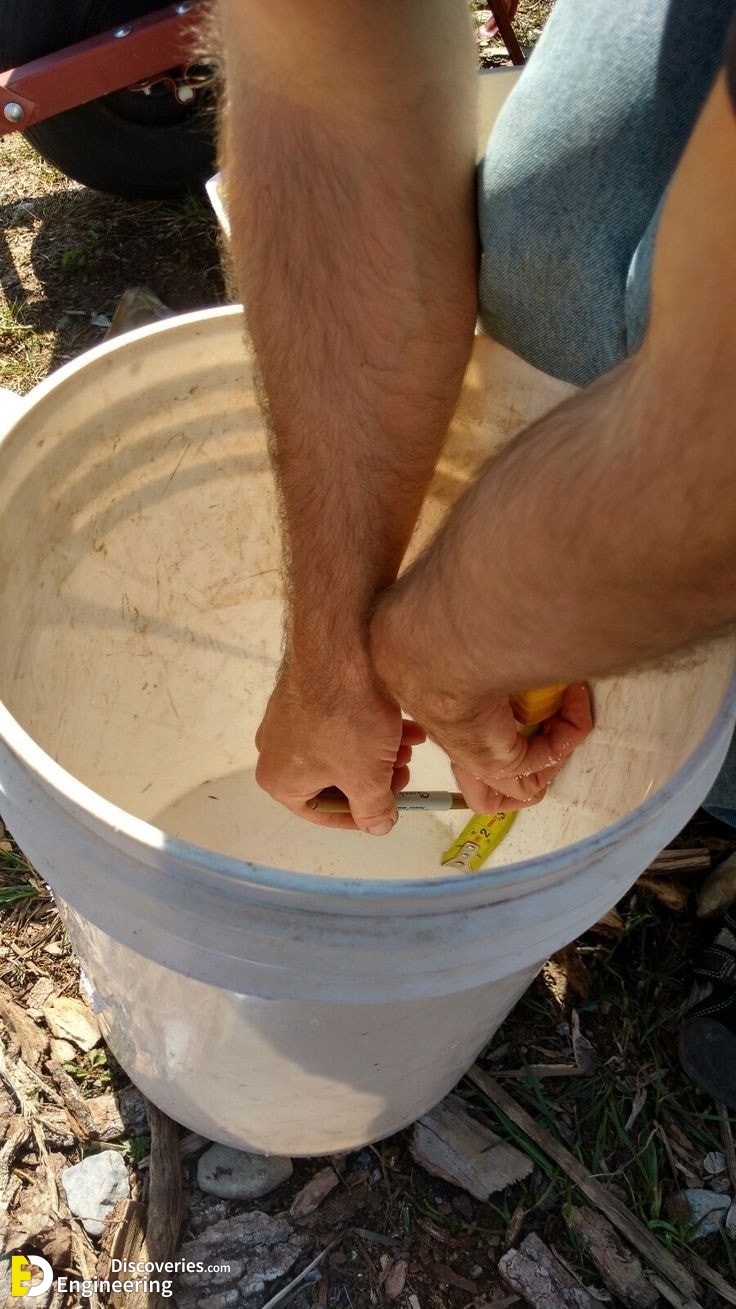
Step 1: Mark the Intake
Measure about 2 ½ inches from the bottom of the bucket and make a mark. This is where the bottom of the hole for the intake pipe will go. Place the bottom of the pipe against the mark and trace a circle around the pipe with your marker.

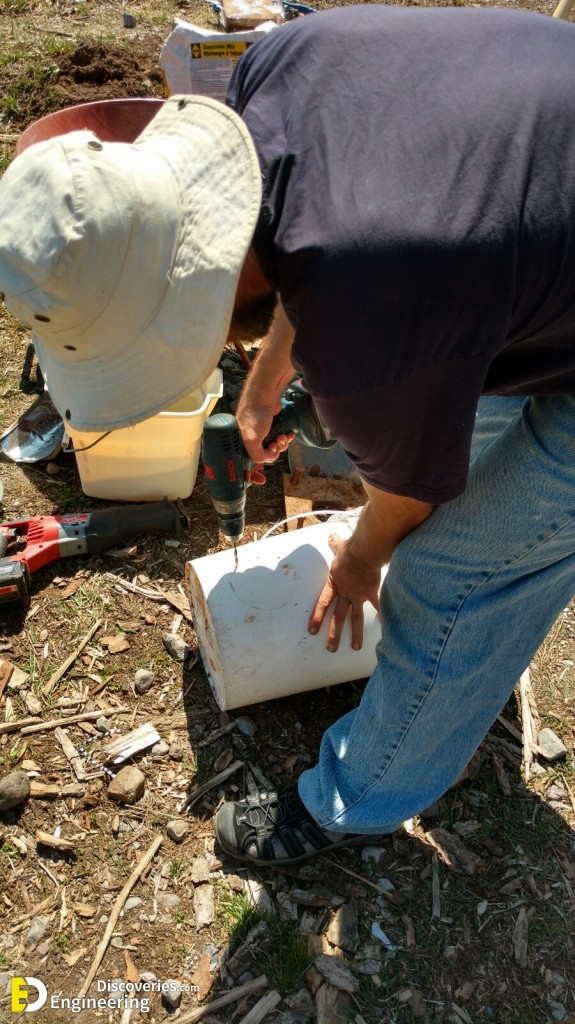
Step 2: Cut the Intake Hole
Drill holes all around the marked intake circle so you can get your reciprocating saw blade in and cut your intake hole.

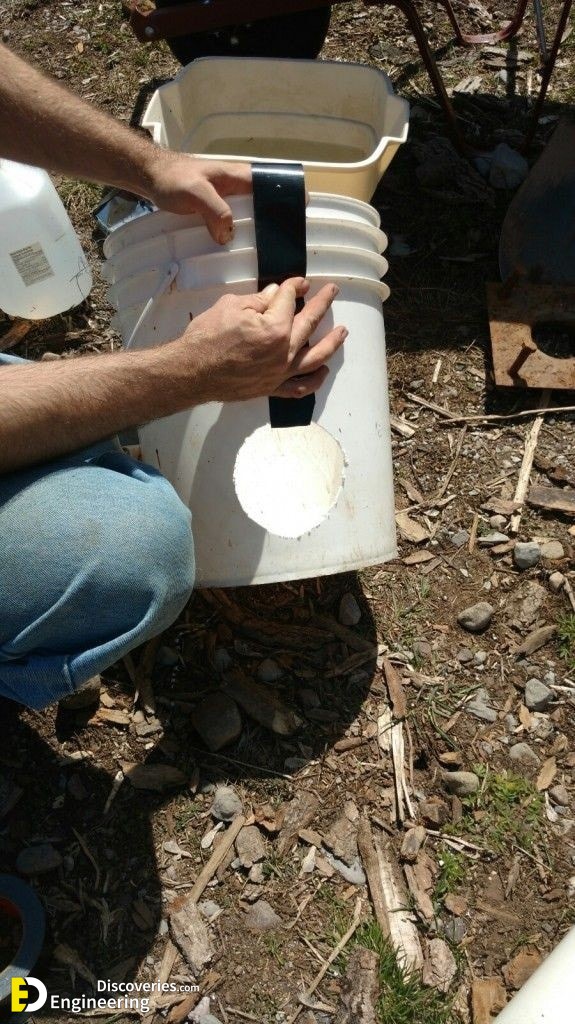
Step 3: Cut a Concrete Release Line
For ease of getting the bucket off once the concrete dries, you can cut a line from the top of the bucket downward toward the middle of the hole. Tape it with duct tape so it stays together when the concrete is added.
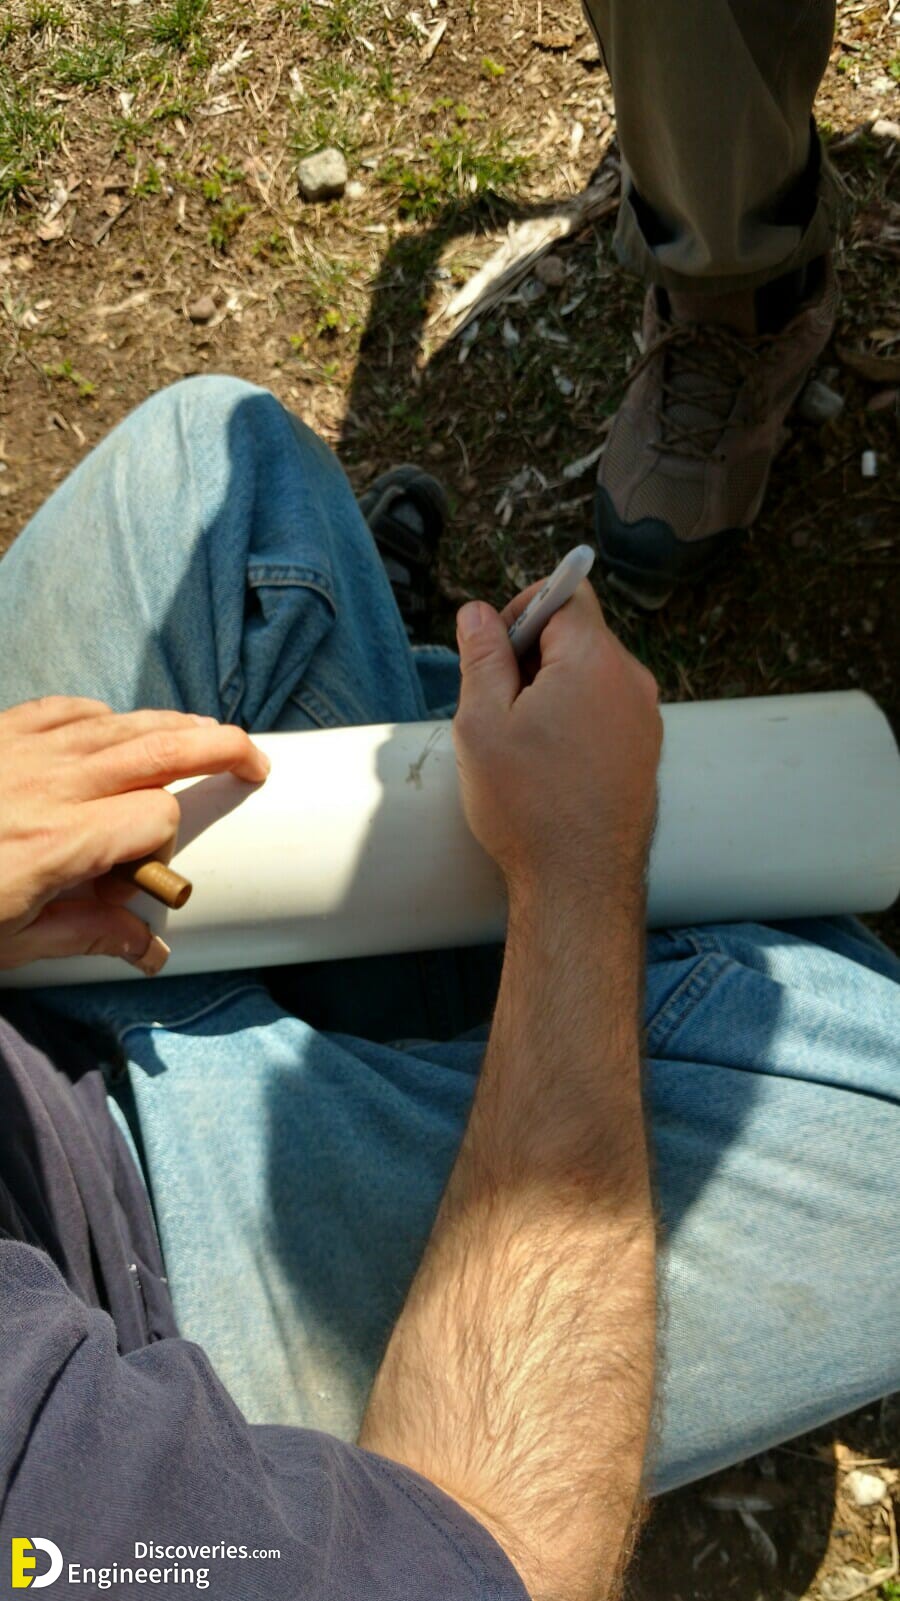
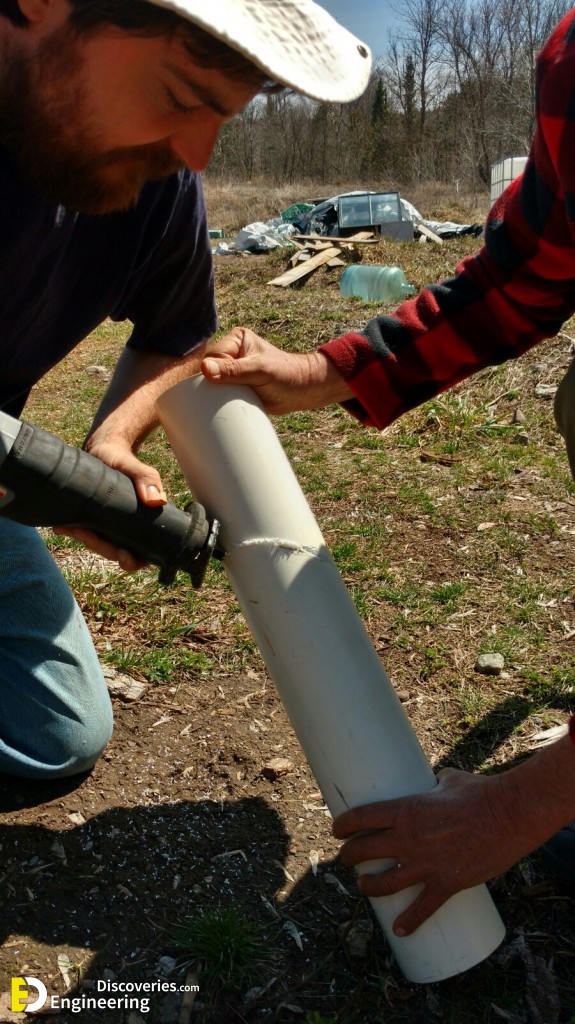
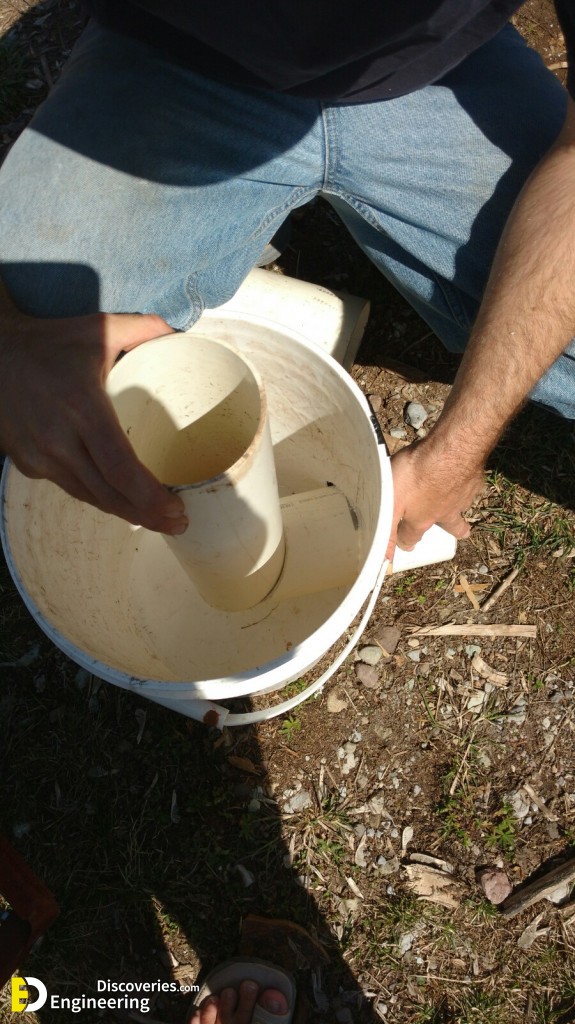
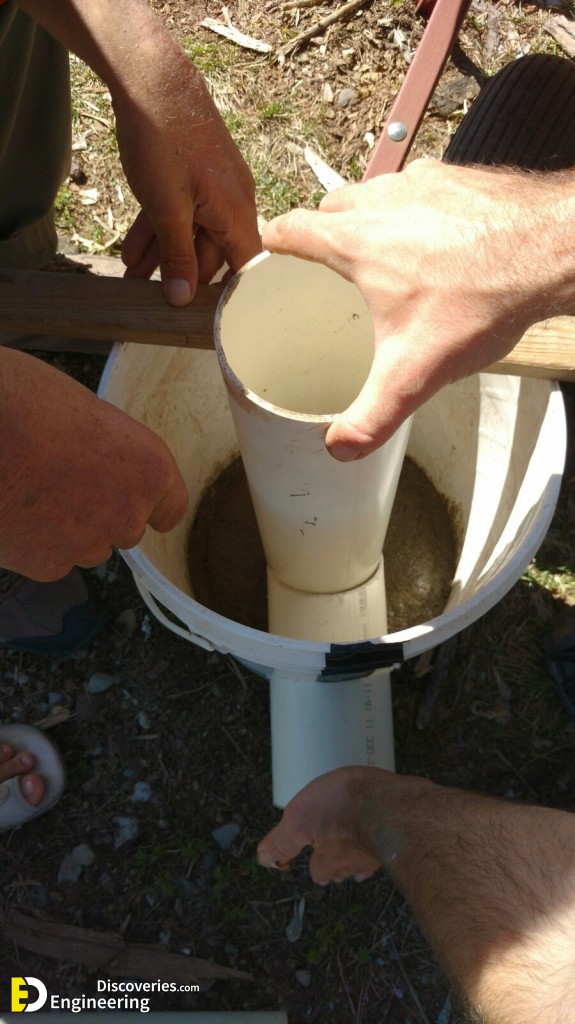
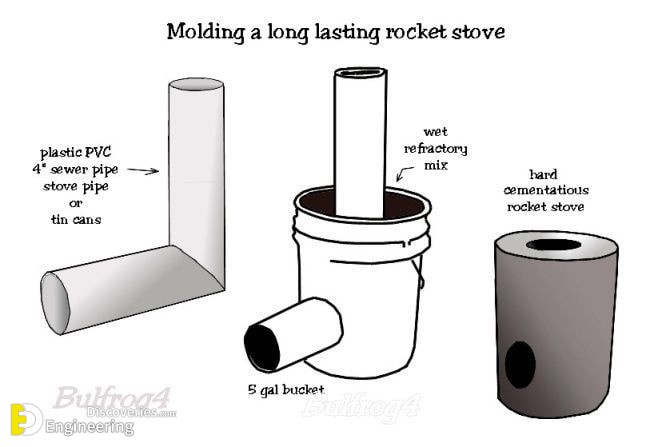
Step 4: Cut and Fit the Pipes
Measure and mark the pipe on a 45-degree angle where you will make a cut, making sure there will be enough pipe to extend beyond the top of the bucket for the combustion chamber outlet pipe, as well as for the intake pipe to extend beyond the intake hole. You can use a simple square to mark the angle.
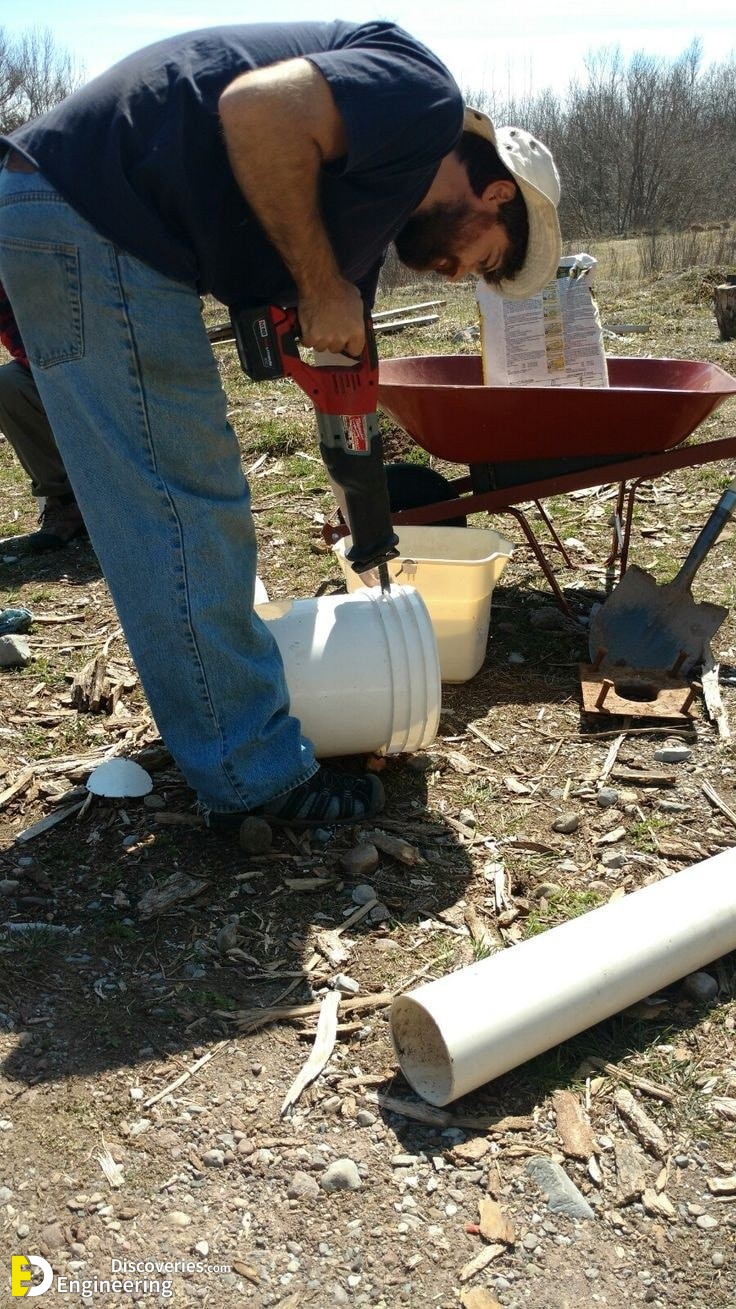
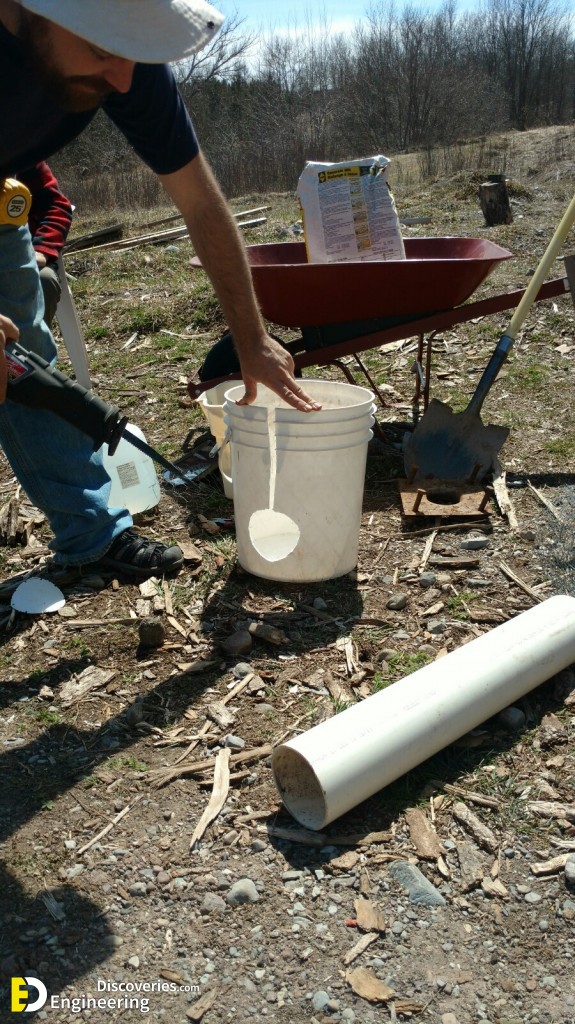
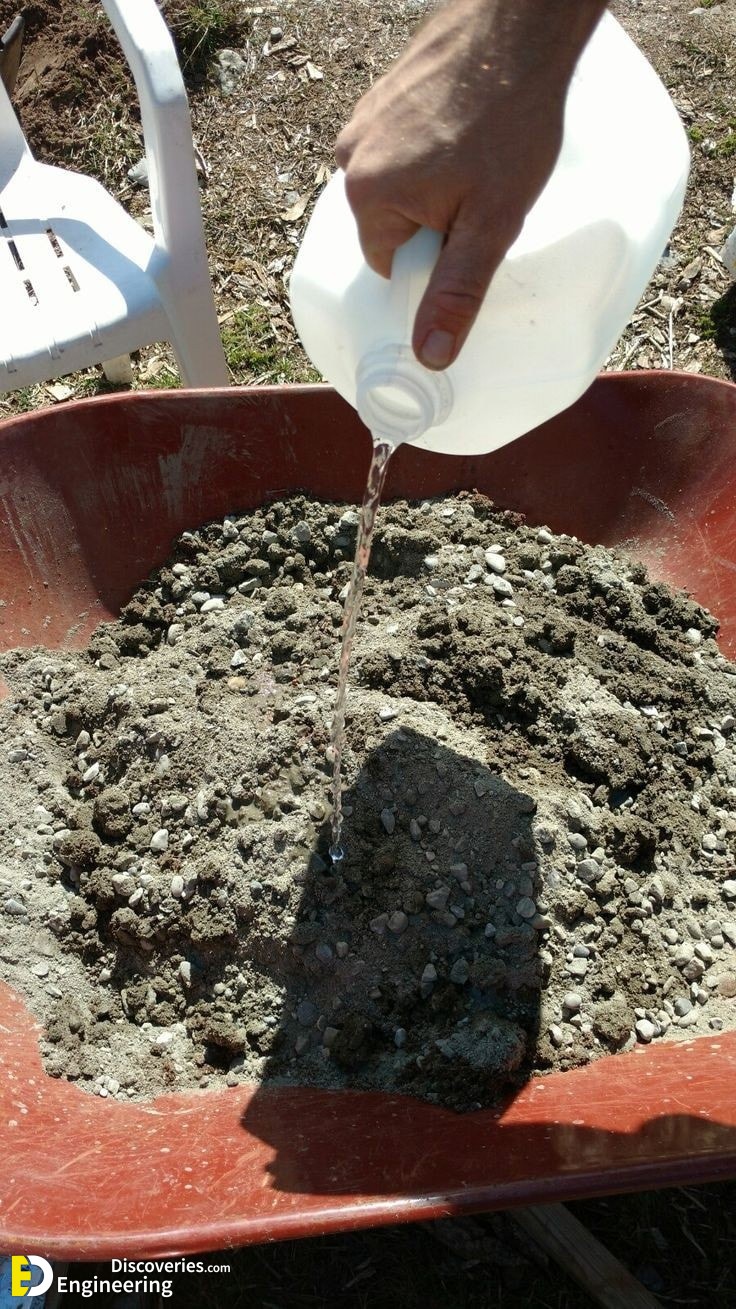
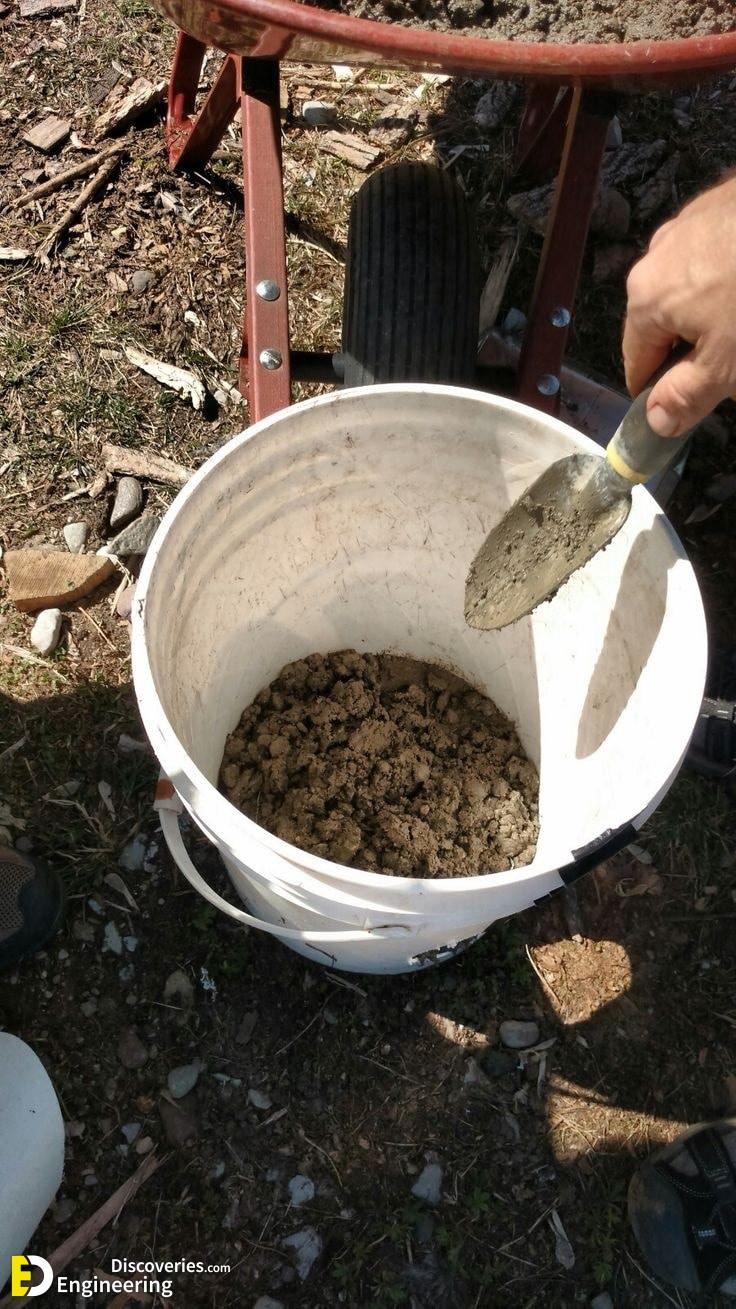
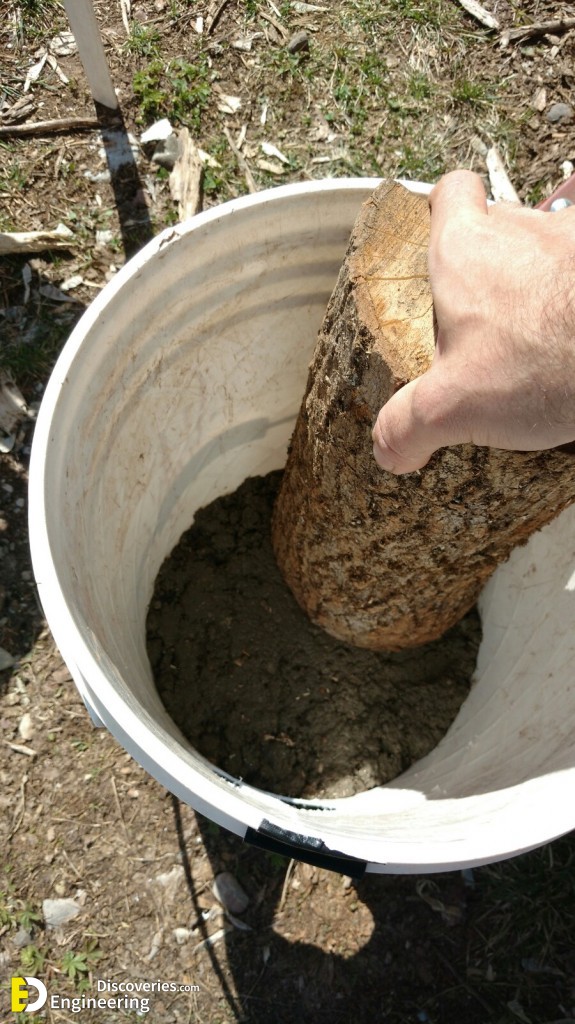
Step 5: Mix Concrete, and Fill the Bottom
Mark the inside of the bucket with the marker at the height of the bottom of the hole.

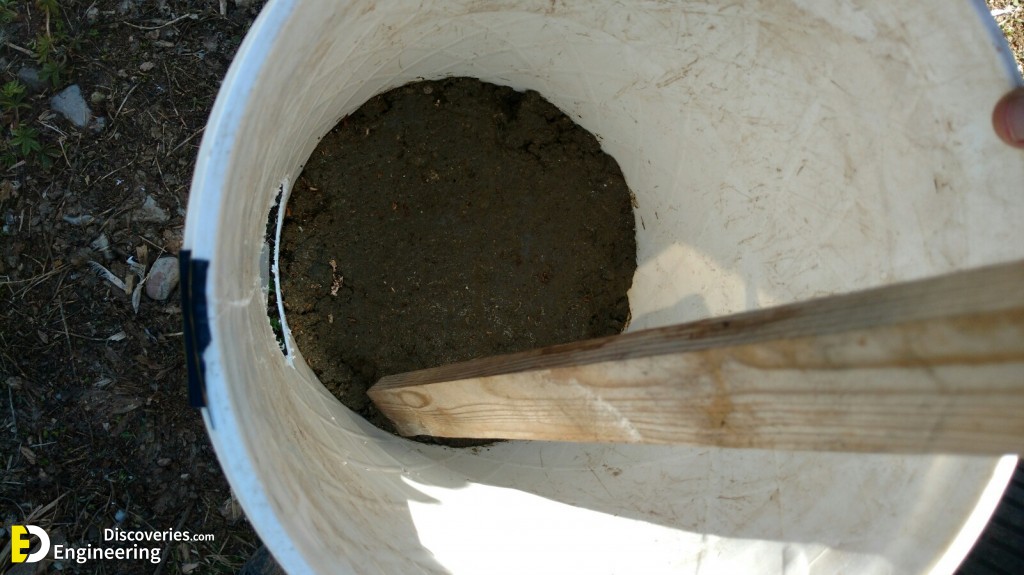
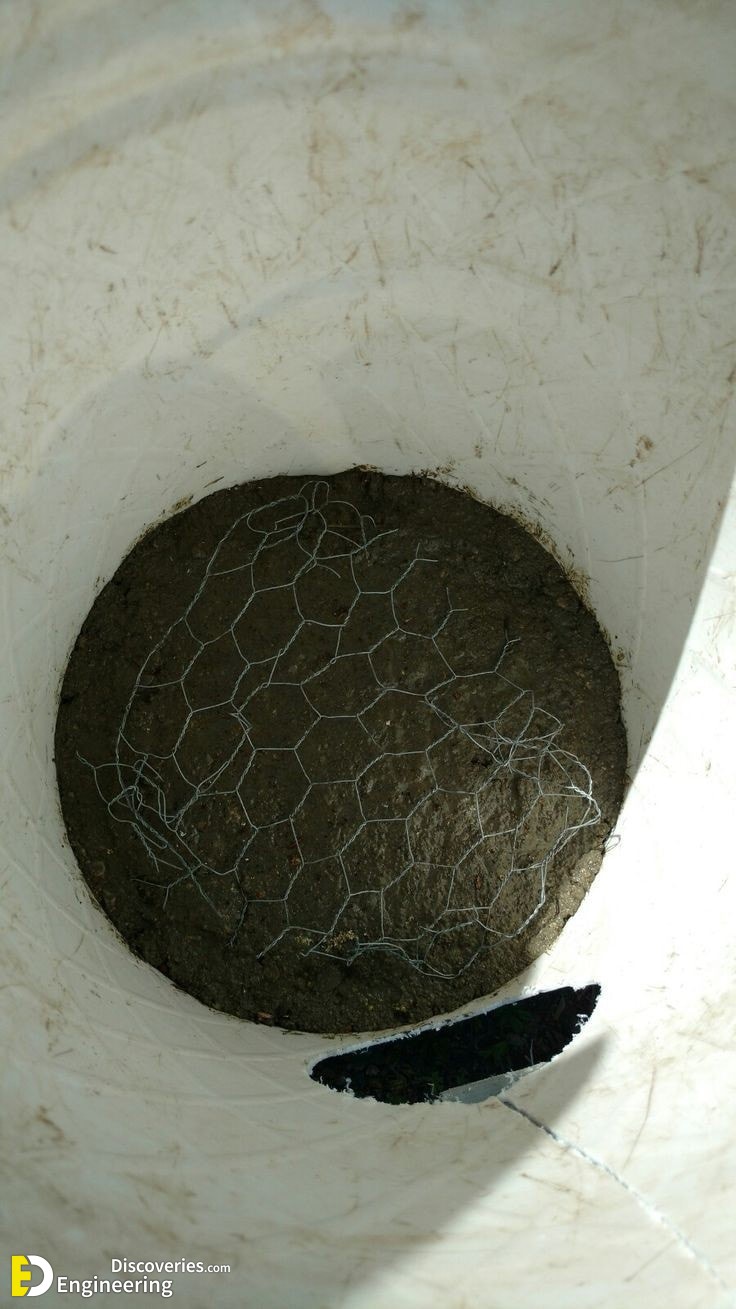
Step 6: Reinforce Bottom
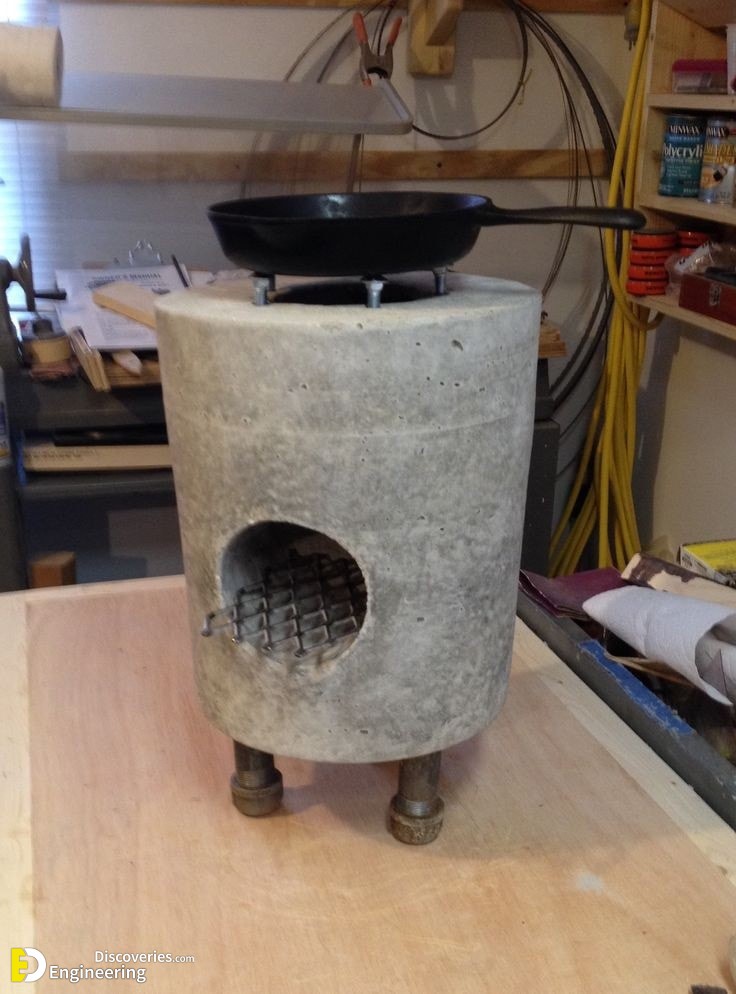
Once you’ve filled the bucket about halfway to the bottom of the hole, you may choose to reinforce this thinner bottom area with something like chicken wire by simply laying it on top and then continuing to fill the concrete up to the hole Continue to tamp as you fill.
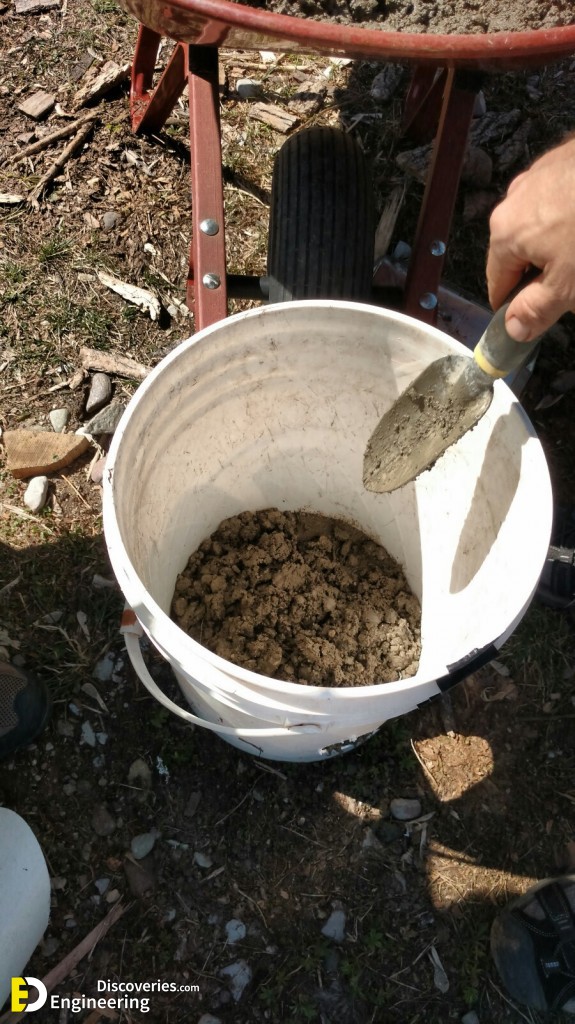
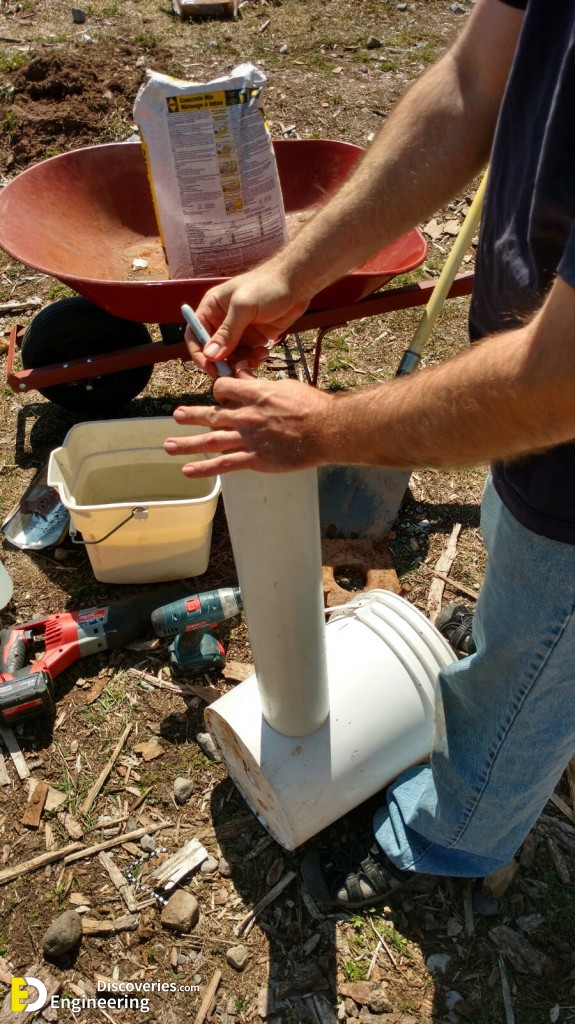
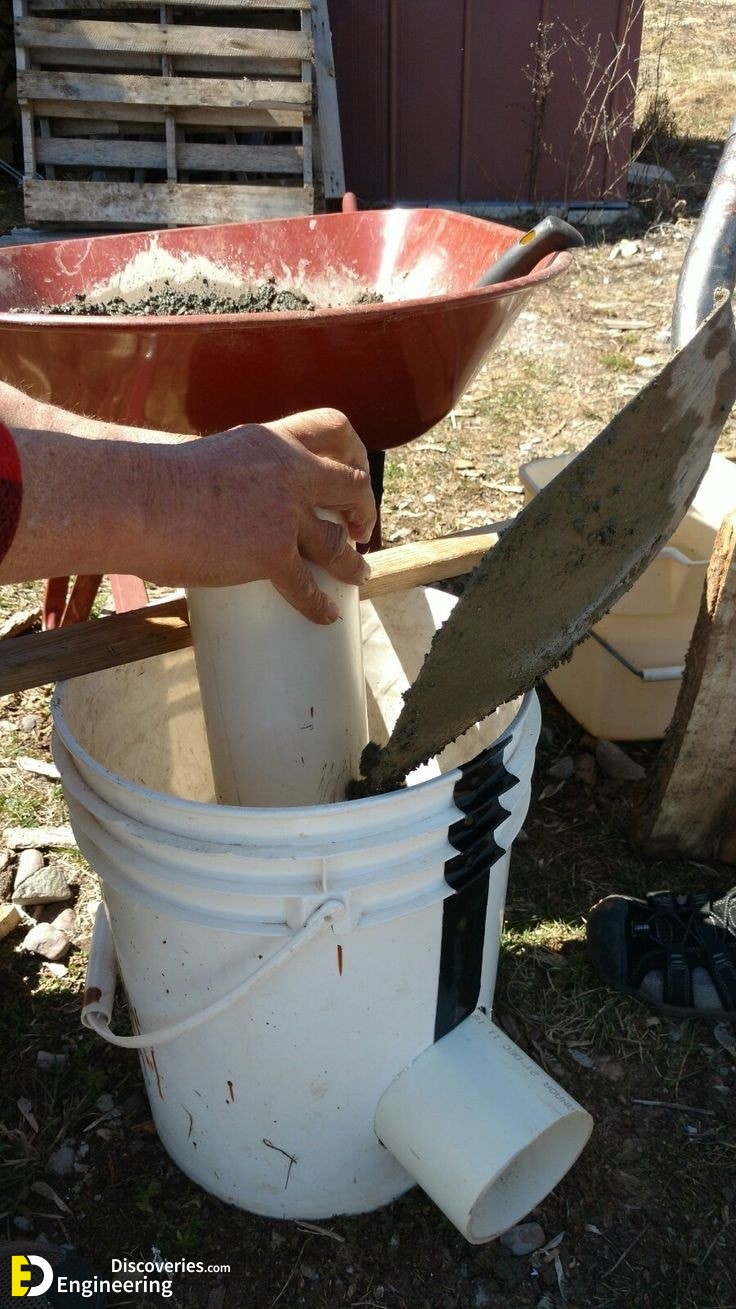
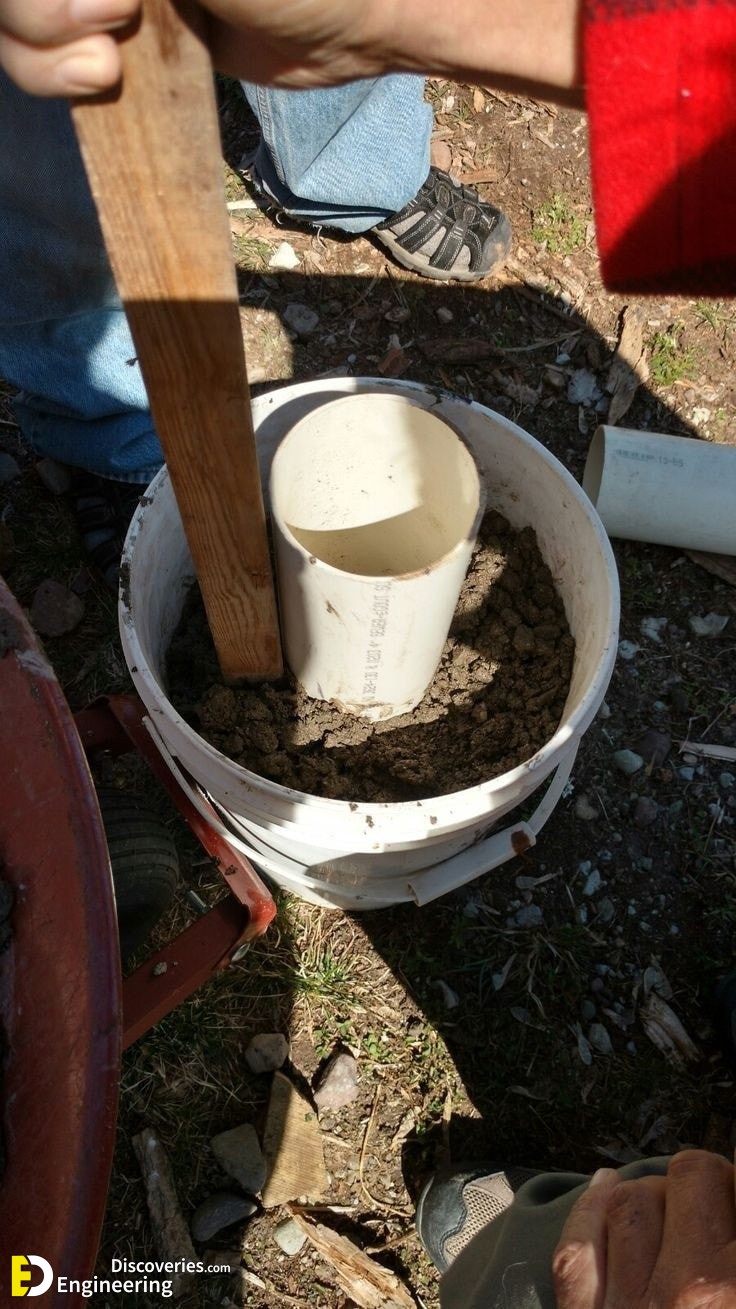
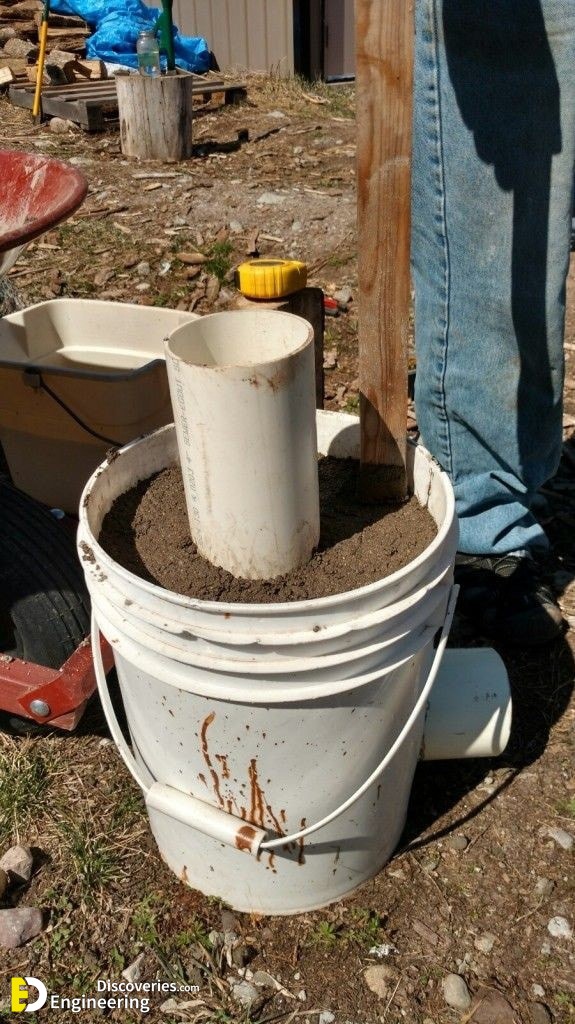
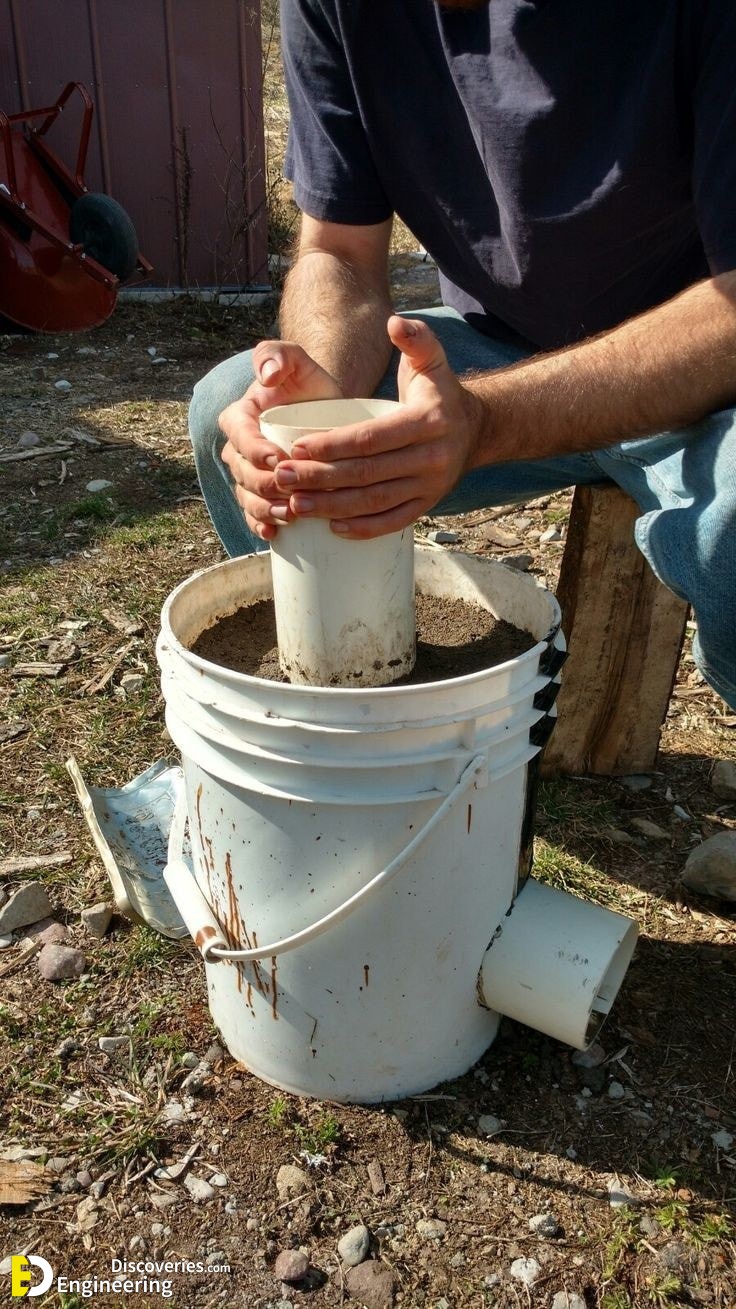
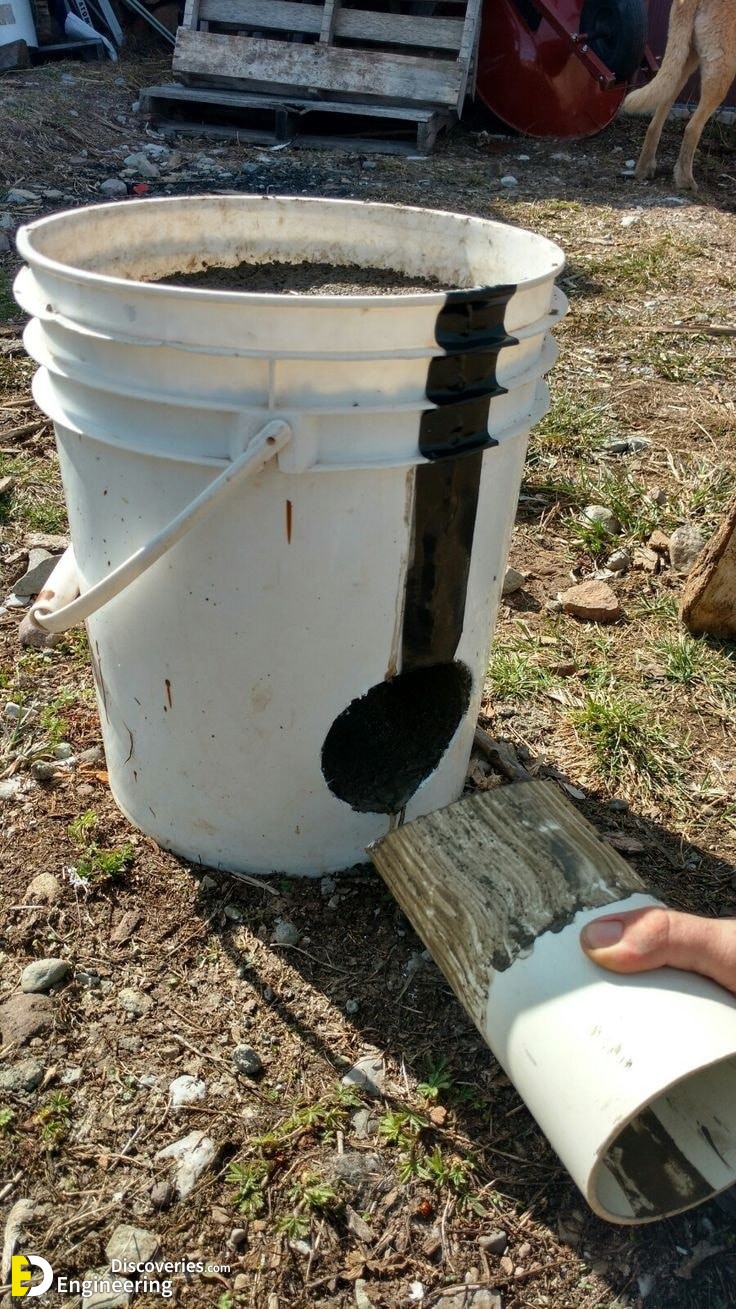
Step 7: Fill with Concrete
Fit the pipes into the hole, and fill it the rest of the way with concrete, tamping as you go.
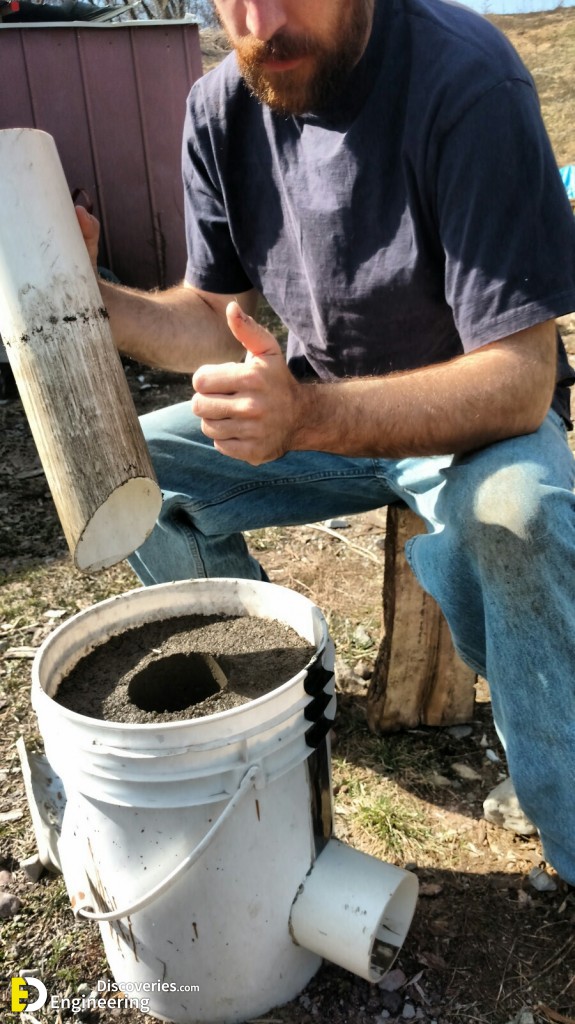
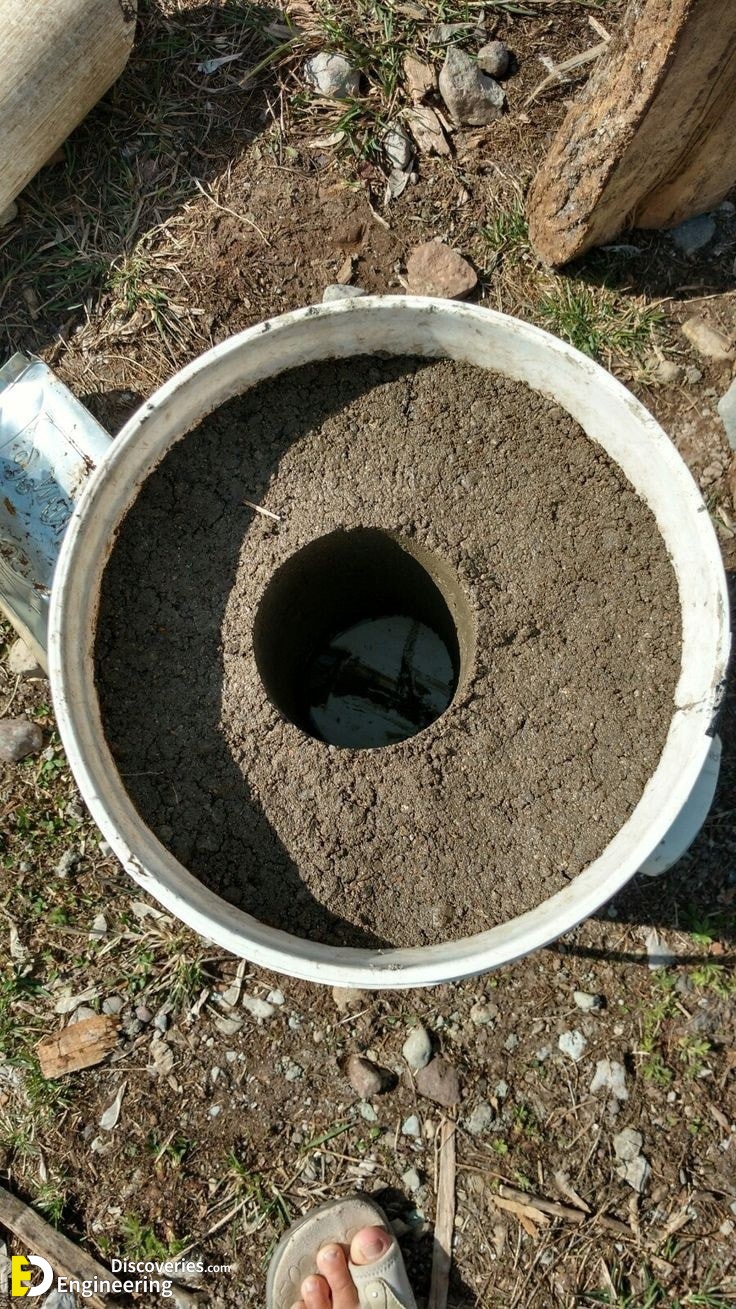
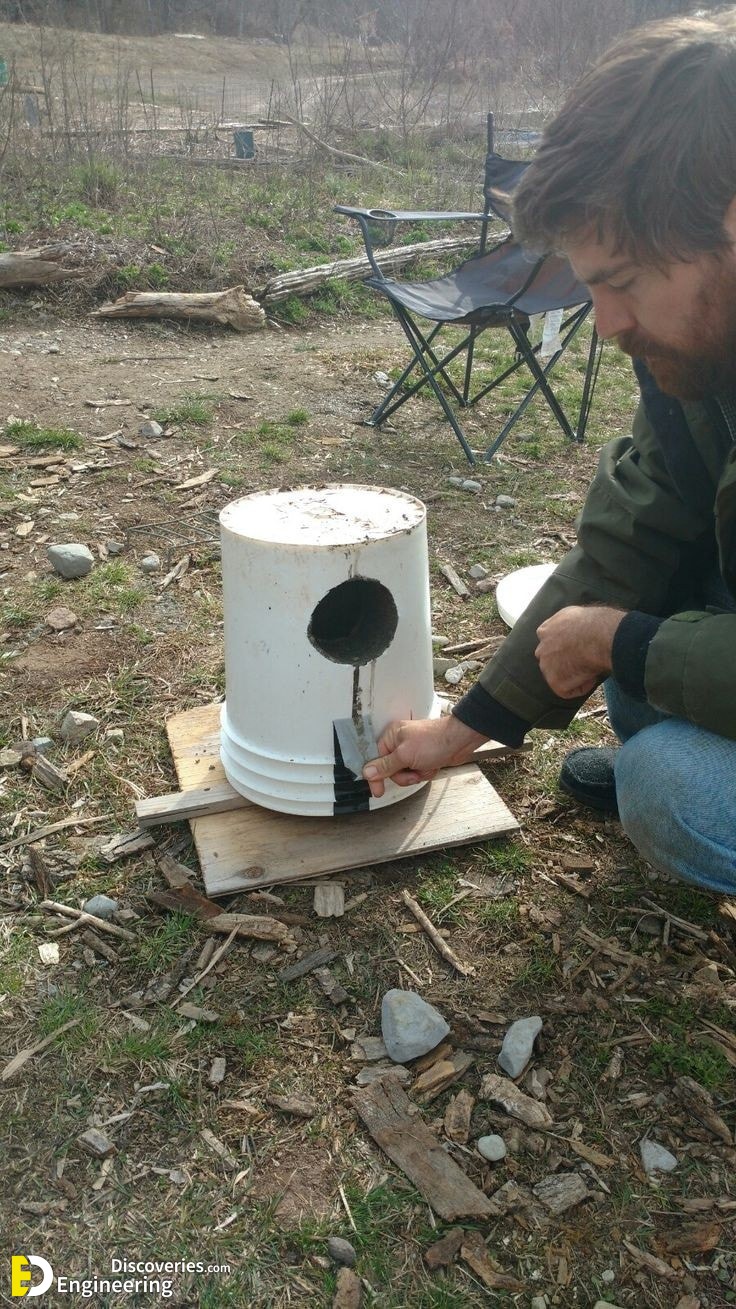
Step 8: Partially Set, and Remove Pipes
Let it sit for a couple of hours and then carefully remove the pipes by twisting a little and raising them slowly.
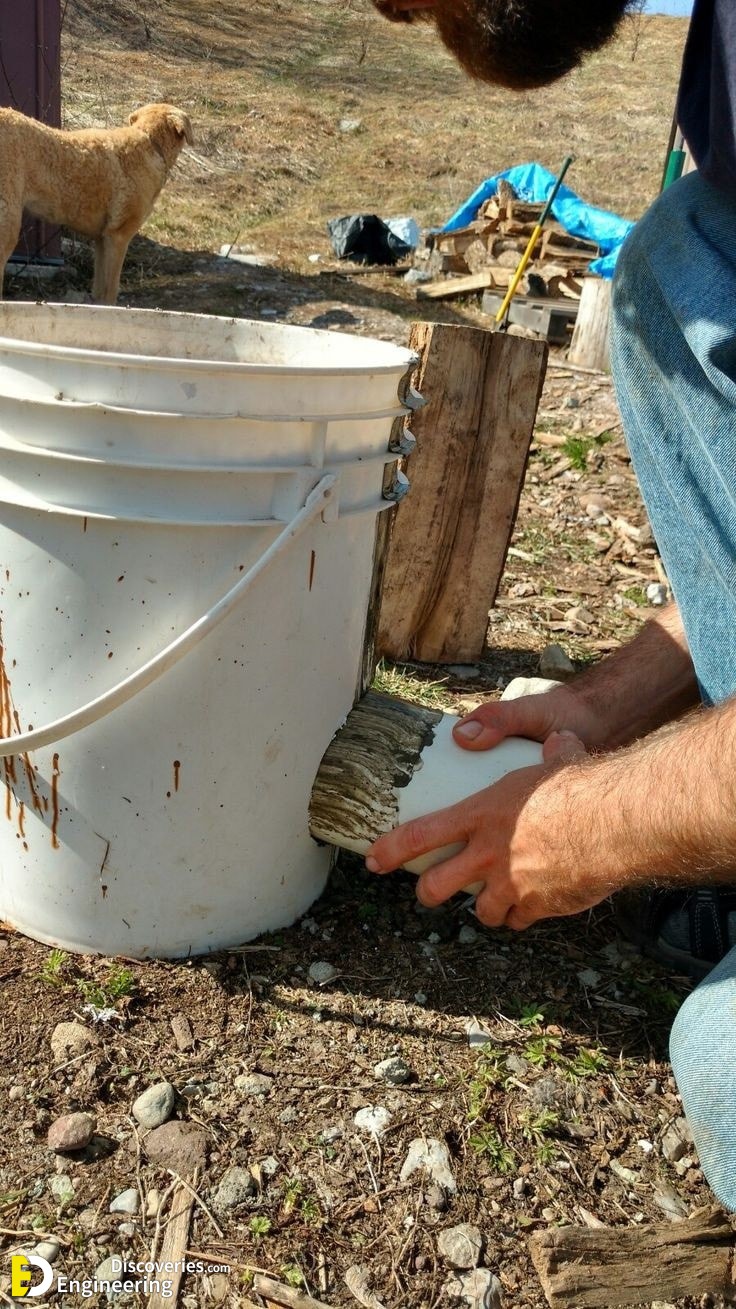
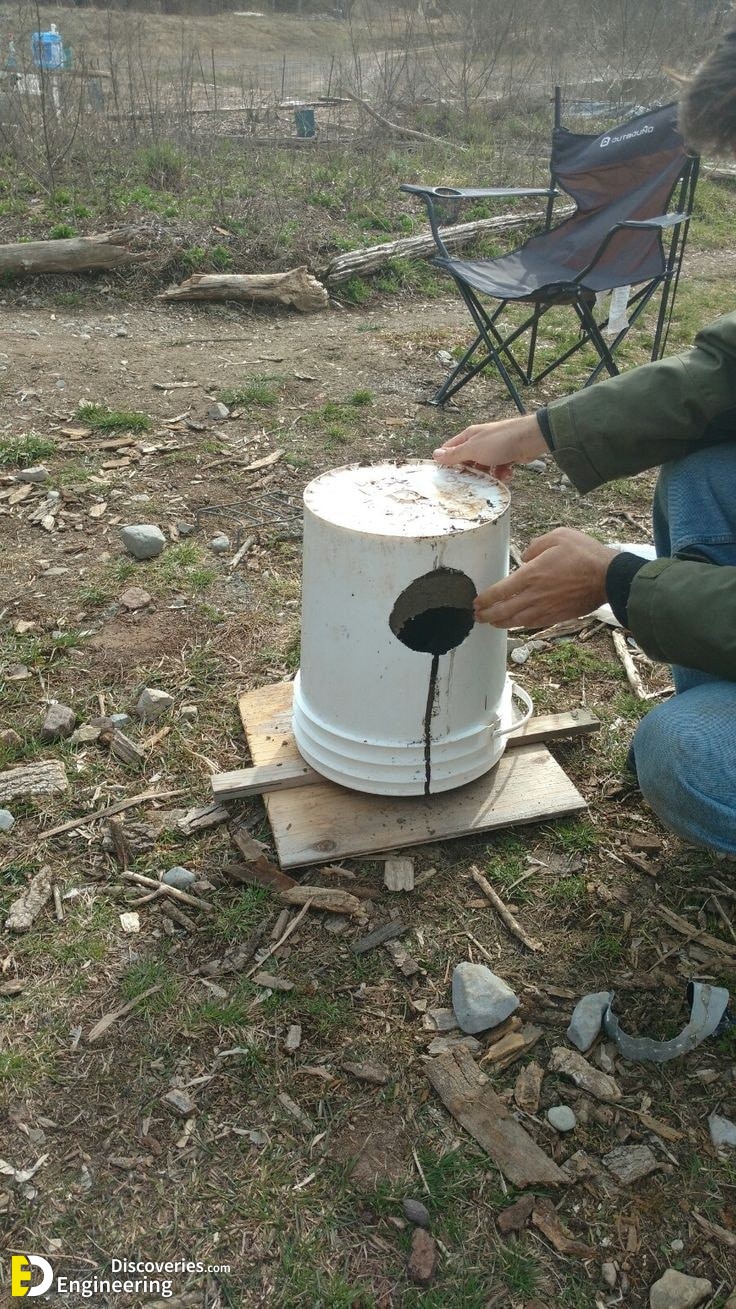
Step 9: Set Further and Remove Bucket
After a day or so you should be able to remove the bucket so the concrete sets faster. First, remove the tape, separate the release line and then carefully pull off the bucket.

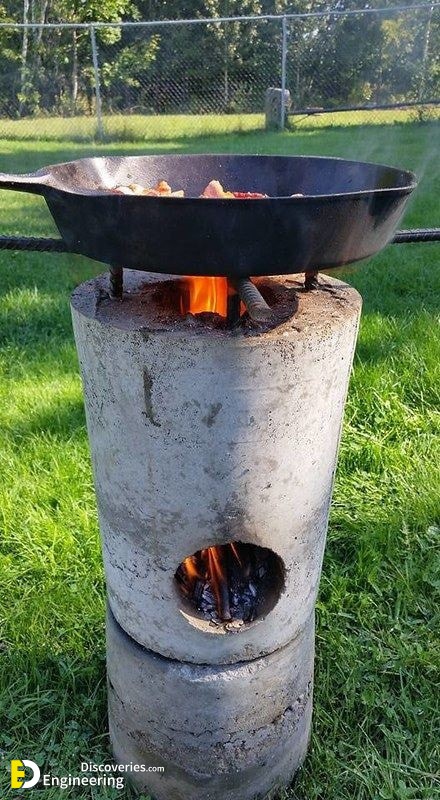
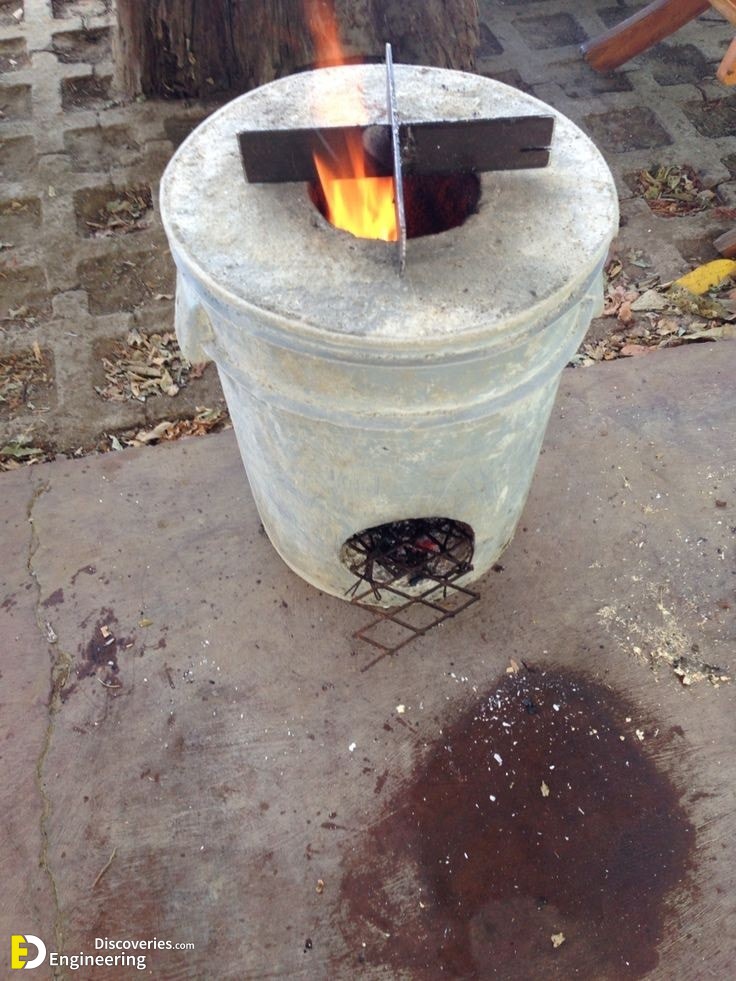
Step 10: Set Completely and Put in Fuel Shelf
After another day or two, you will notice the concrete turn a lighter grey. You can now add your fuel shelf, making an inch or so of space underneath it. Any piece of metal that you can bend and shape into the hole will do. You also may choose to place a grill on the top that gives some lift off the top of the stove to allow the air to flow out better.
That’s all there is to creating your own simple-yet-highly efficient rocket cook stove on the cheap. Consider keeping your pipes and bucket so you can quickly make more stoves for your friends and family.

Click Here To See Awesome DIY Fire Pit Ideas For Your Yard
Loading related articles...
Loading recent articles...
Loading featured articles...
