
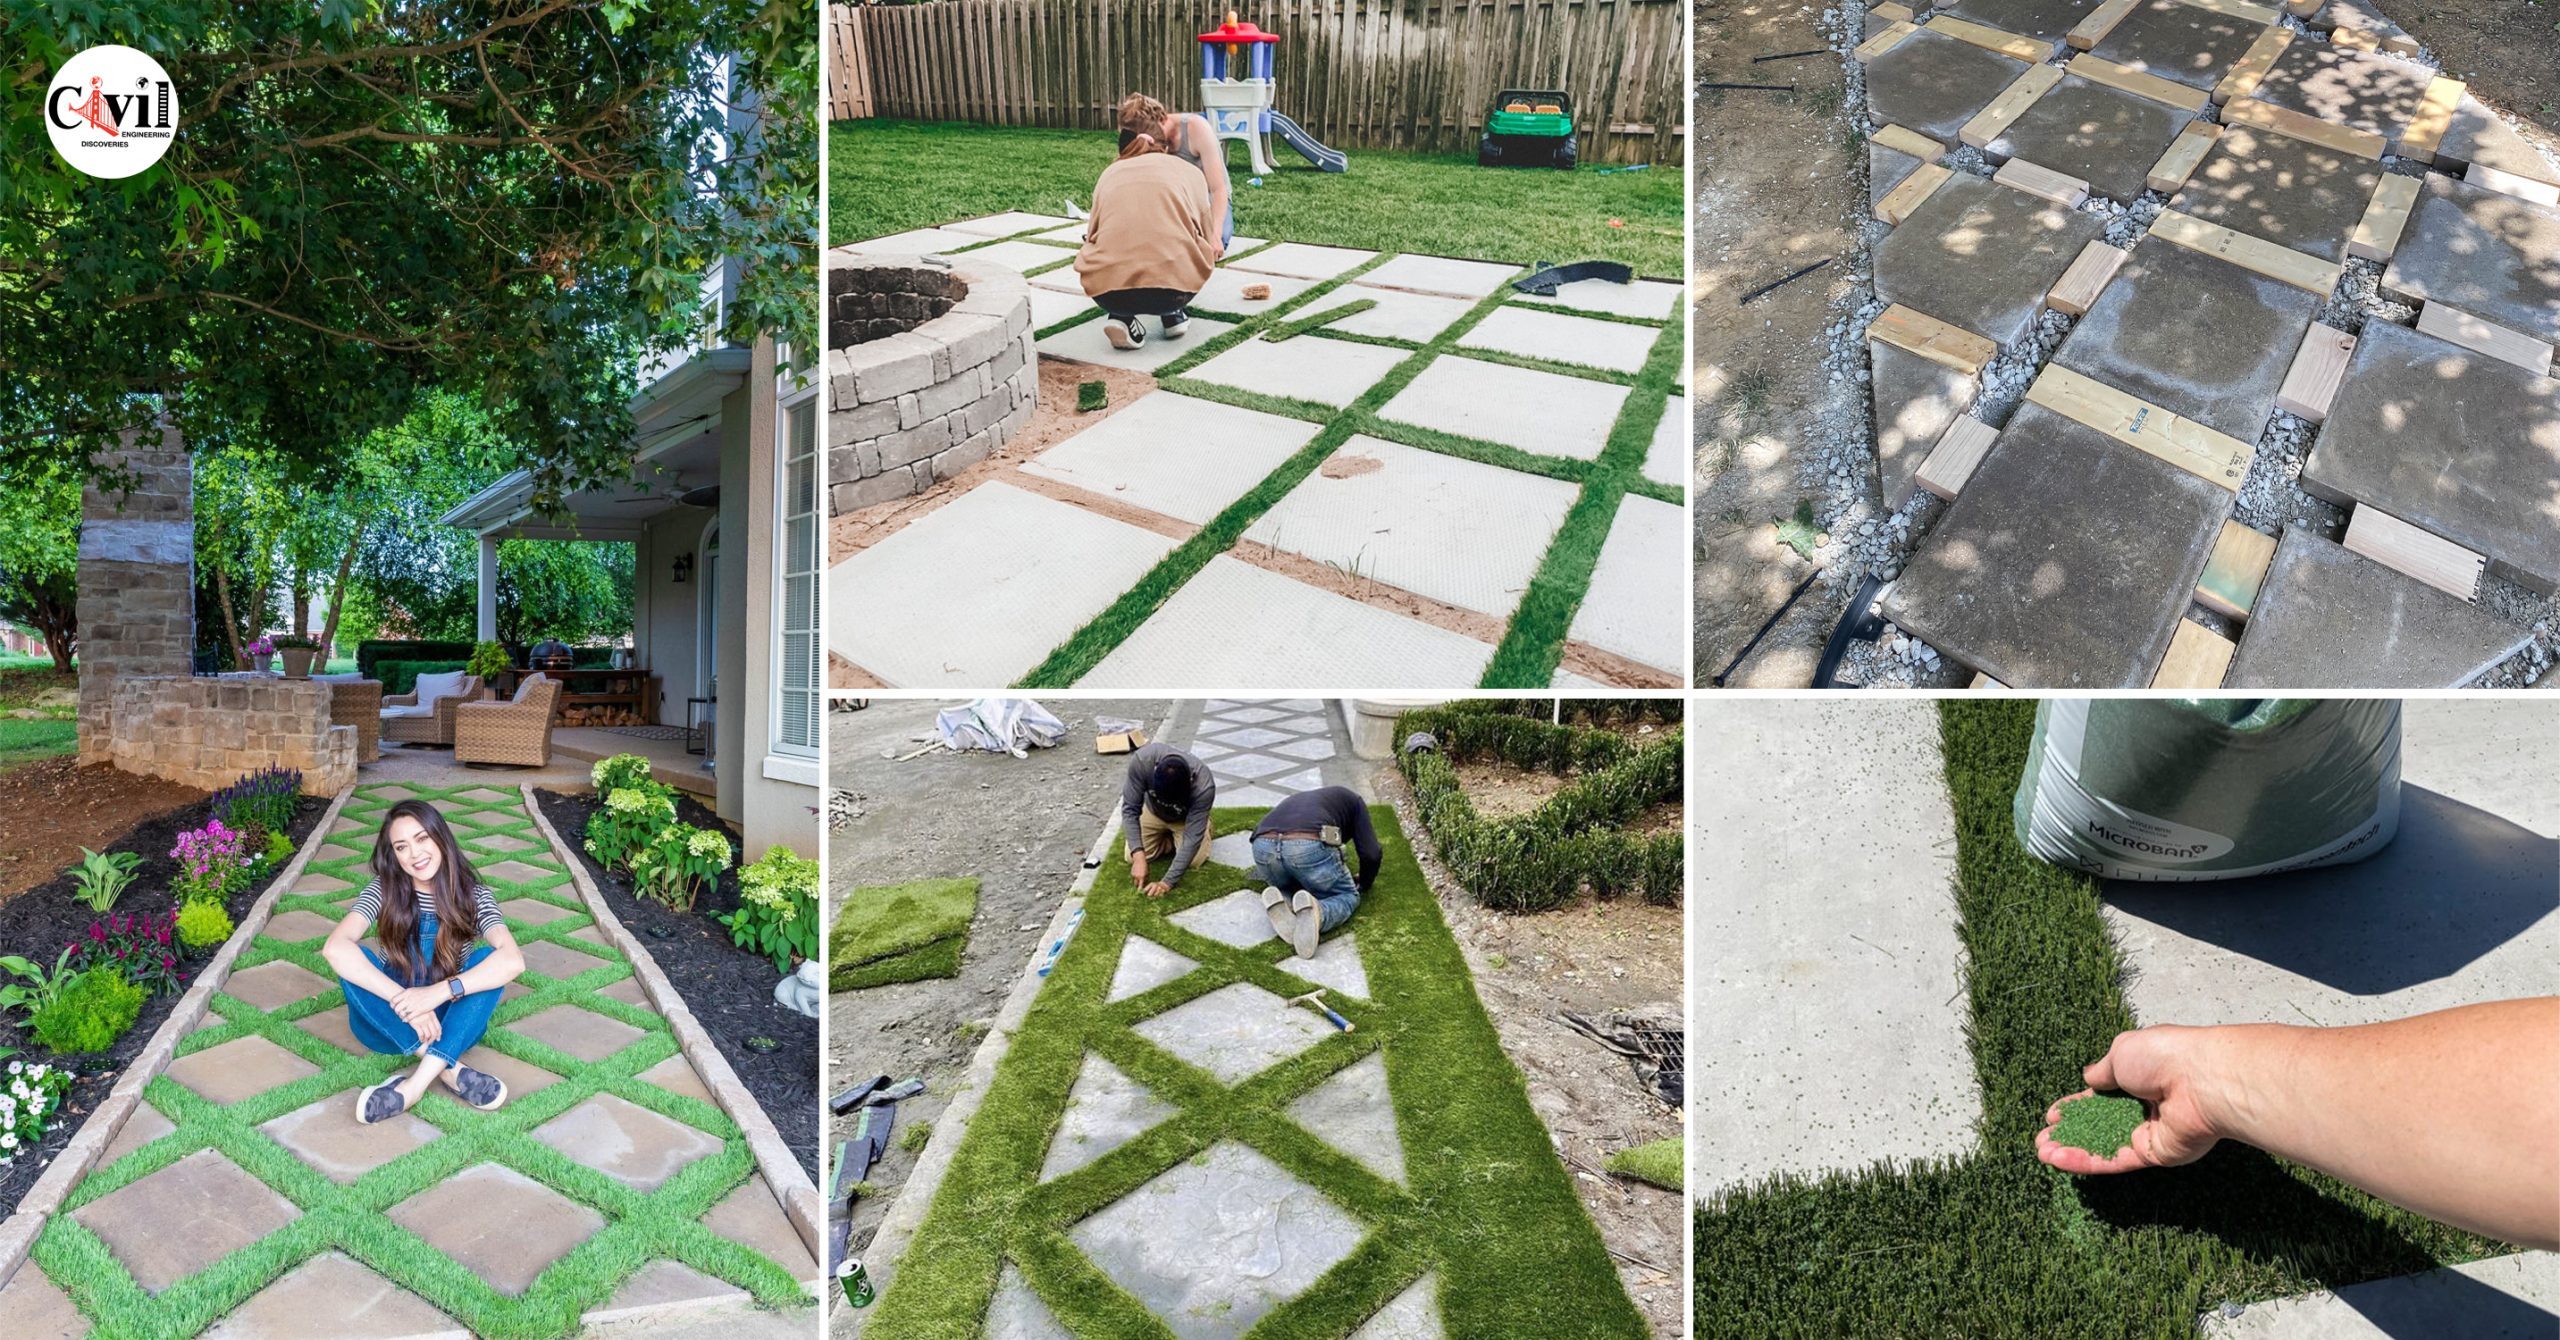
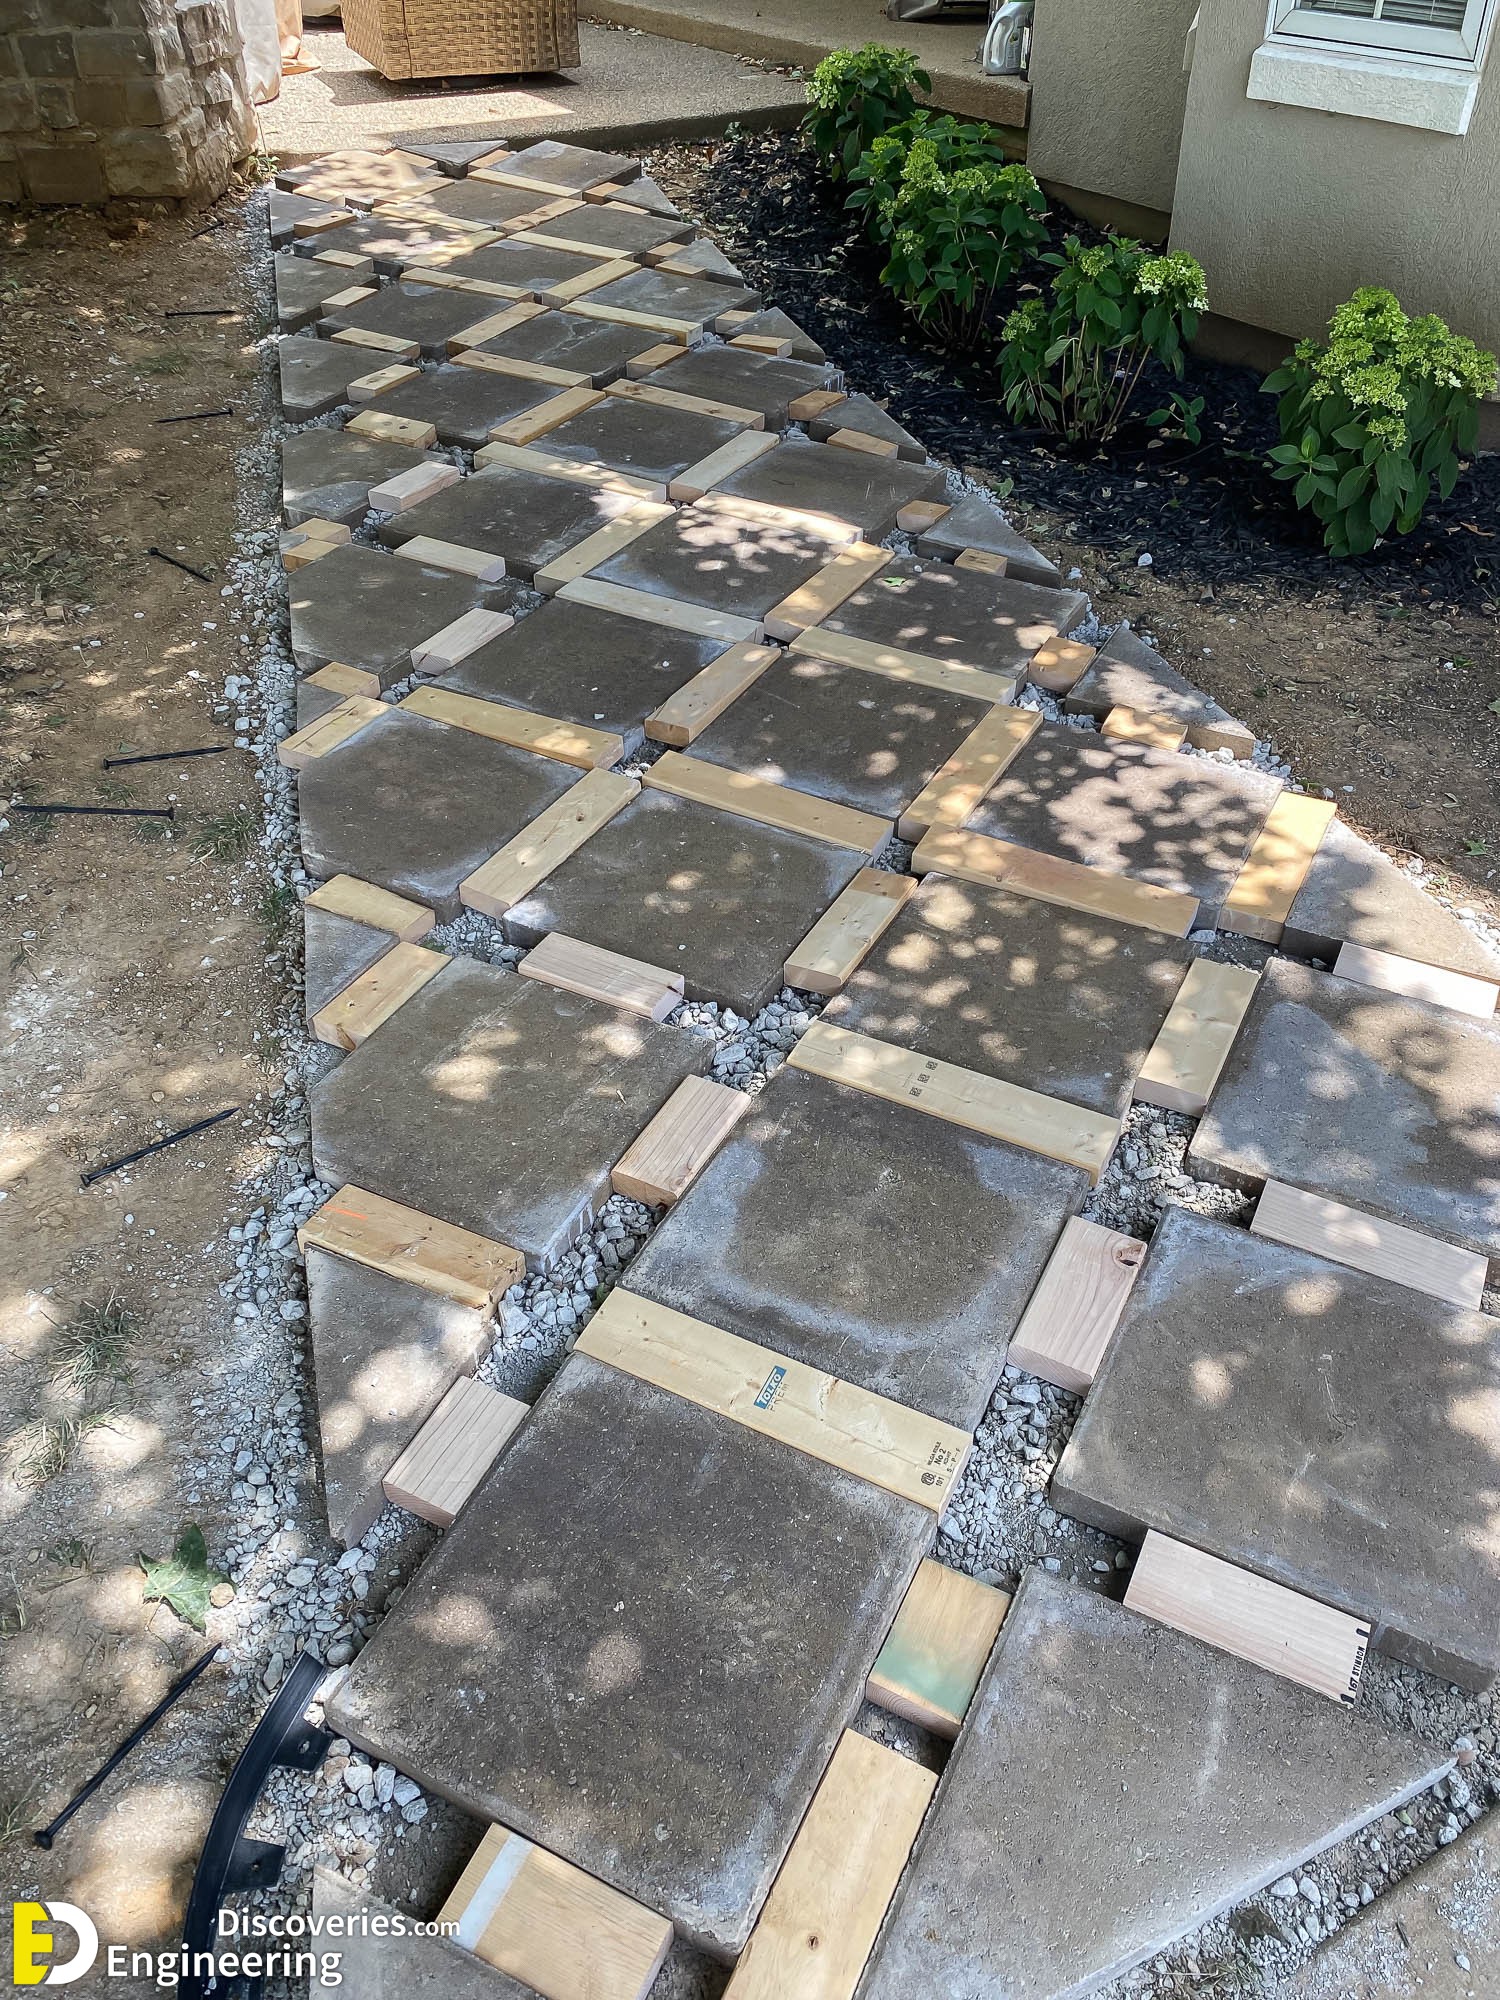
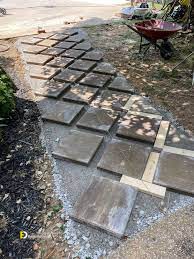
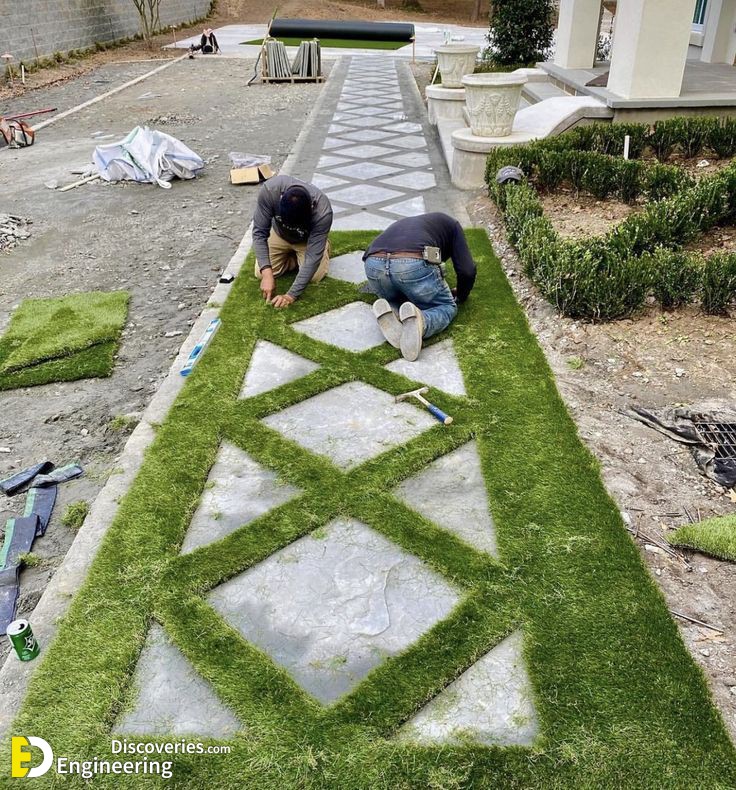
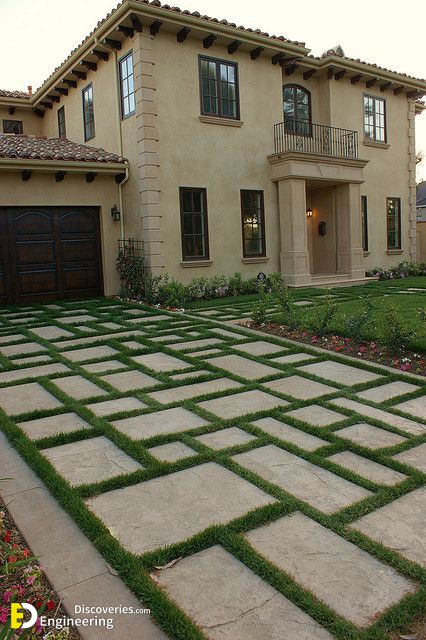
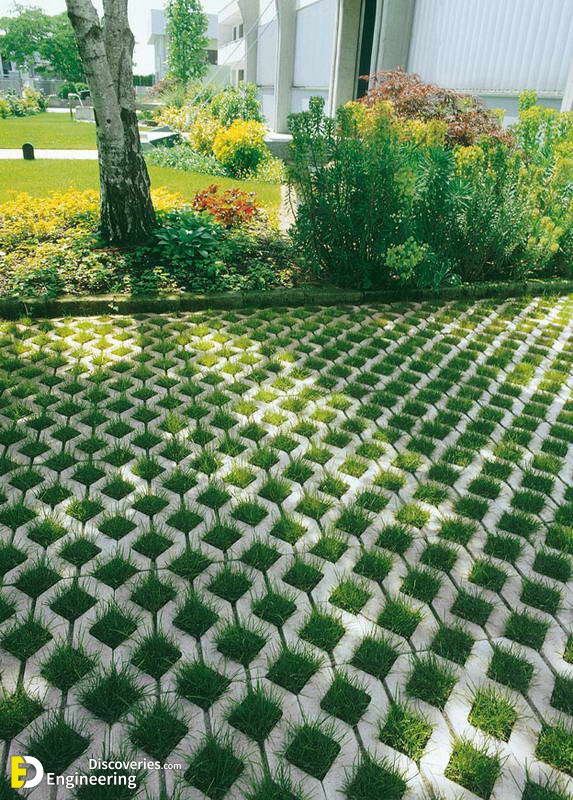
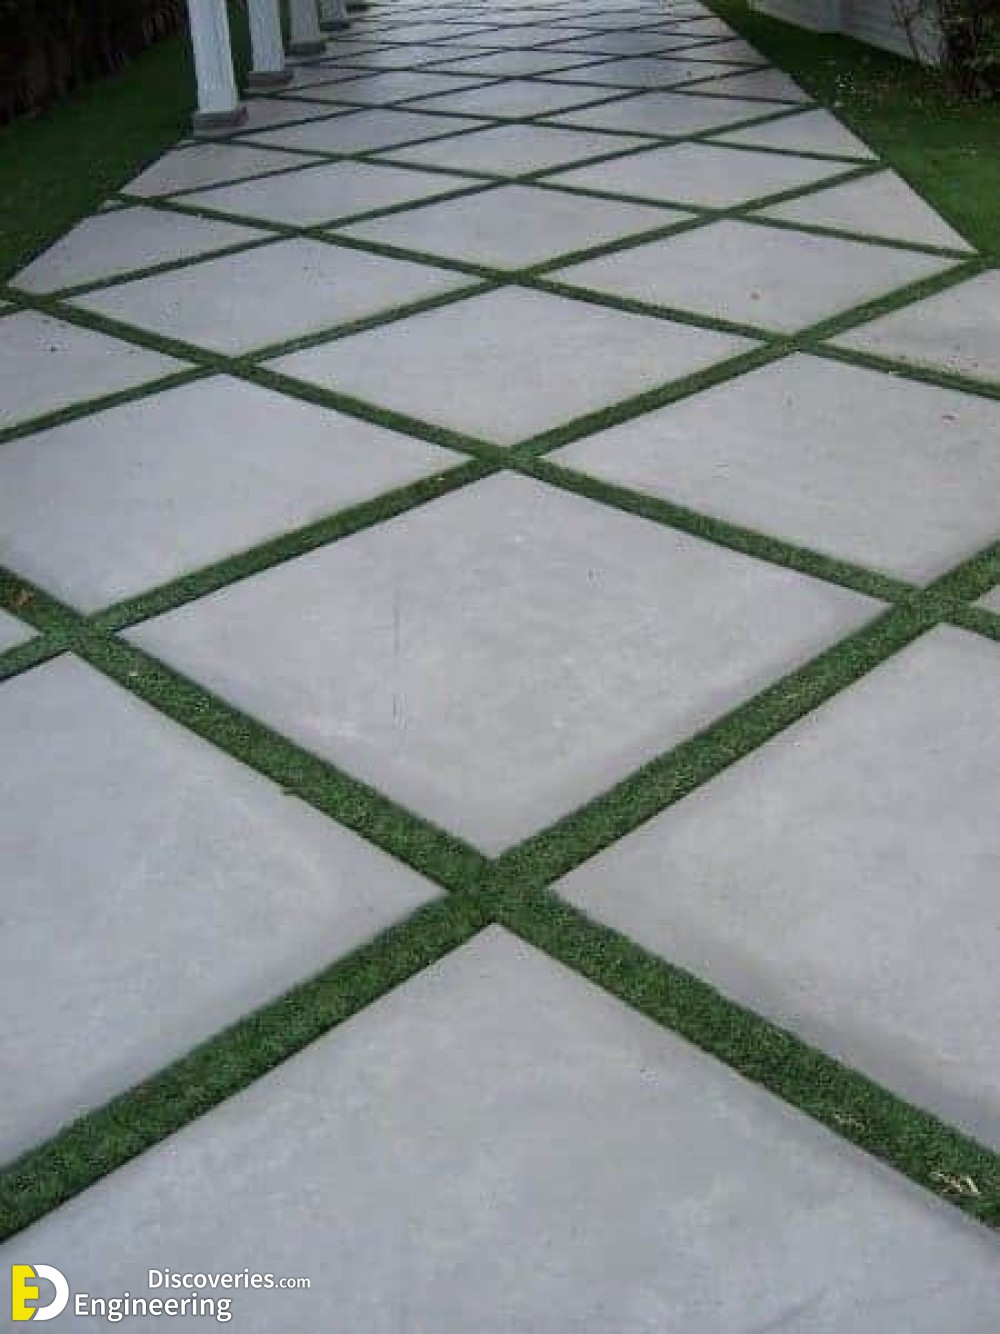
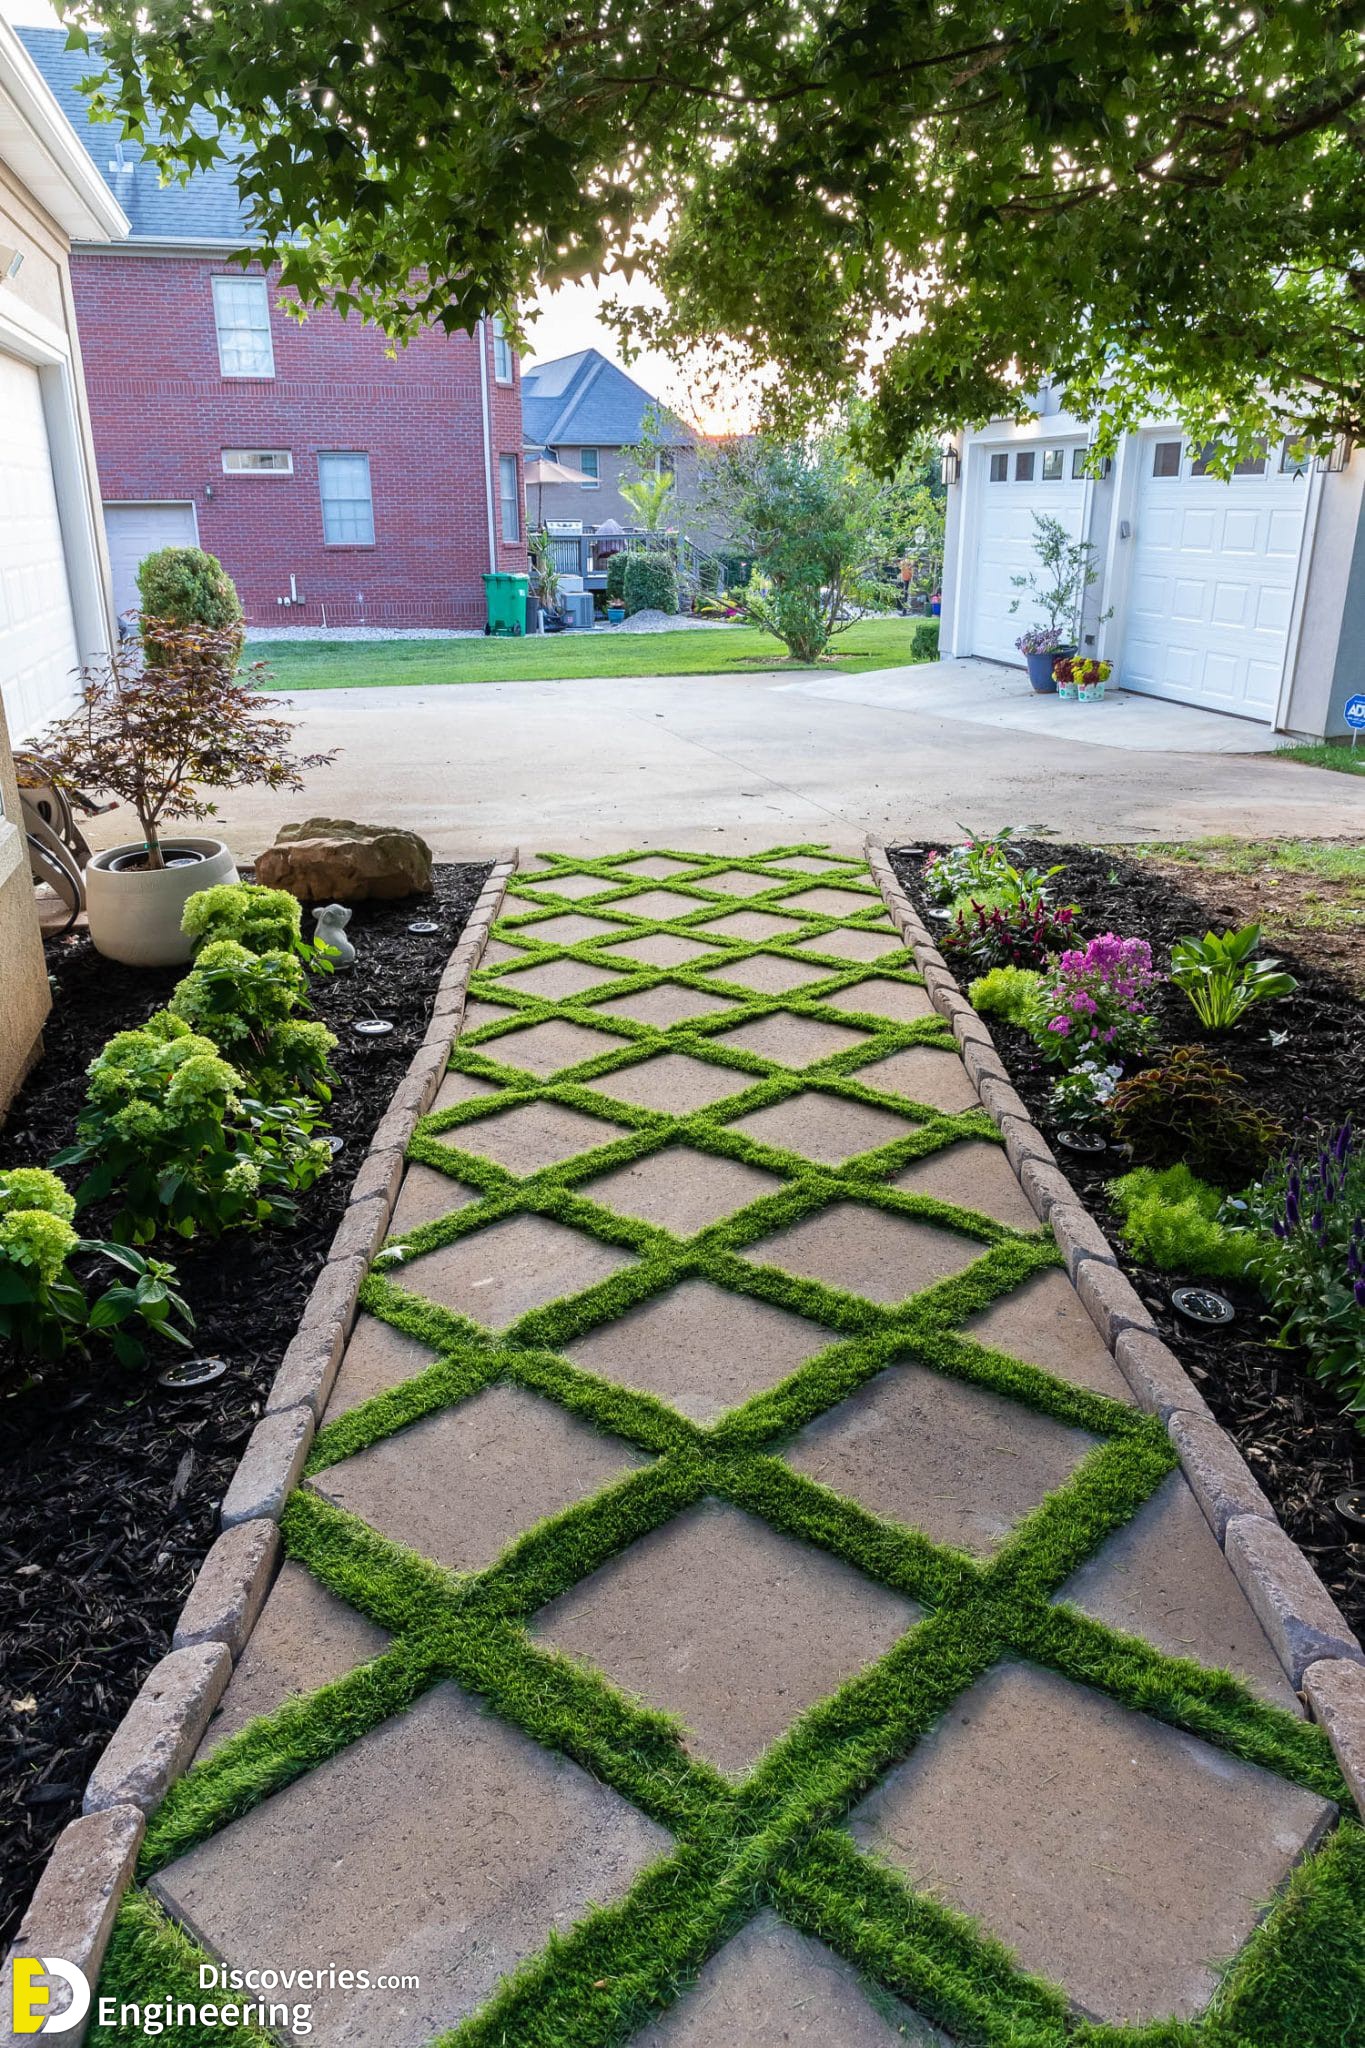
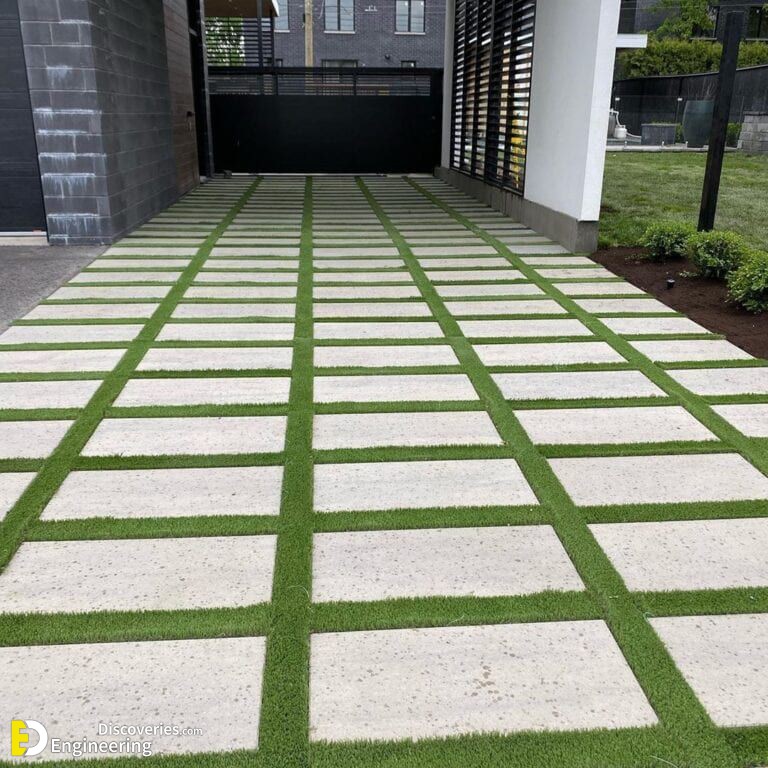
I wasn’t able to find much information online on how to achieve this “paver stones with grass in between” look, so I pretty much had to figure things out as I went along. Happy to share what we did so you can do it too! This paver walkway is about 4 1/2 feet wide by 20 feet long and this project took about 3 days and just under $1,000 in supplies and tool rental to complete.

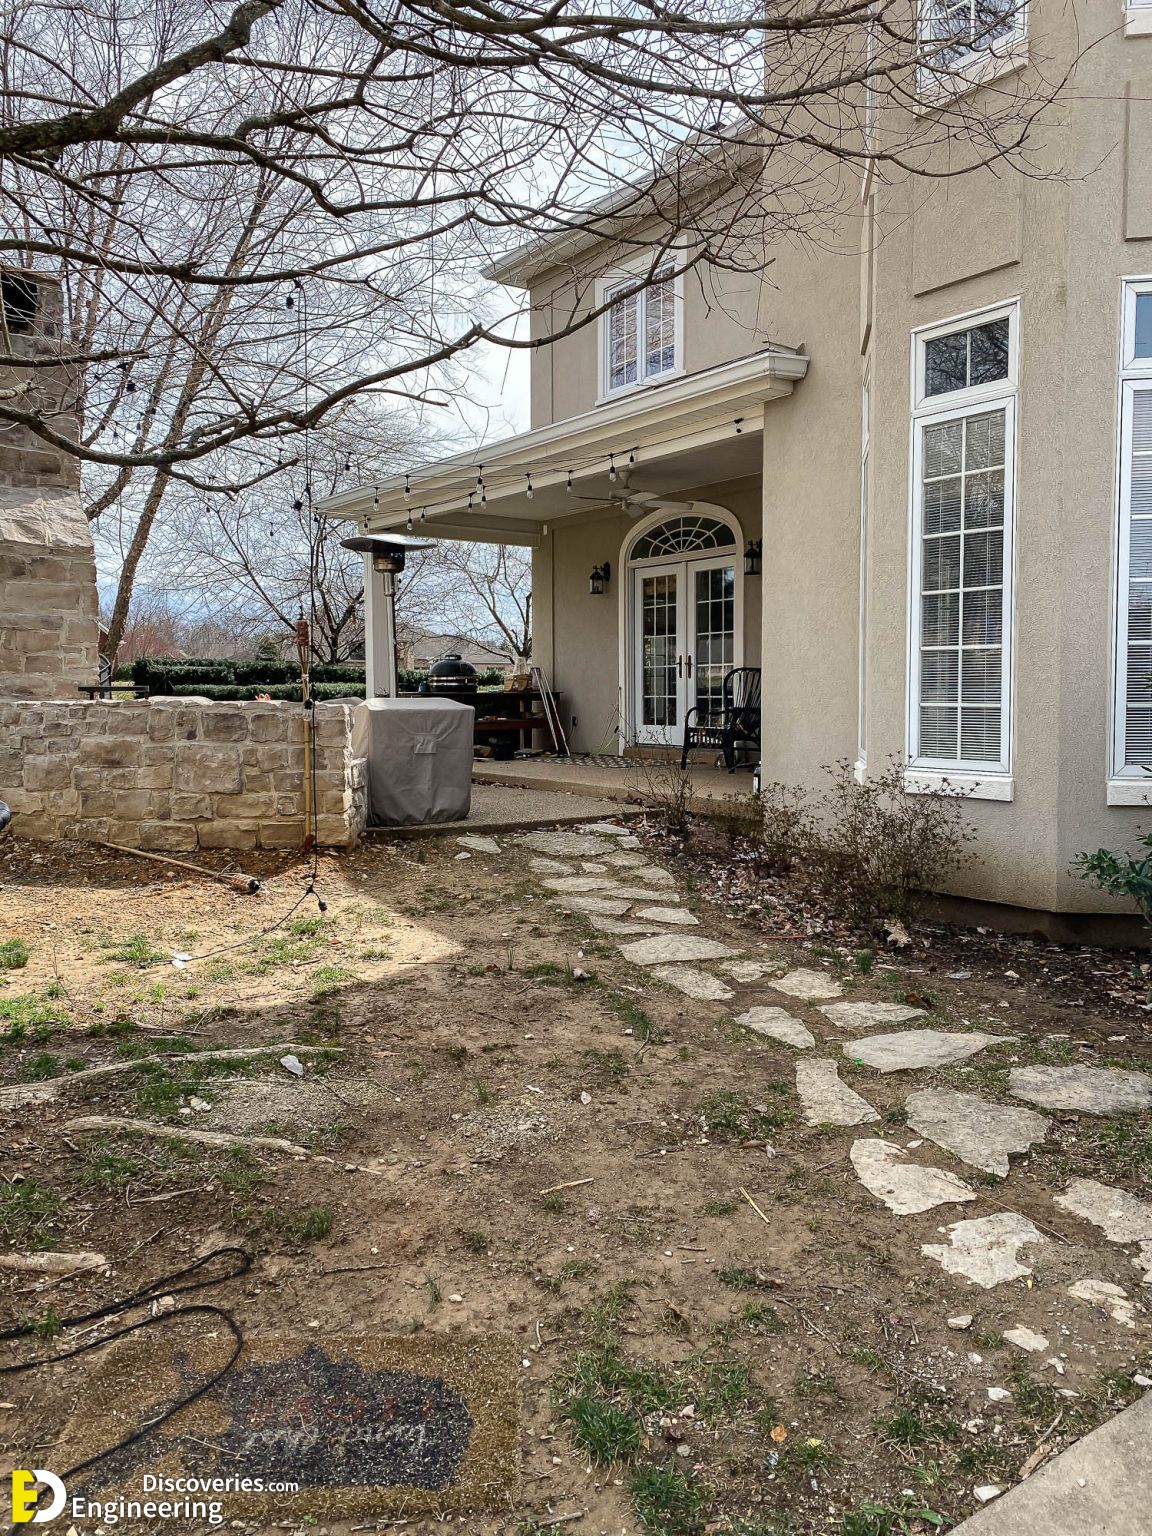
Before
This is what the space looked like before we installed the paver path. It was a hot mess – we moved in and pretty much just neglected the area for close to 2 years. There was a lot of dirt, some sad patches of grass and weeds, a few trash bushes (that’s literally what they call them around here: “trash bushes”), and a haphazard flagstone path. The flagstones were really beautiful, but they were very awkward to walk on and were causing some flooding issues whenever it rained. We really needed to spruce up this area, especially after building our gorgeous outdoor fireplace.

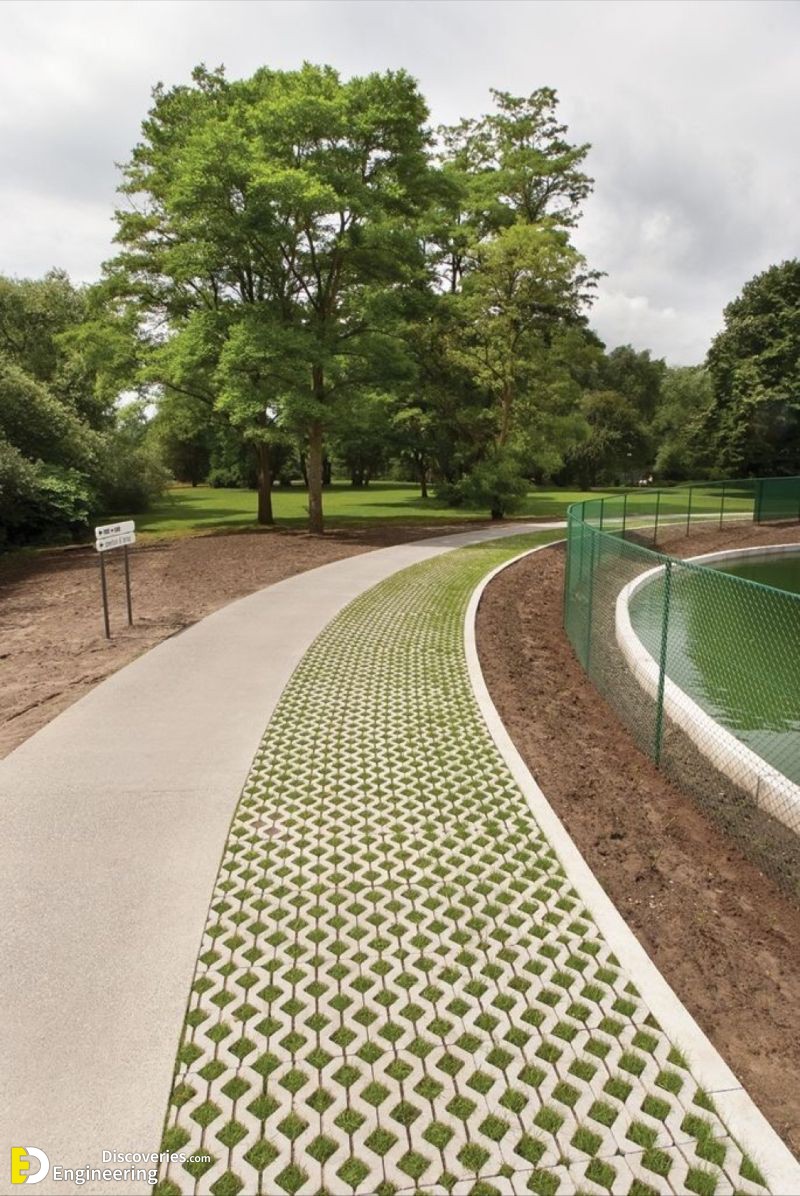
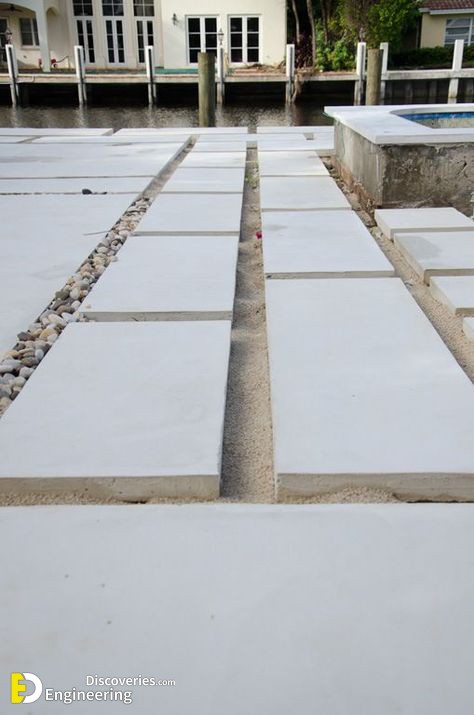
HOW TO LAY A PAVER WALKWAY WITH GRASS IN BETWEEN
Tools and Materials
- Shovel, rake, and mattock
- Tiller (optional)
- Manual tamper
- Chalk reel
- 14-inch Plate compactor
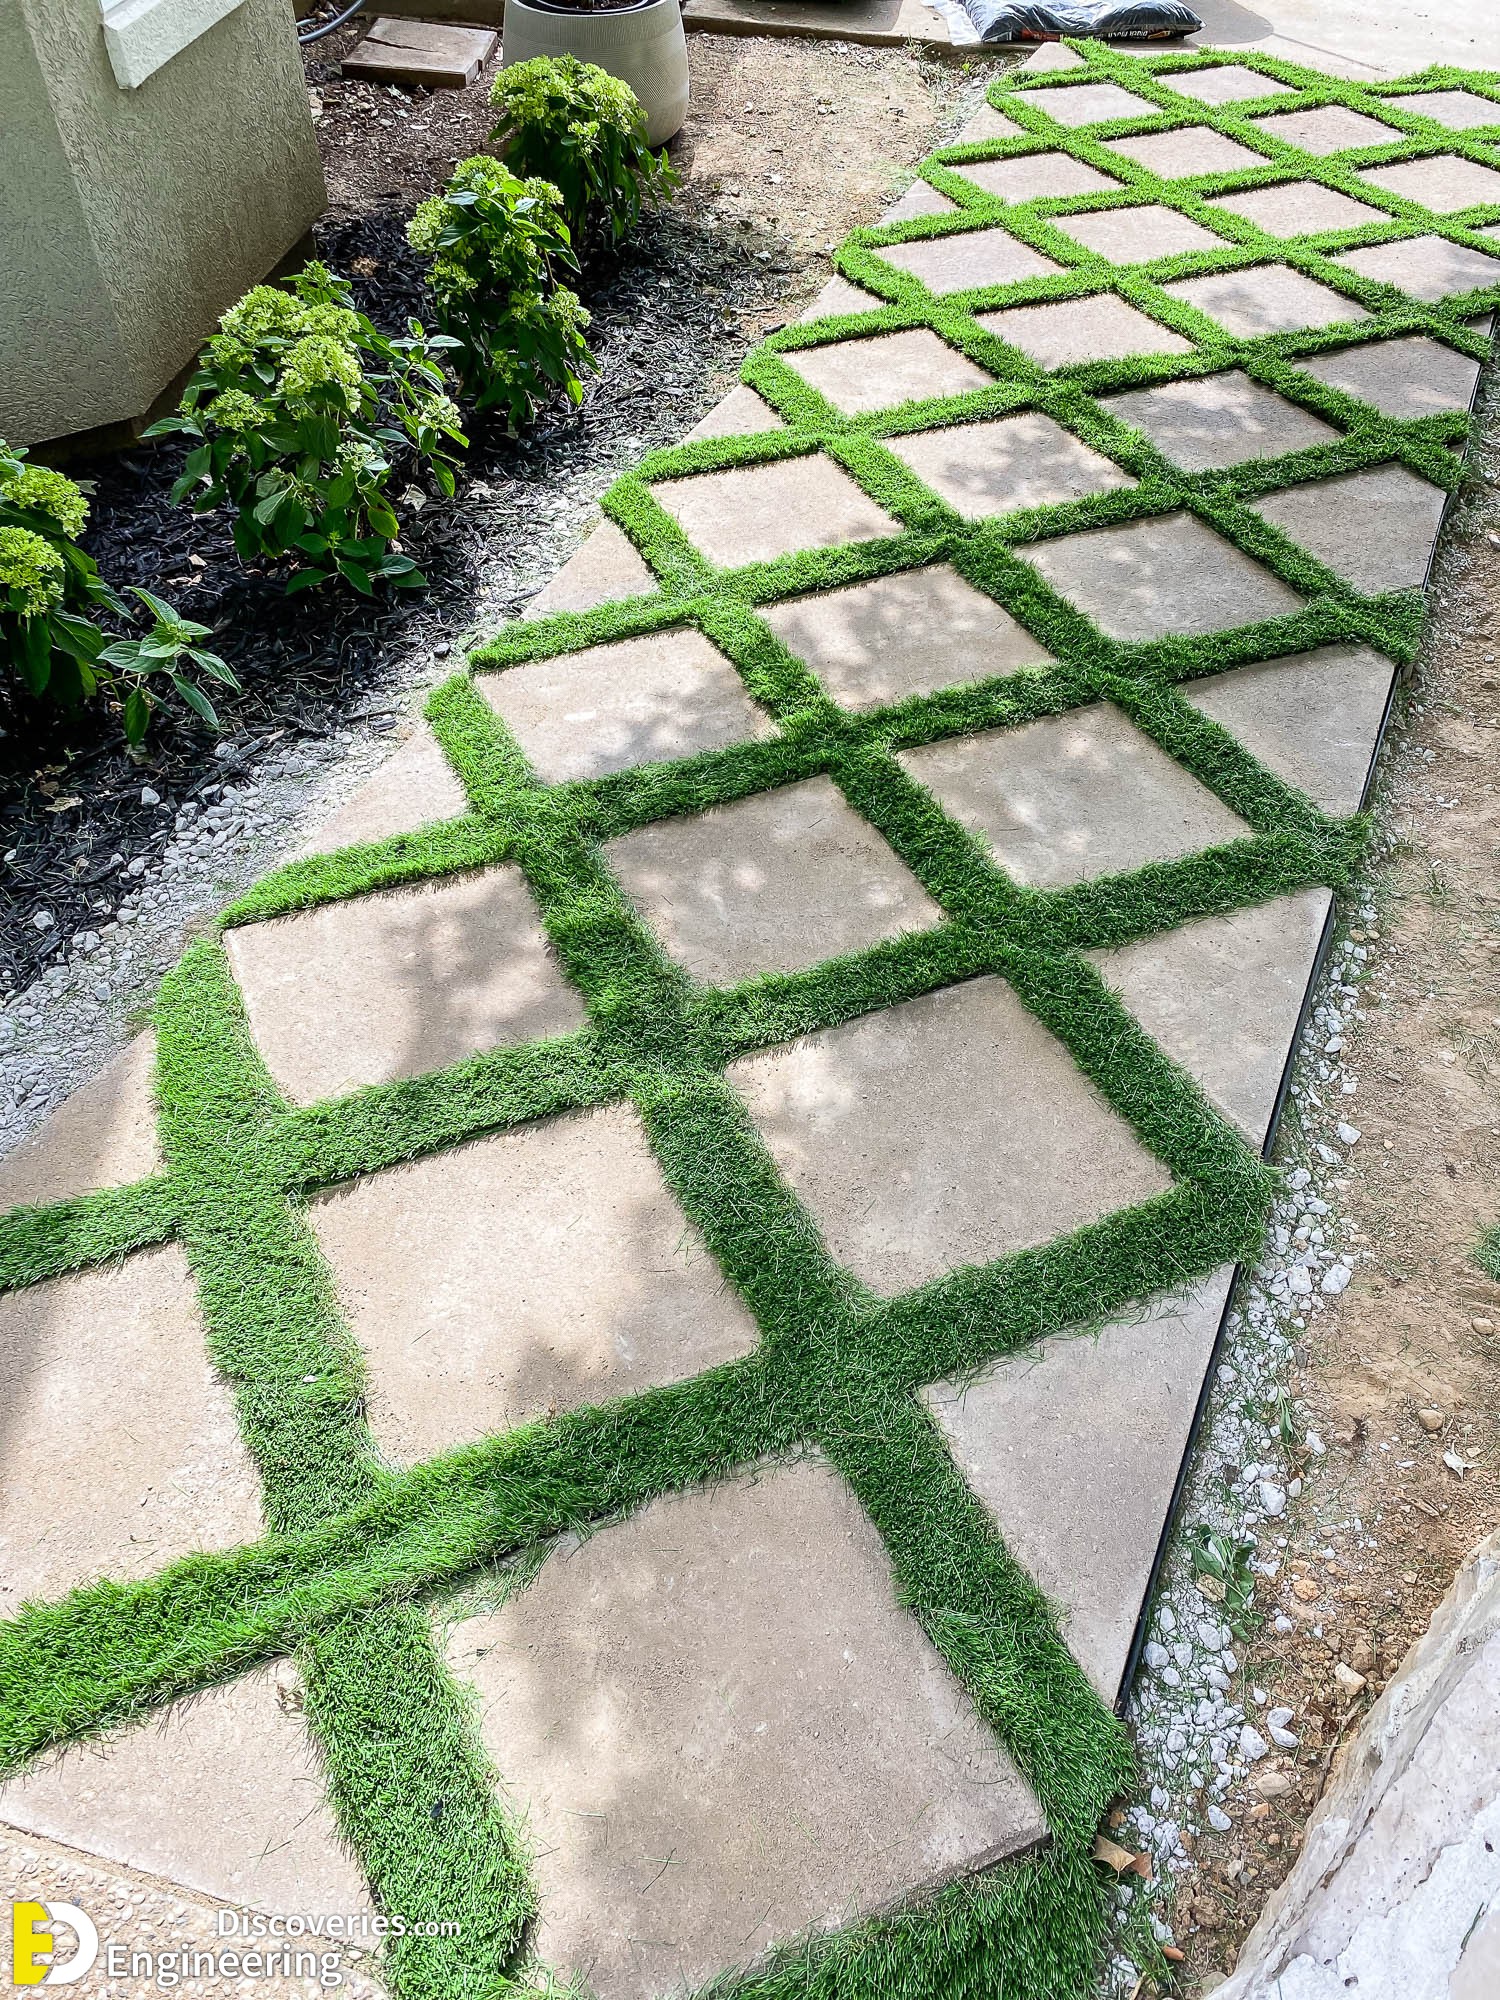
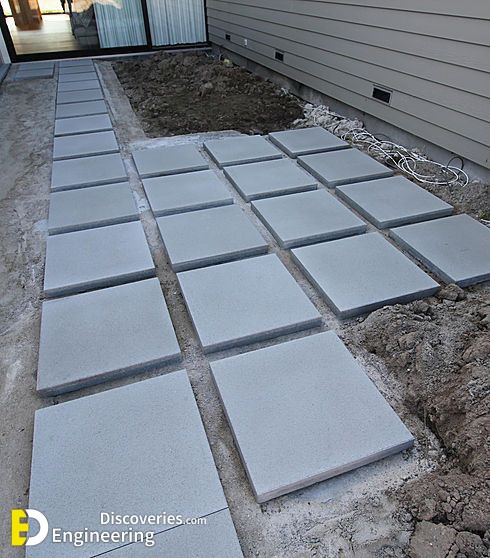
- 16-inch x 16-inch Paver step stone (Pecan)
- Paver base
- Paver sand
- Landscape edging and anchoring spikes
- Landscape staples
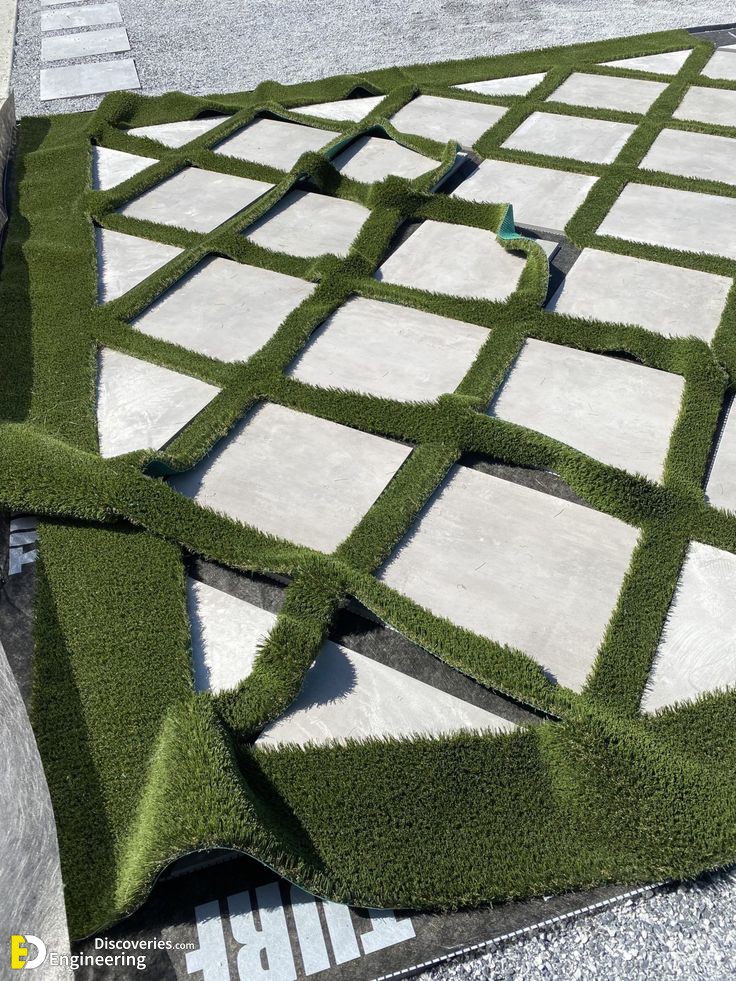
- Artificial grass
- 2×4 scrap wood
- Saw with a masonry blade or angle grinder
- Scissors, shears, or utility knife
- Mallet
- Safety gear (safety glasses, dust mask, hearing protection, work gloves)
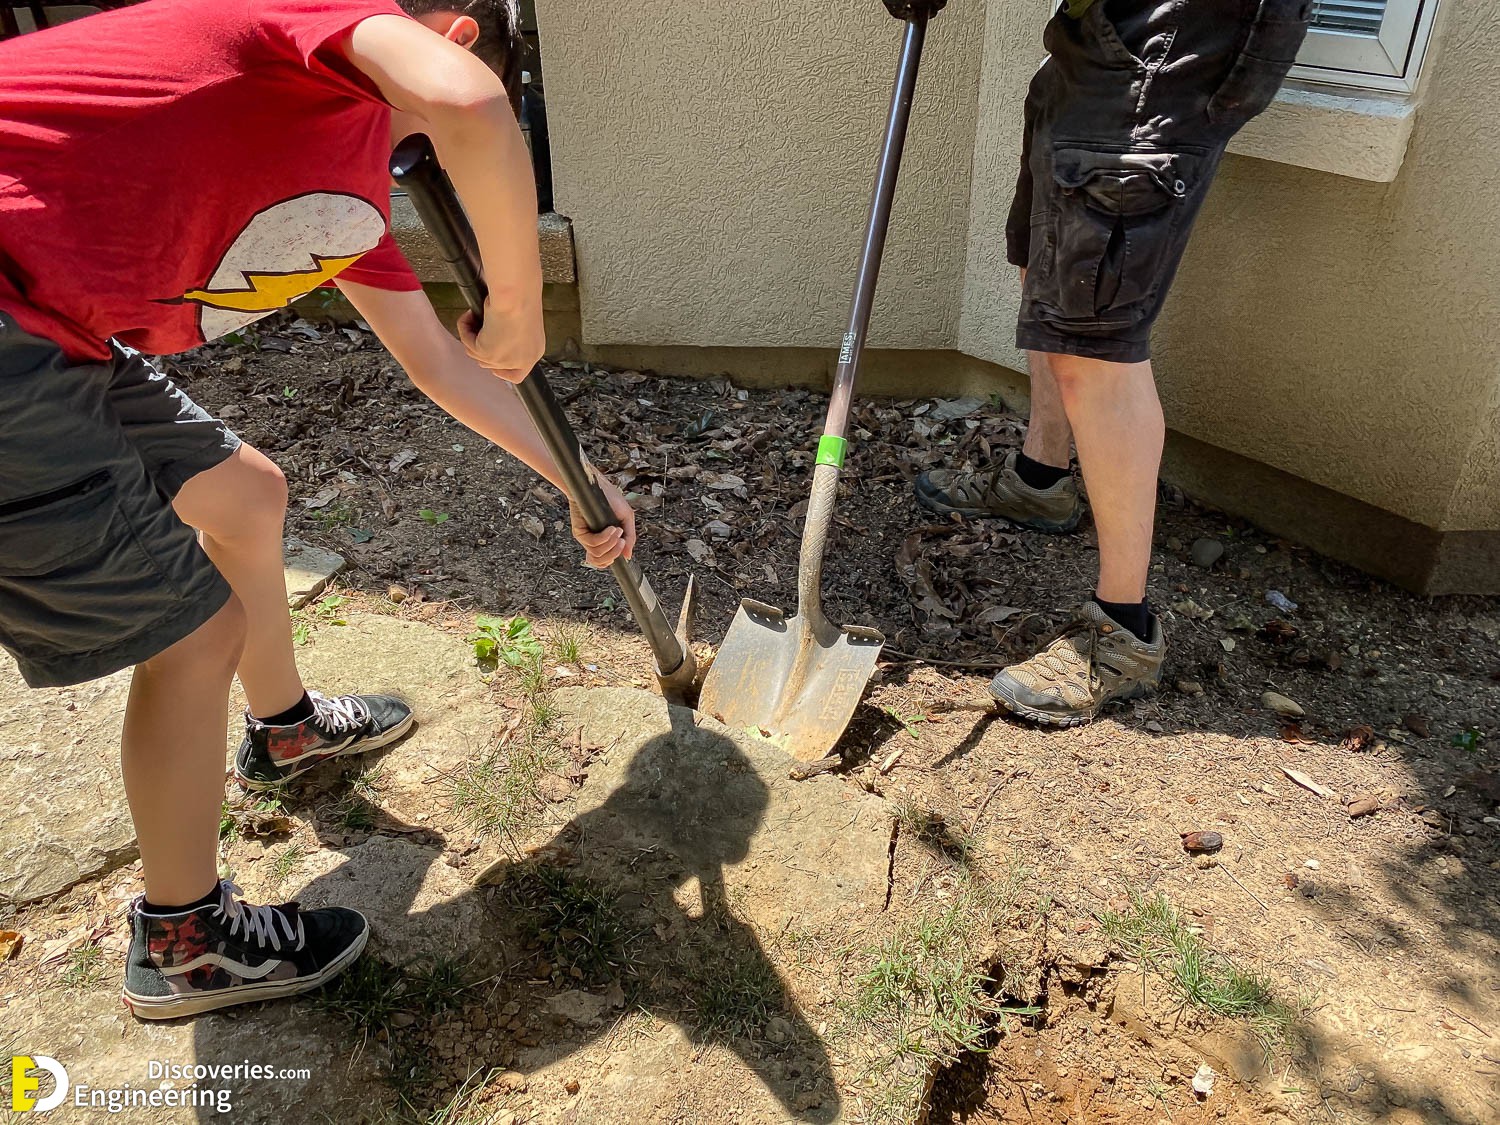
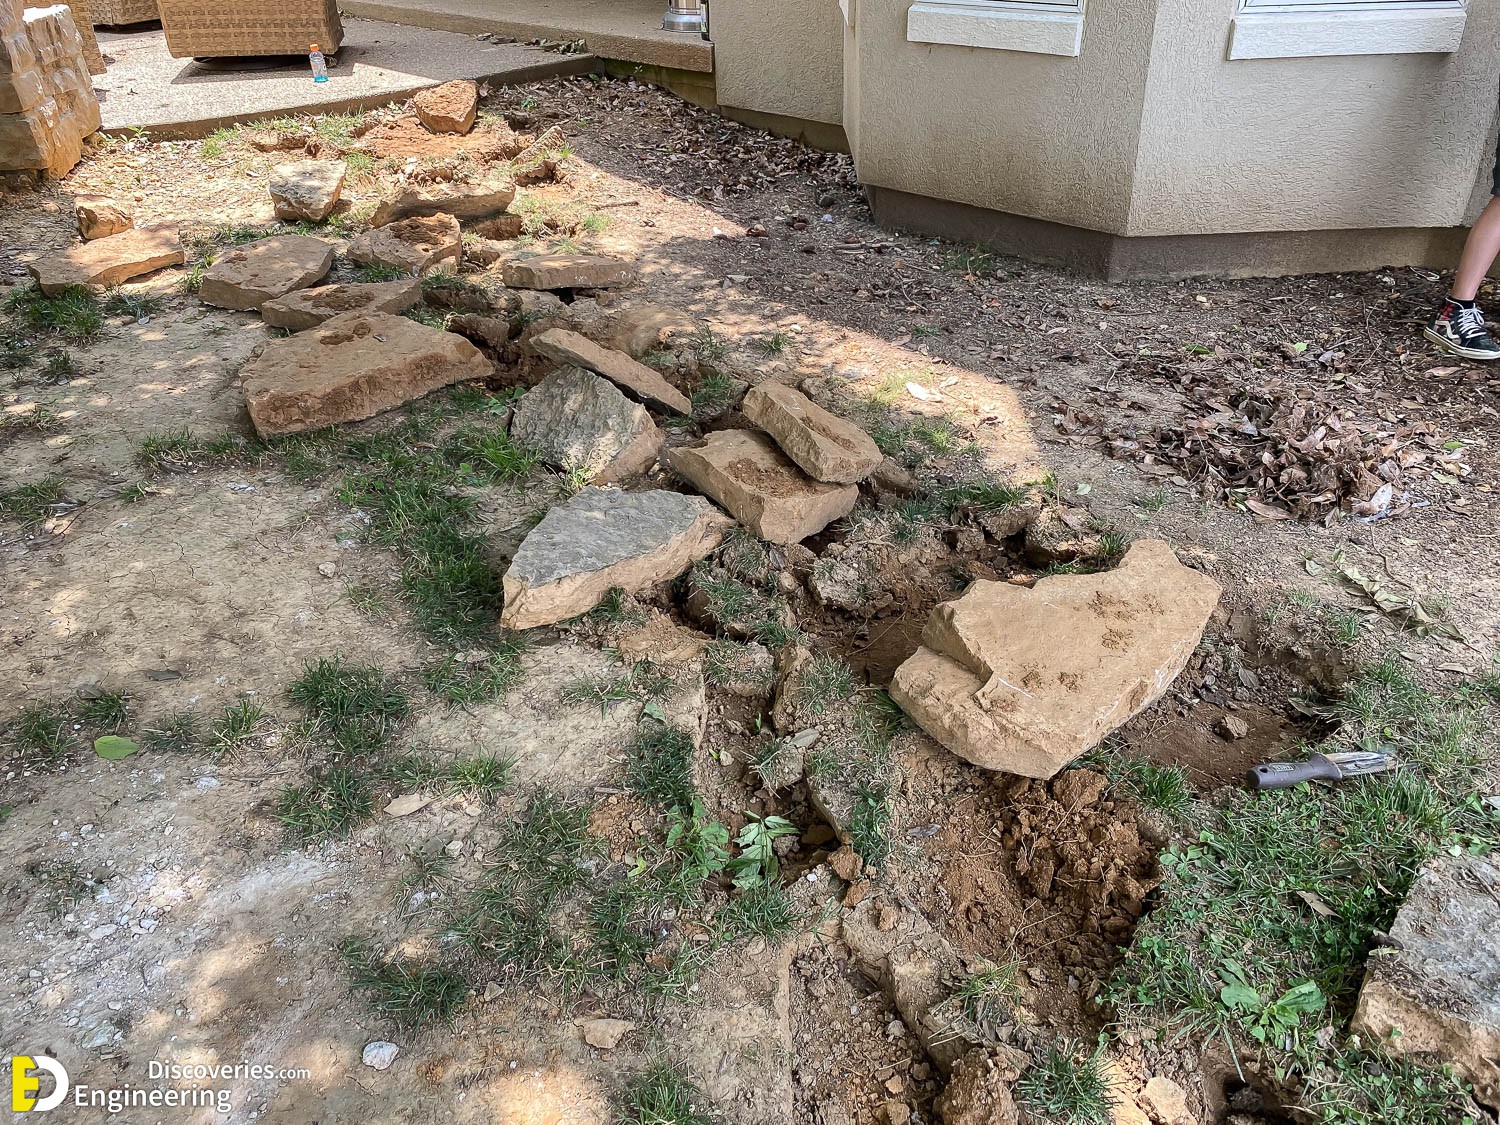
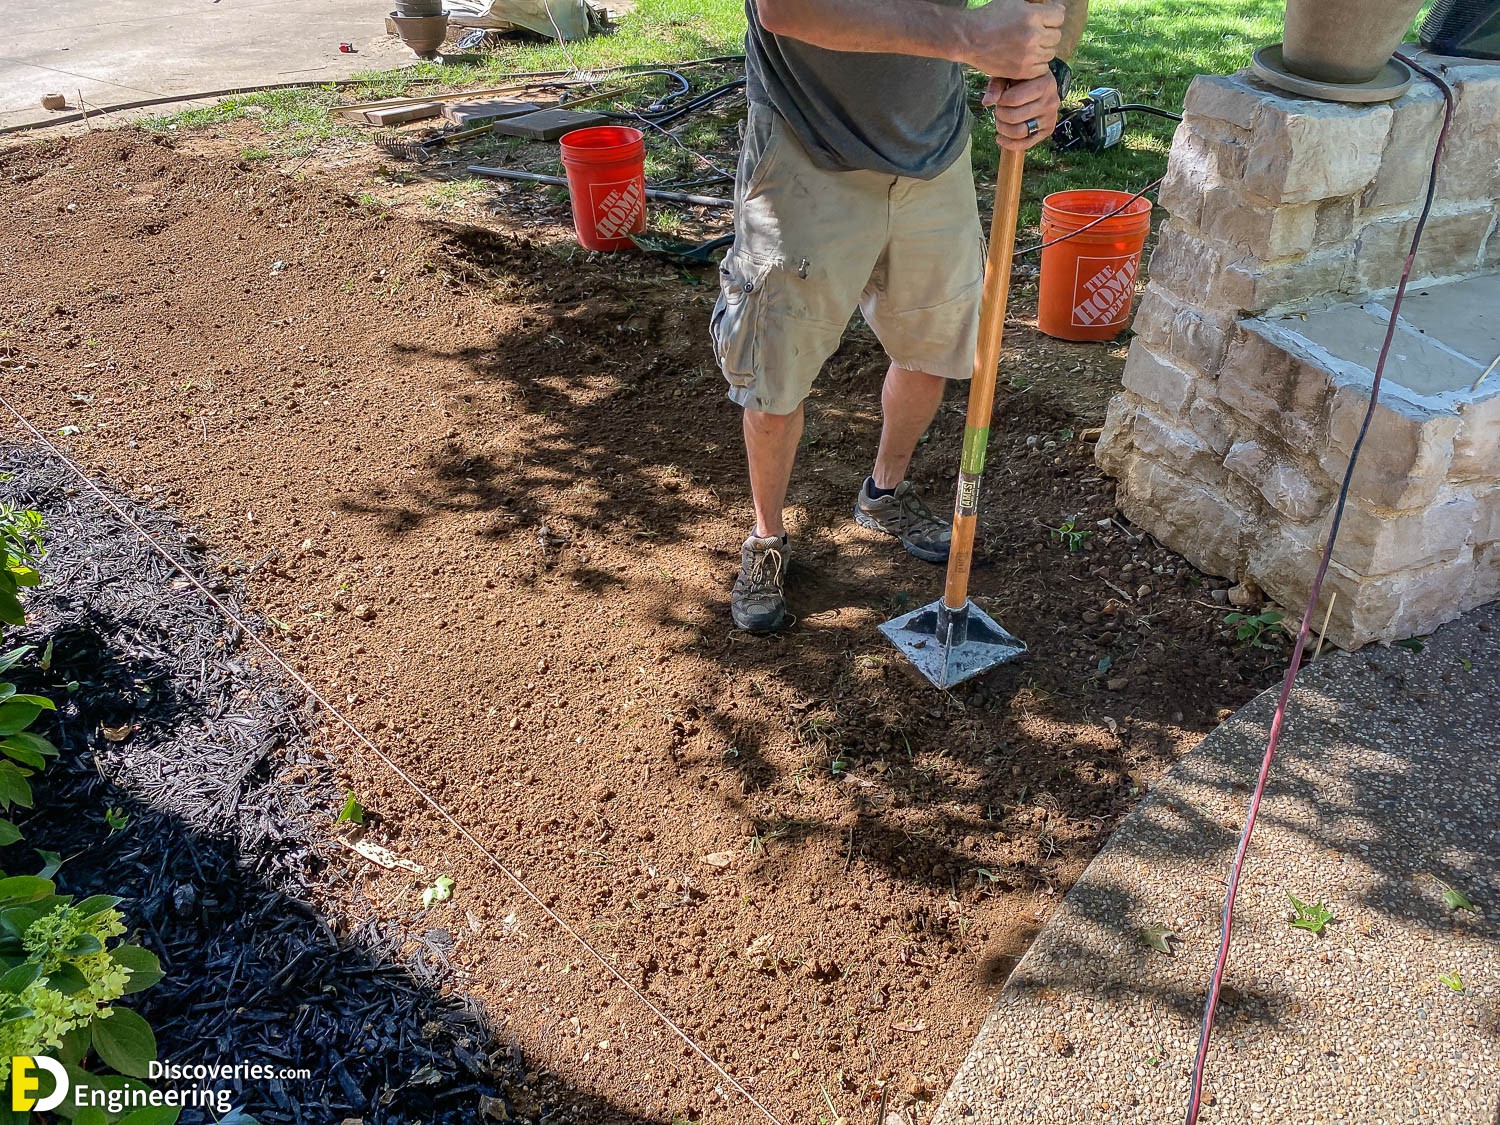
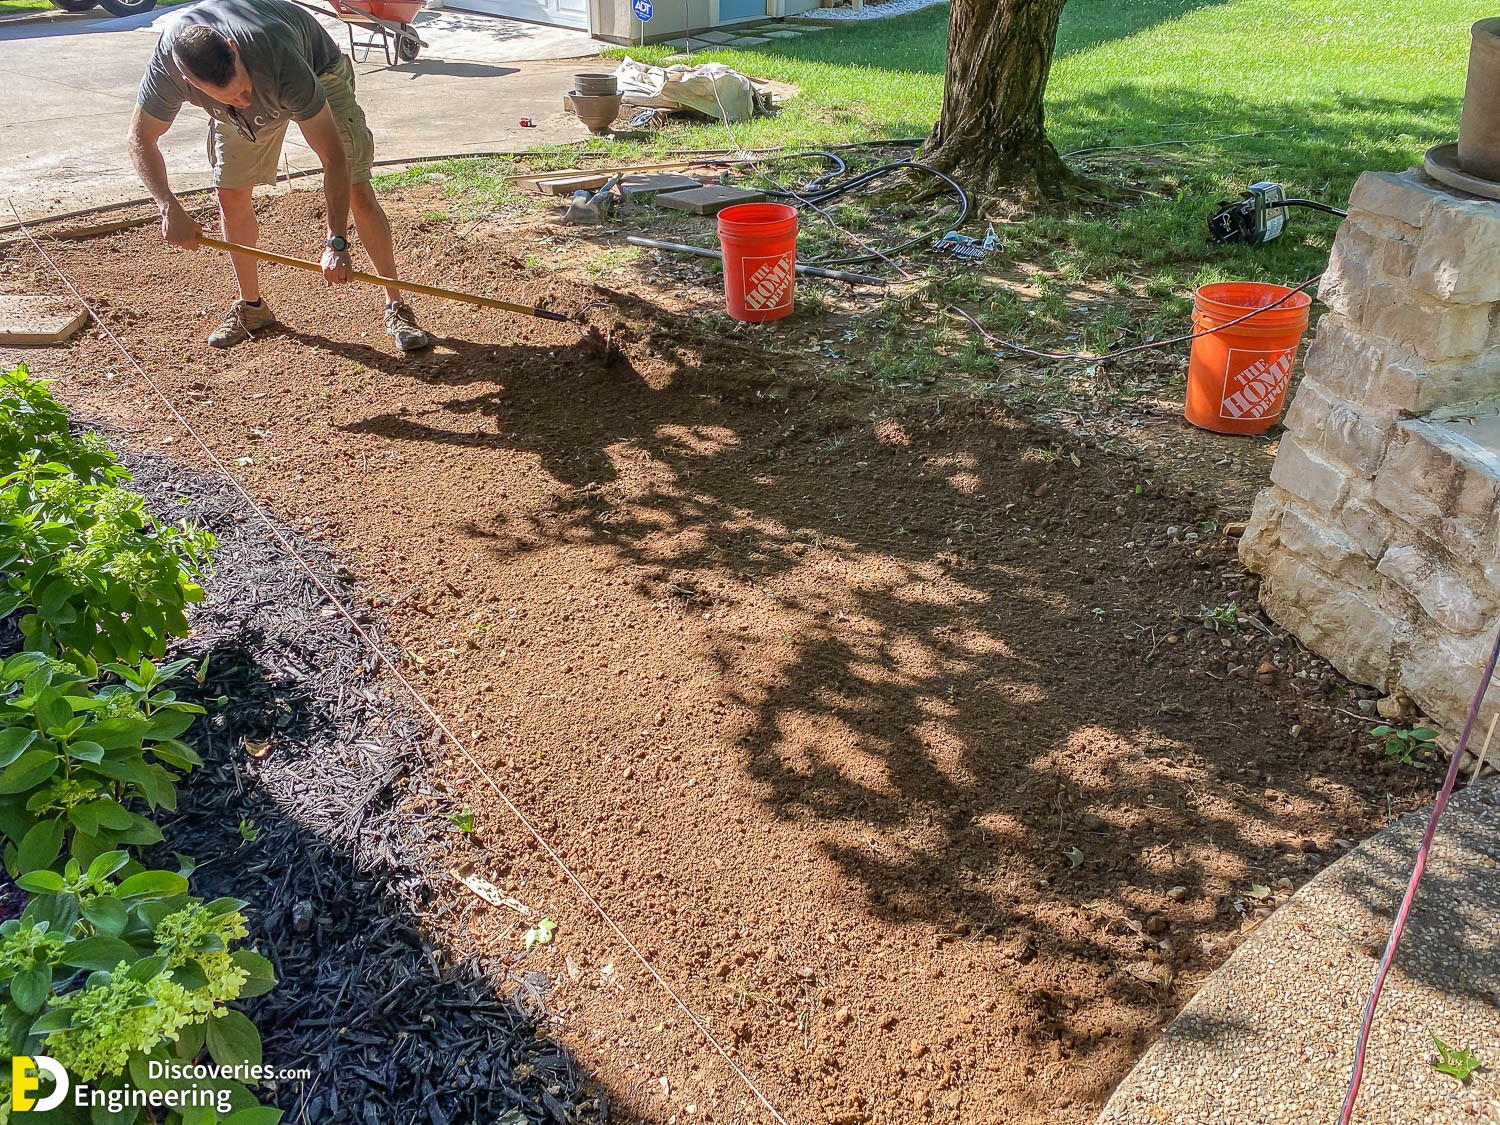
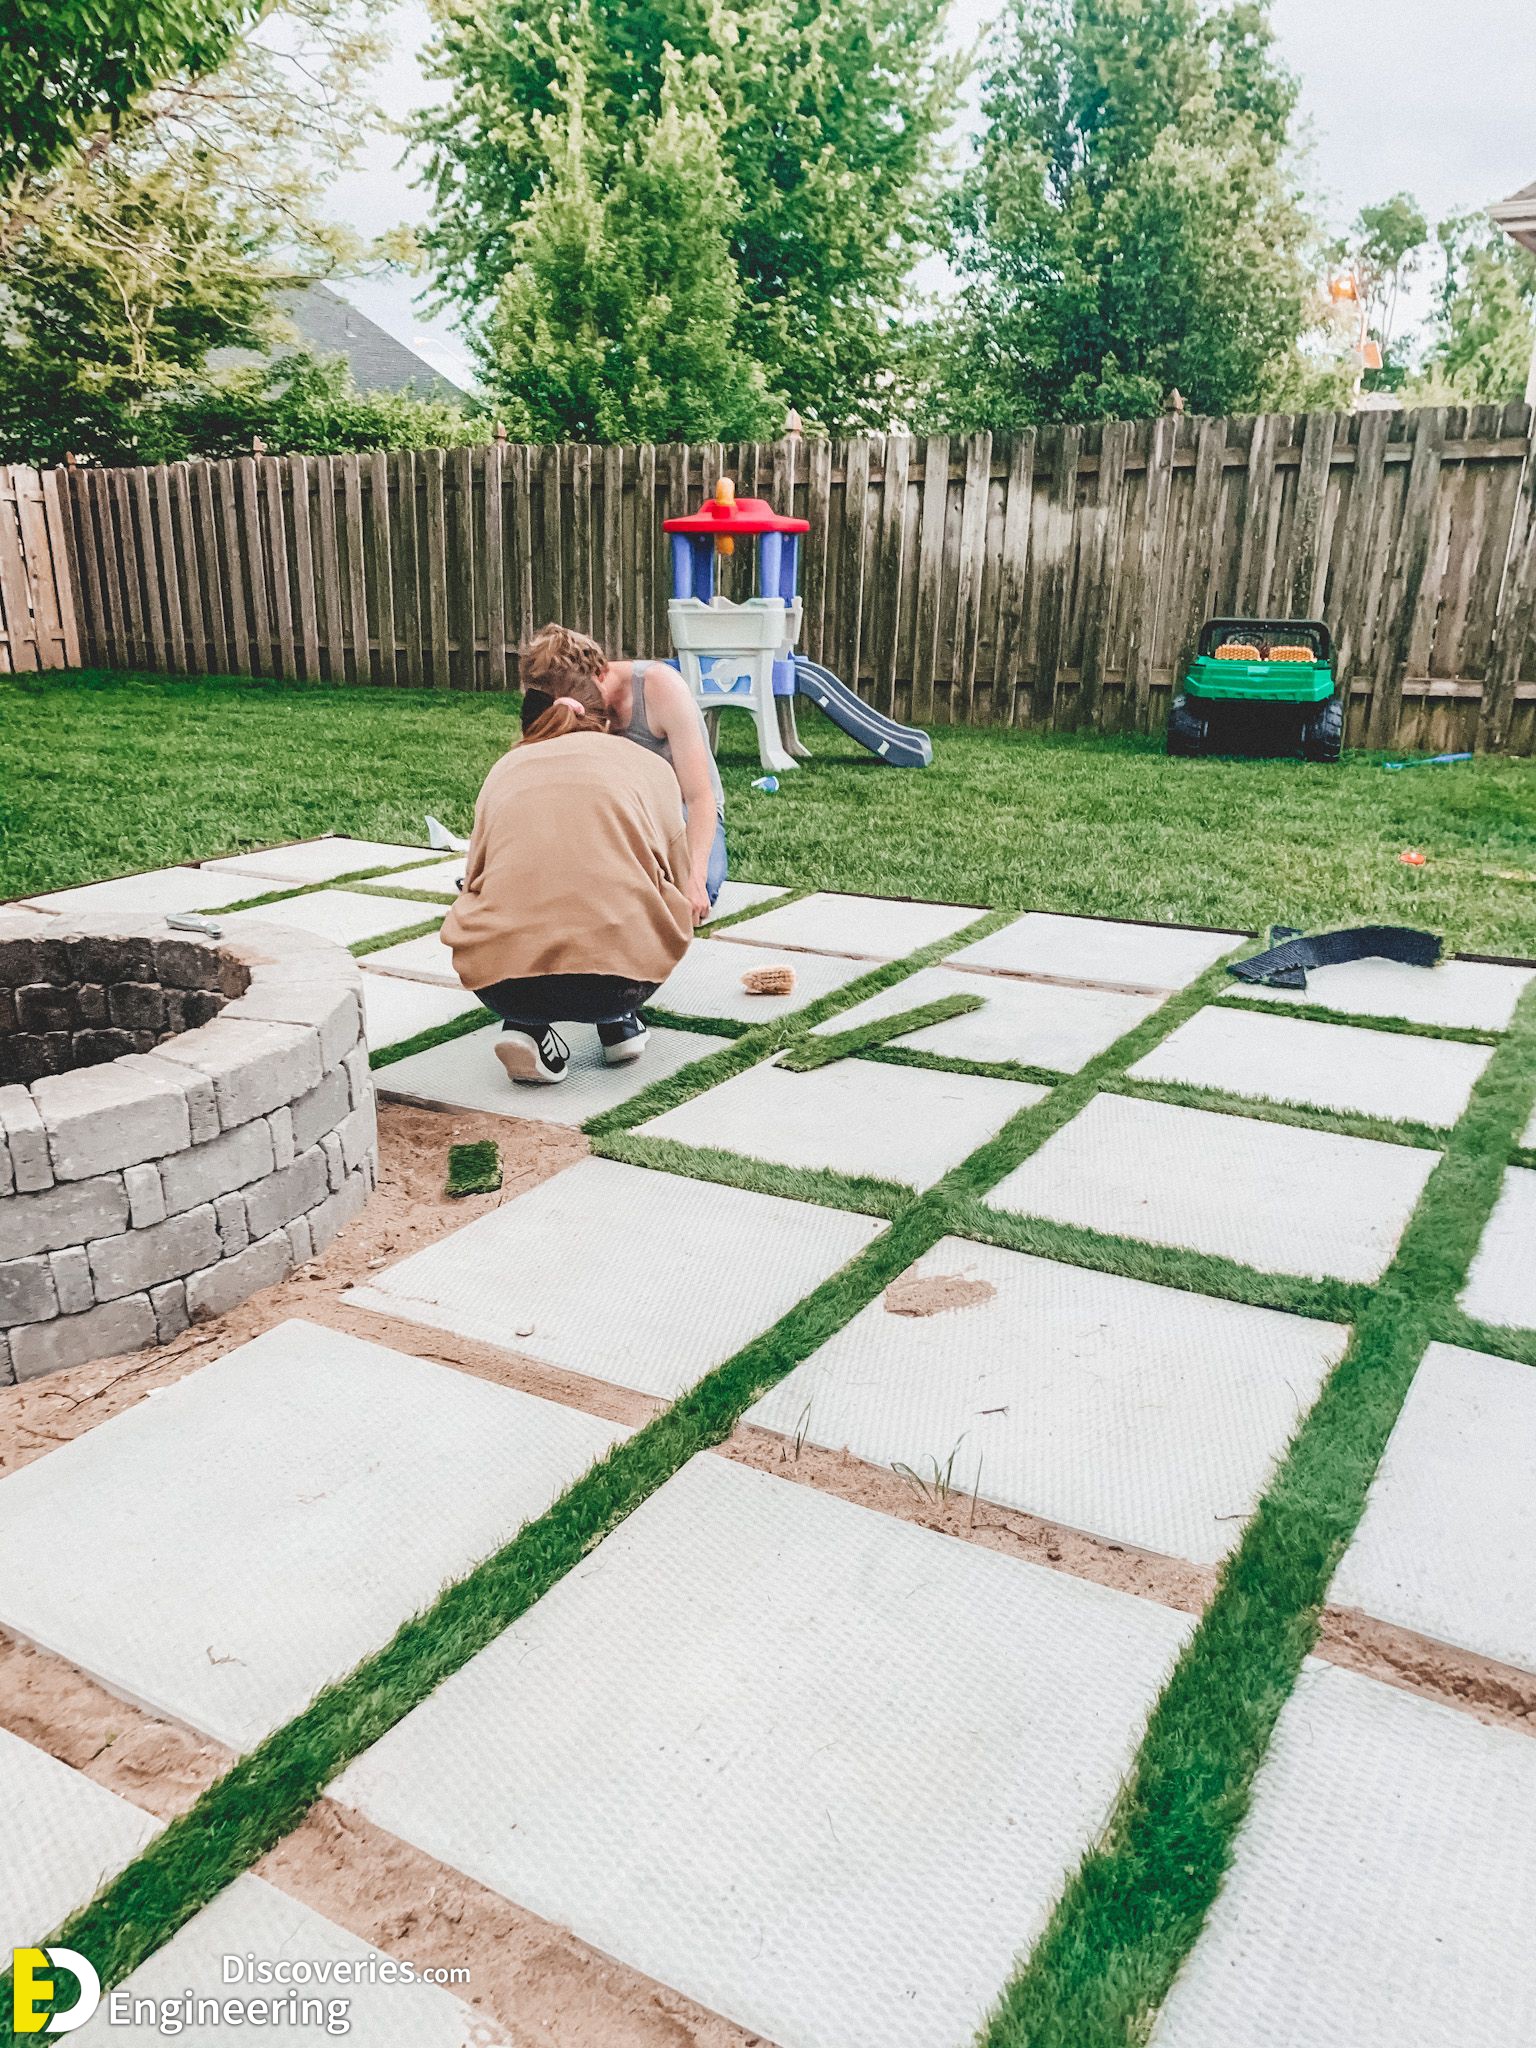
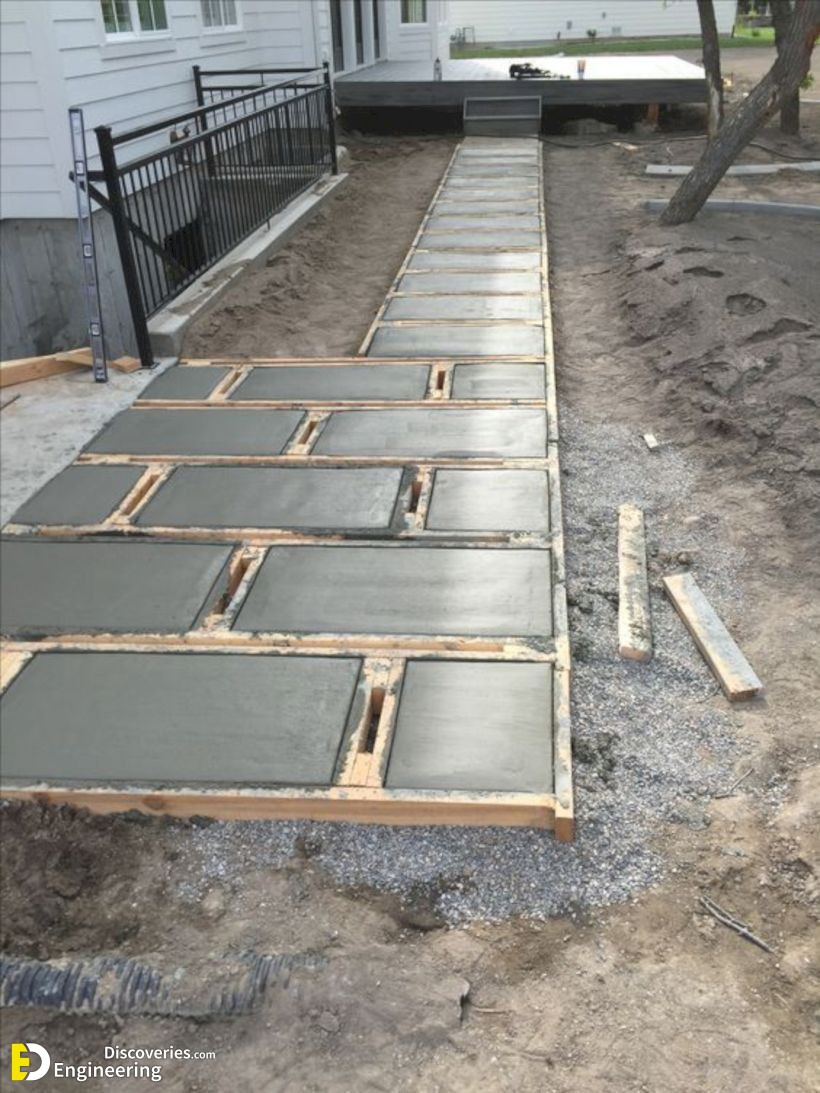
Prepping and Grading the Area
The first thing we had to do was clear the area. Adam pulled up the trash bushes and raked out the flower bed, then he and Liam pulled up the flagstones with a shovel and a mattock. Thankfully, the flagstones came up pretty easily. Then we raked out all of the stones and debris from the path and tried to level and tamp it down as best we could.
More Creative Ideas


Click Here To See 33 Amazing Ideas To Make Your Own Steps In Your Garden