
Making concrete pots with plastic molds is a fun and easy DIY project that allows you to create unique and personalized planters for your home or garden. Here’s a basic guide to get you started:
Materials:
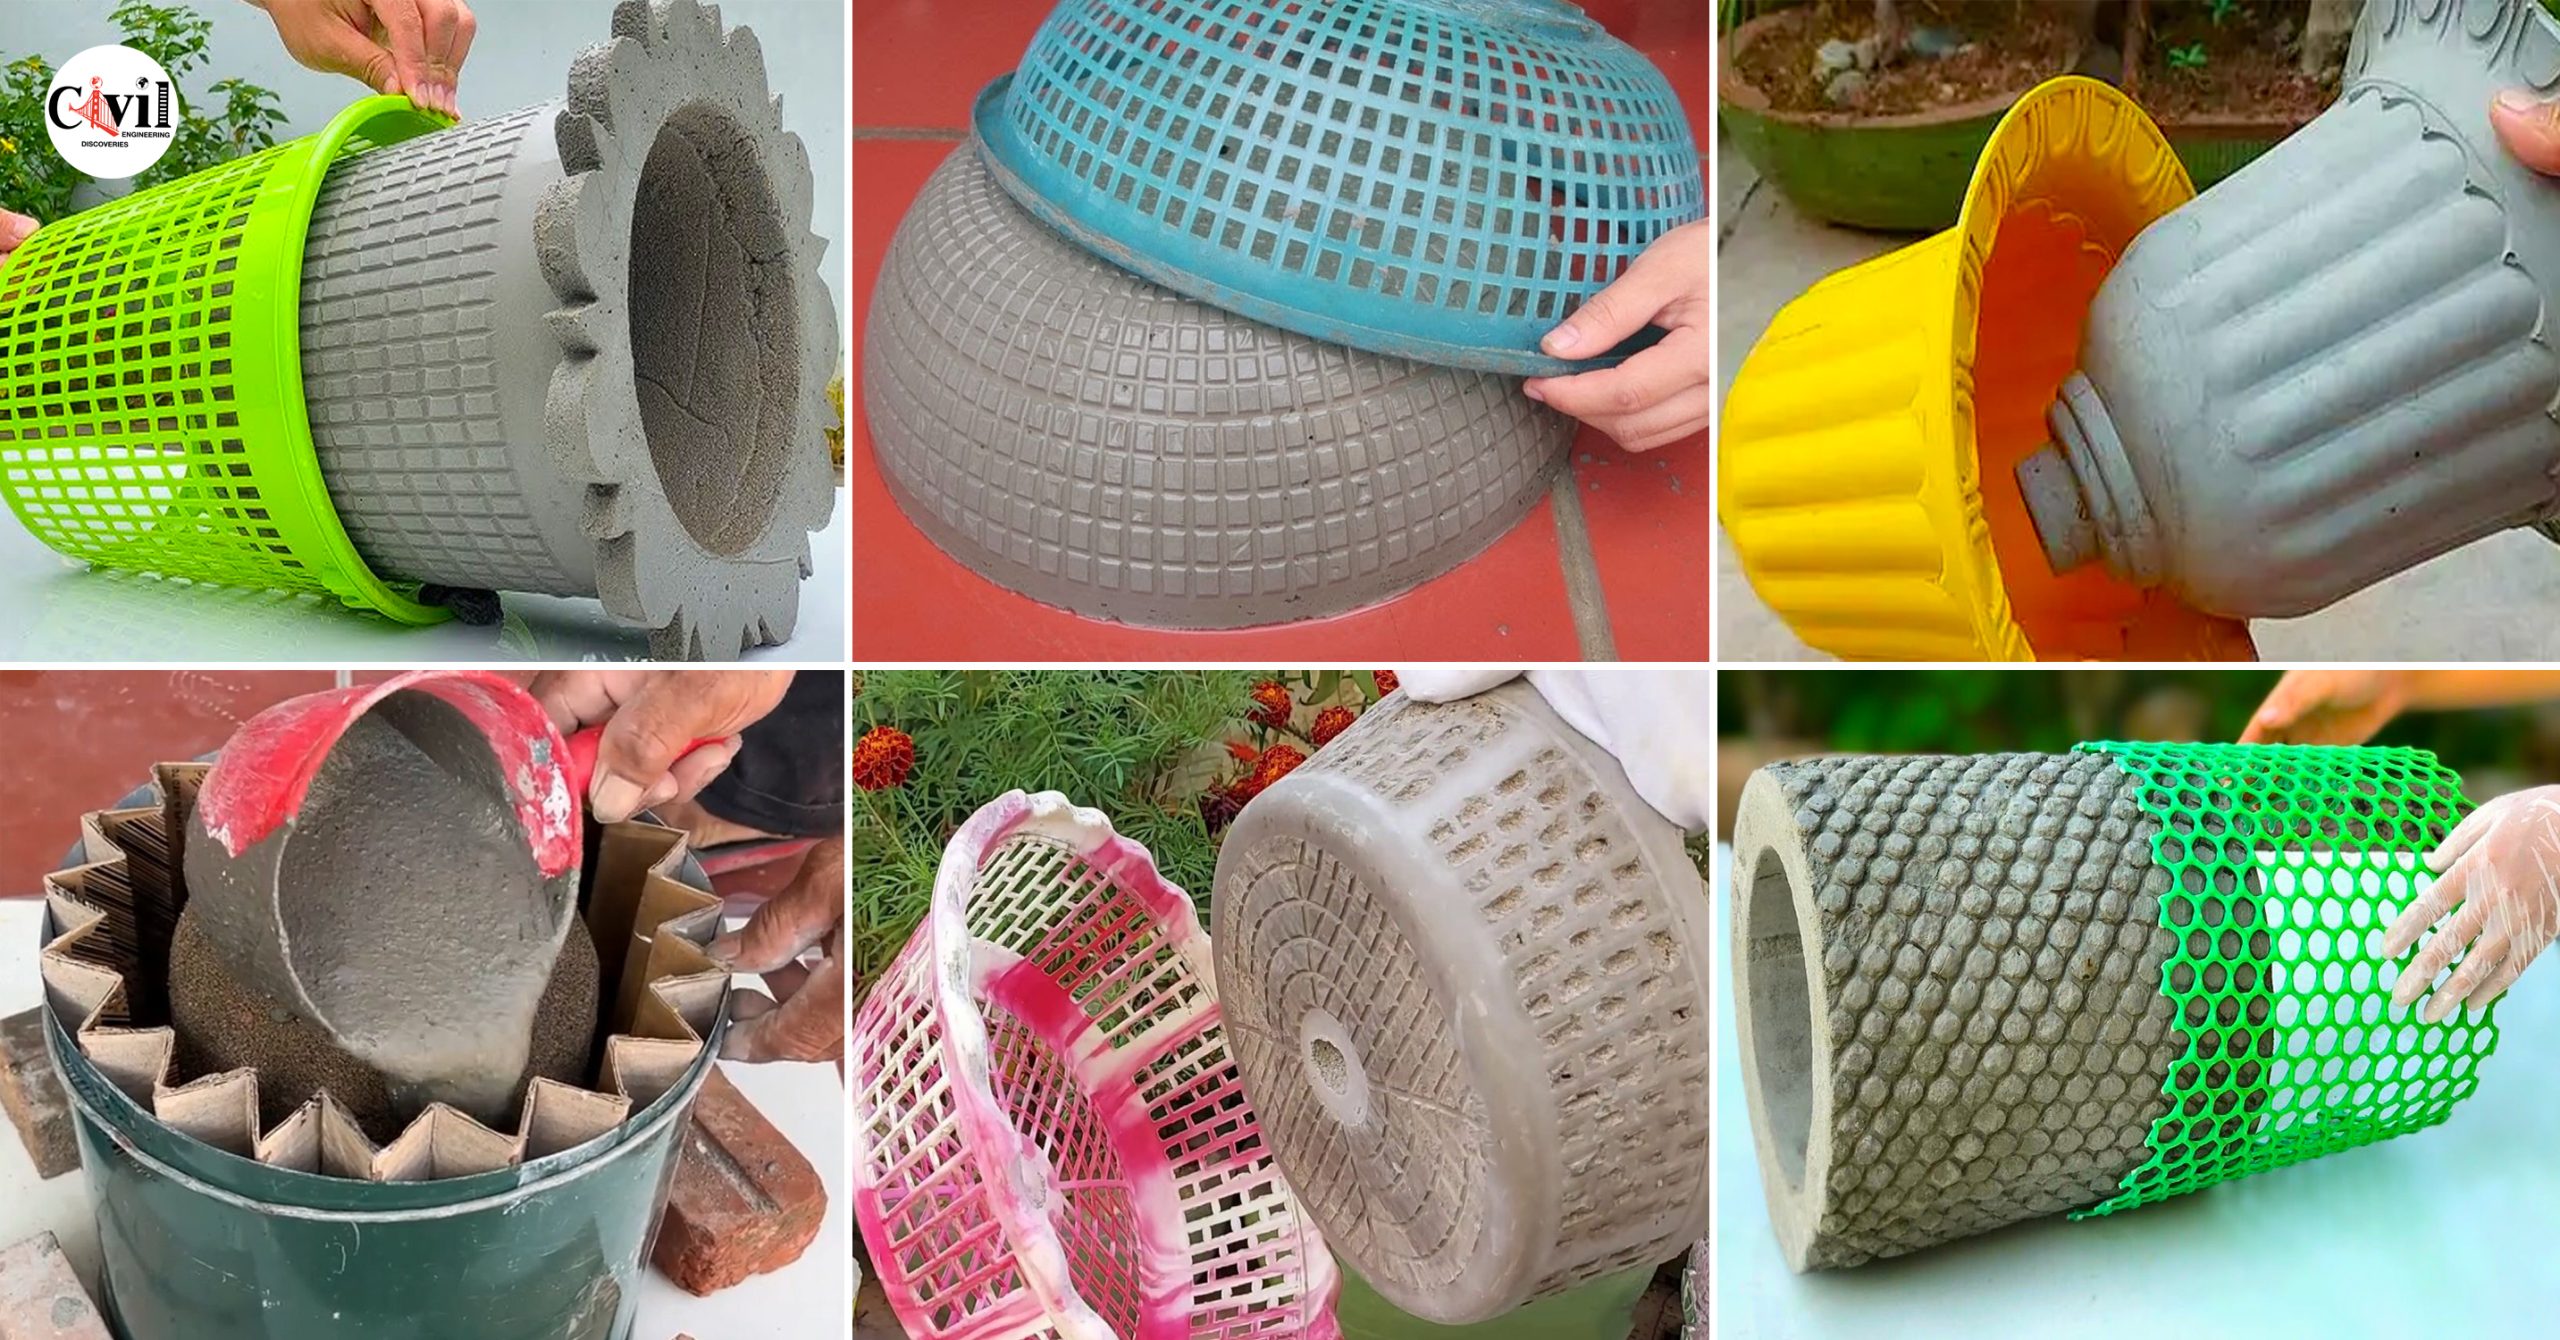
- Plastic molds: You can use a variety of plastic containers as molds, such as buckets, bowls, colanders, flower pots, or even plastic bottles. Choose molds with interesting shapes or textures to add personality to your pots.
- Concrete mix: Purchase a pre-mixed concrete bag from your local hardware store. Choose a mix specifically designed for outdoor use.
- Sand (optional): If you’re using a mold without drainage holes, you’ll need some sand to create a temporary inner mold to form the hole.
- Cooking spray or oil: This will help prevent the concrete from sticking to the mold.
- Gloves and mask: Concrete dust can be irritating, so wear gloves and a mask to protect yourself while mixing and pouring the concrete.
- Trowel or paintbrush: You’ll need a trowel to smooth the concrete and a paintbrush to apply any sealant or paint (optional).
- Drainage hole tools (optional): If your mold doesn’t have drainage holes, you can create them using a drill, dowel rod, or straw before pouring the concrete.
Instructions:
- Prepare the mold: Clean the mold thoroughly and remove any dirt or debris. If you’re using a mold without drainage holes, create a temporary inner mold with sand. Fill the mold with sand to the desired depth of the drainage hole, then pack it down tightly. Place a straw or PVC pipe in the center of the sand to form the hole, then carefully remove the sand, leaving the straw or pipe in place.
- Mix the concrete: Following the instructions on the bag, mix the concrete with water until it reaches a thick, oatmeal-like consistency. Don’t make it too watery, as this will make the pots weak.
- Spray the mold: Coat the inside of the mold with cooking spray or oil to prevent sticking.
- Pour the concrete: Carefully pour the concrete into the mold, making sure to fill all the corners and crevices. Tap the sides of the mold gently to release any air bubbles.
- Smooth the top: Use a trowel to smooth the top of the concrete and remove any excess. If you’re using a straw or pipe to create a drainage hole, make sure it remains in place.
- Let the concrete cure: Allow the concrete to cure for at least 24 hours, or longer depending on the size and thickness of the pots.
- Remove the mold: Once the concrete is cured, carefully remove the mold. If the mold is stuck, try gently tapping it with a rubber mallet.
- Remove the drainage hole insert (optional): If you used a straw or pipe to create a drainage hole, carefully remove it now.
- Finishing touches (optional): You can sand the edges of your pots for a smoother finish. You can also paint or seal your pots to protect them from the elements and add a personal touch.
Tips:
- Get creative with your molds! You can use a variety of shapes and sizes to create unique and interesting pots.
- Add texture to your pots by pressing objects into the concrete before it cures, such as leaves, stones, or buttons.
- If you’re making large or heavy pots, consider reinforcing them with wire mesh or rebar before pouring the concrete.
- Be patient! Concrete takes time to cure, so resist the urge to move or handle your pots too soon.


Click Here To See 30 Spilled Flower Pots That Turn Your Flowers Into Streams Of Paint