
Installing thin veneer on a wall is a relatively straightforward process, but it does require some attention to detail and care. Here is a general overview of the steps involved:
Preparation:
1. Prepare the wall surface: The wall surface should be clean, dry, and level. If you are installing thin veneer over an existing wall, you may need to remove any loose paint, wallpaper, or other debris.
2. Apply a lath: If you are installing thin veneer over an exterior wall, you will need to apply a lath to the wall. Lath is a thin metal or wire mesh that helps to anchor the mortar to the wall.
3. Mix the mortar: Follow the manufacturer’s instructions for mixing the mortar. The mortar should be thick enough to hold the stones in place, but not so thick that it is difficult to spread.
Installation:
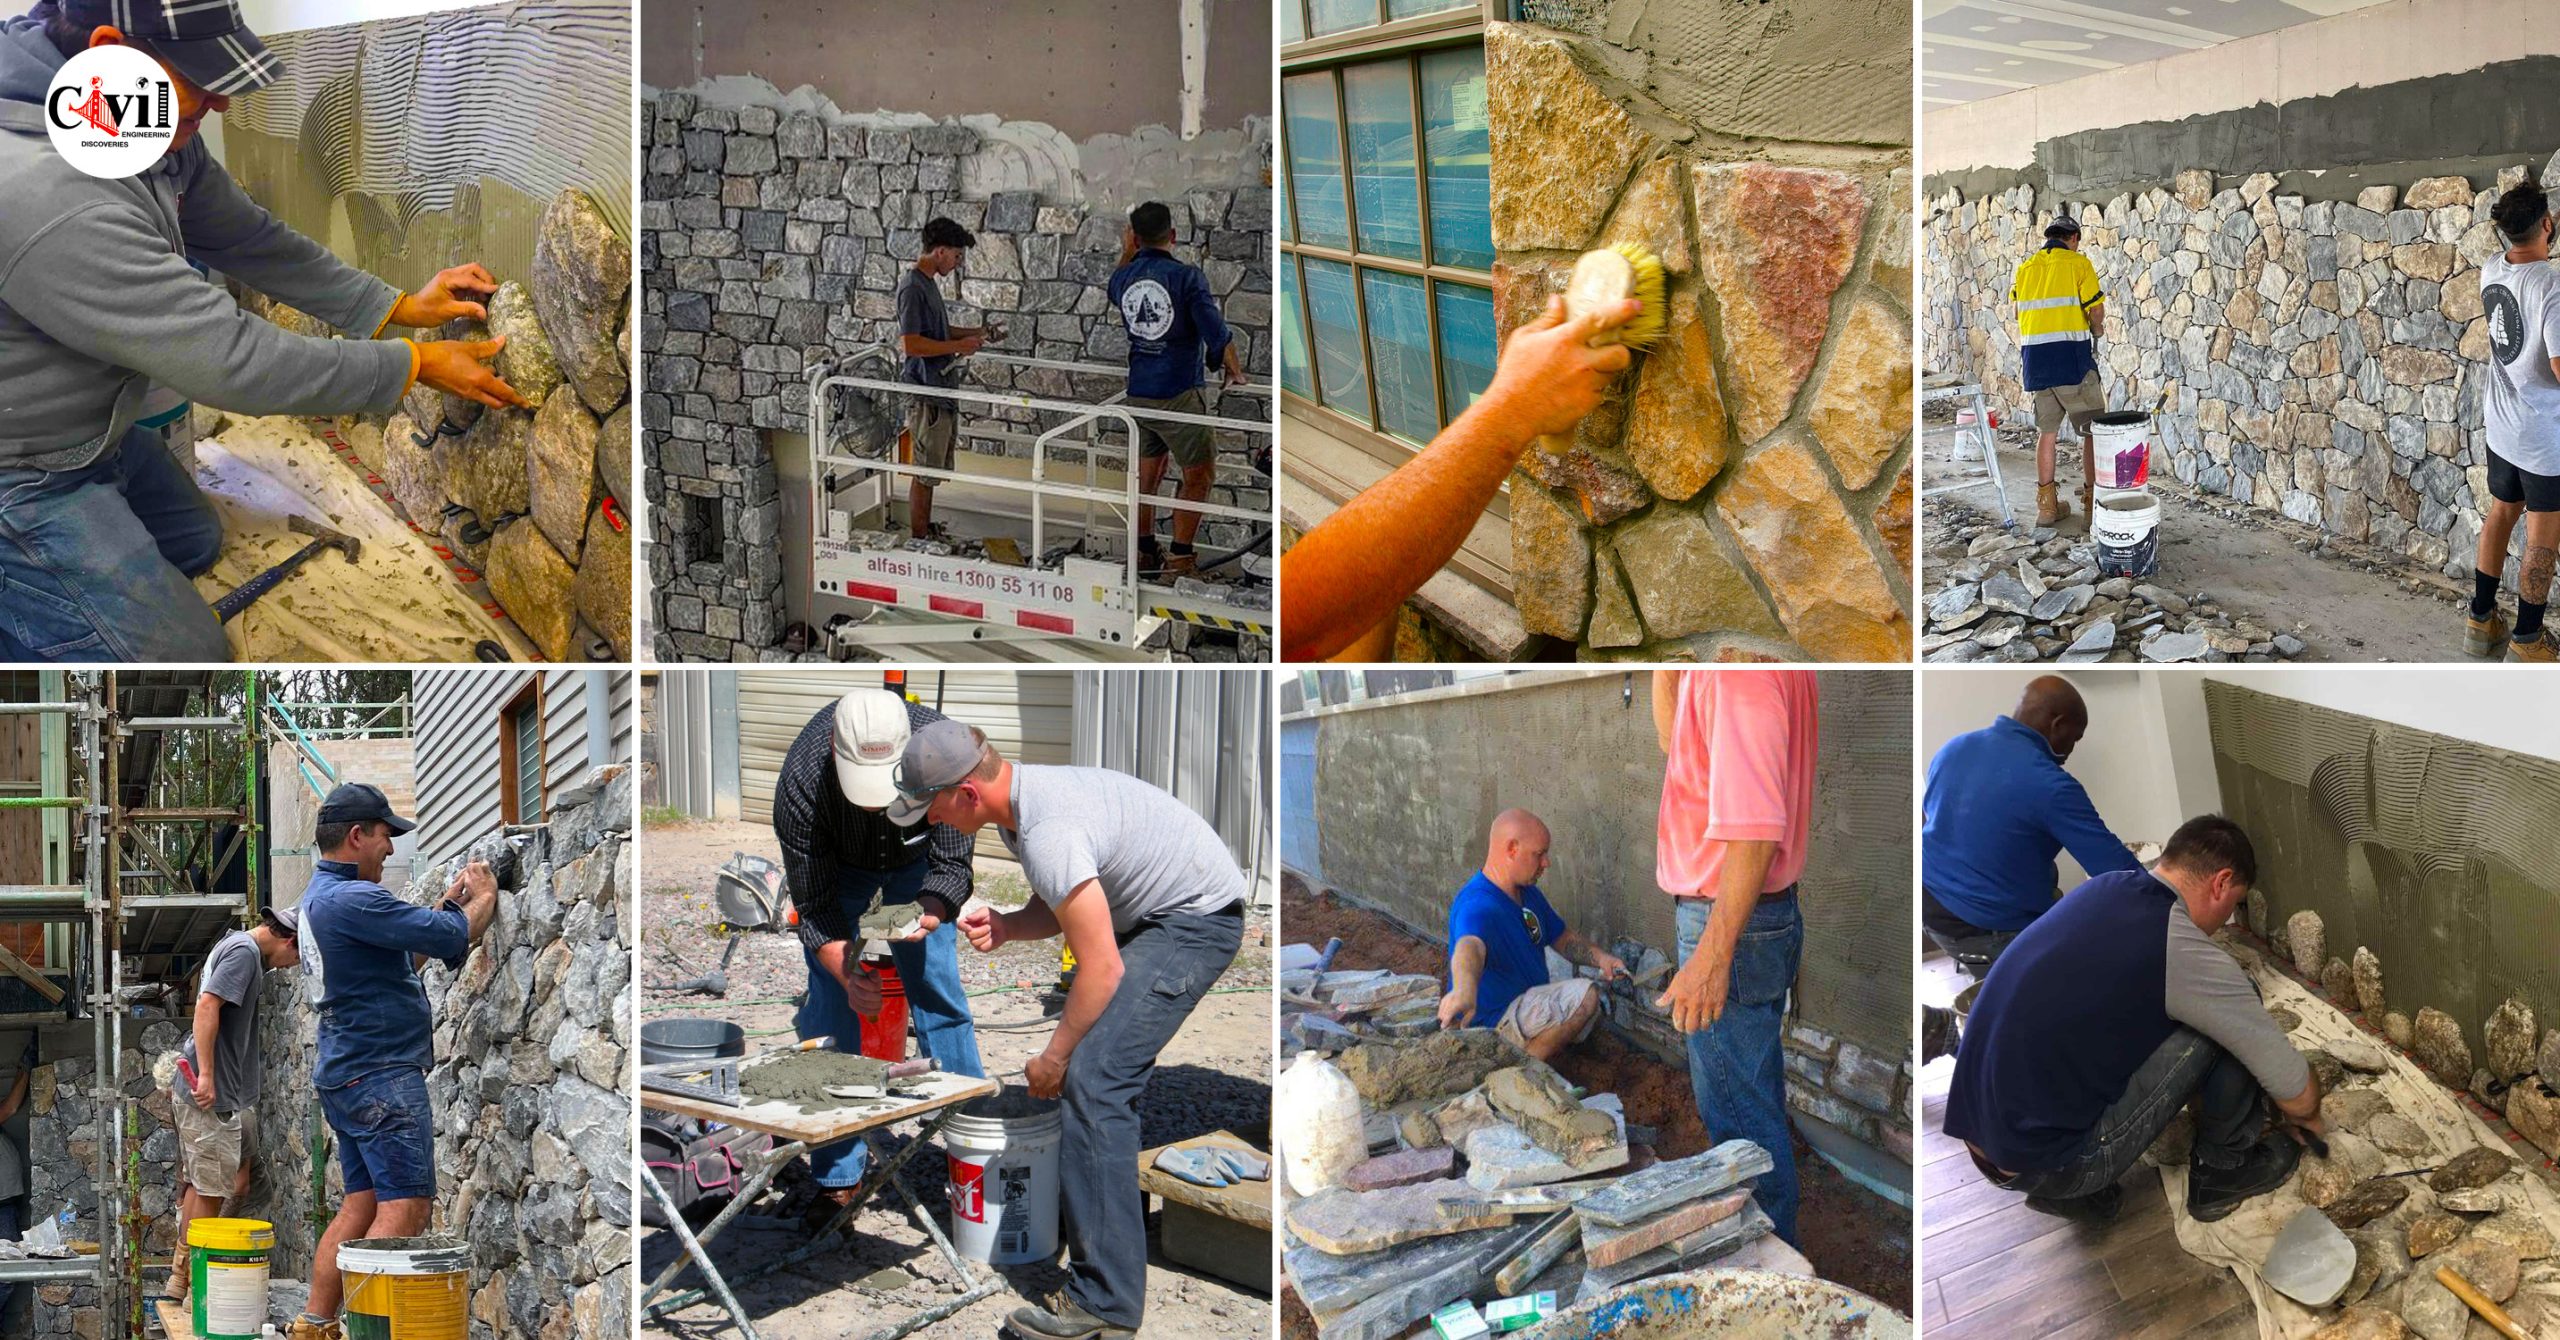
Start at the bottom of the wall: Lay out the stones in a dry run to get an idea of how they will look on the wall. Once you are satisfied with the layout, start laying the stones from the bottom of the wall and work your way up.
Apply mortar to the back of each stone: Use a notched trowel to apply mortar to the back of each stone. Be sure to cover the entire back of the stone with mortar.
Place the stone on the wall: Press the stone firmly against the wall and use a level to make sure it is plumb. Use spacer shims to keep the stones evenly spaced.
Join the stones: Use a margin trowel to tool the joints between the stones. This will give the wall a more finished look.
Clean the stones: As you work, use a sponge to wipe away any excess mortar from the stones.
Let the mortar cure: Allow the mortar to cure for at least 24 hours before grouting the joints.
Grouting:
Mix the grout: Follow the manufacturer’s instructions for mixing the grout. The grout should be the consistency of toothpaste.
Apply the grout: Use a grout float to apply the grout to the joints between the stones. Be sure to work the grout into the joints completely.
Clean the stones: Once the grout has been set for a few minutes, use a damp sponge to wipe away any excess grout from the stones.
Let the grout cure: Allow the grout to cure for at least 24 hours before sealing the veneer.
Sealing:
Apply a sealer: Once the grout has cured, apply a sealer to the veneer. This will help to protect the stones from stains and moisture.
Enjoy your new wall! Once the sealer has dried, your new thin veneer wall is complete!


Click Here To See Stunning Stone Walkway Ideas To Add Value To Your Home